|
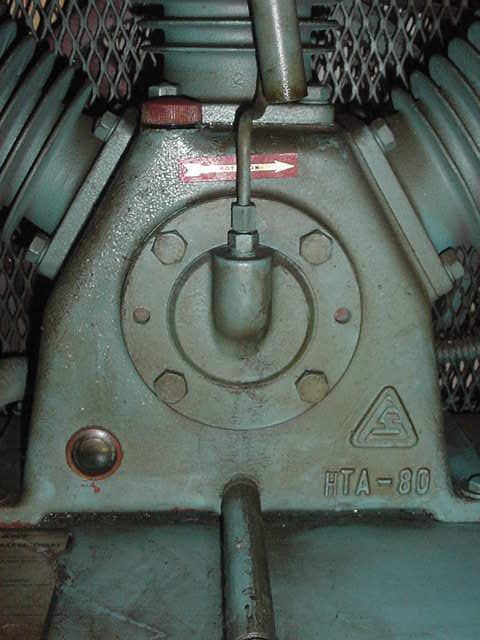
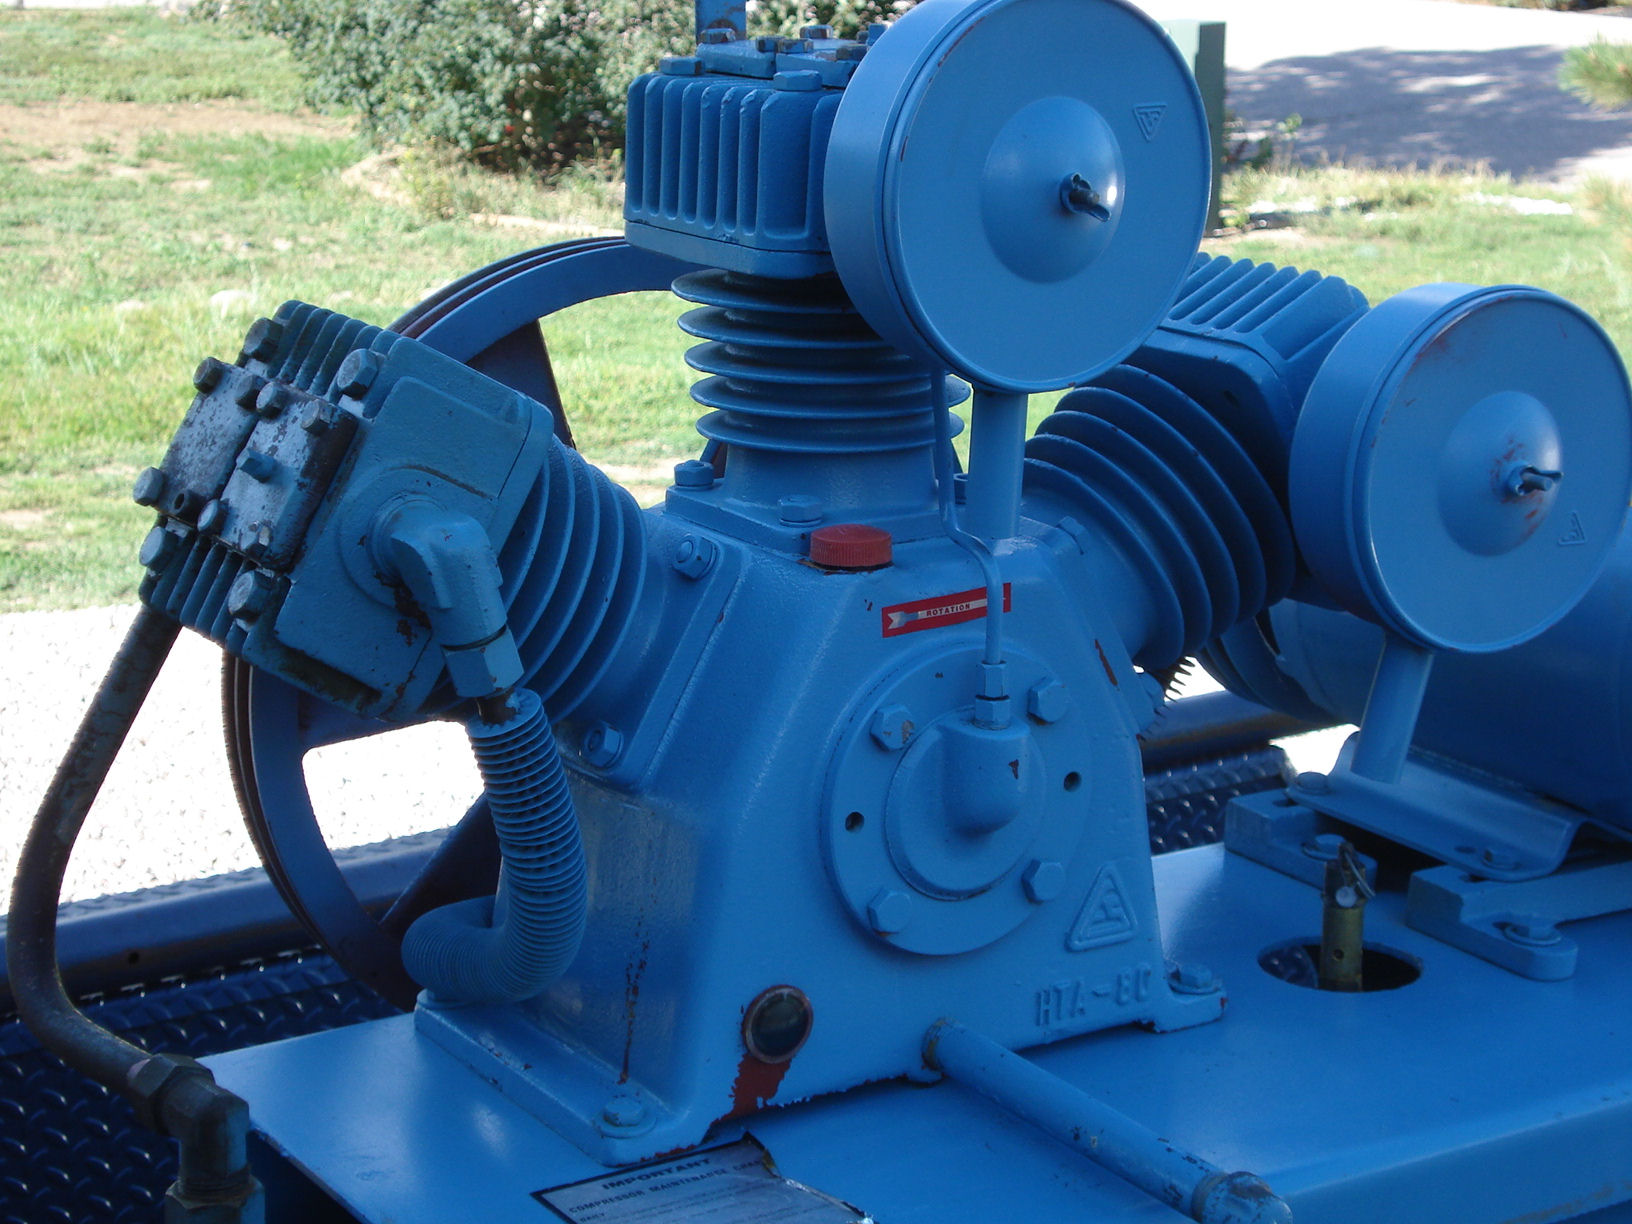
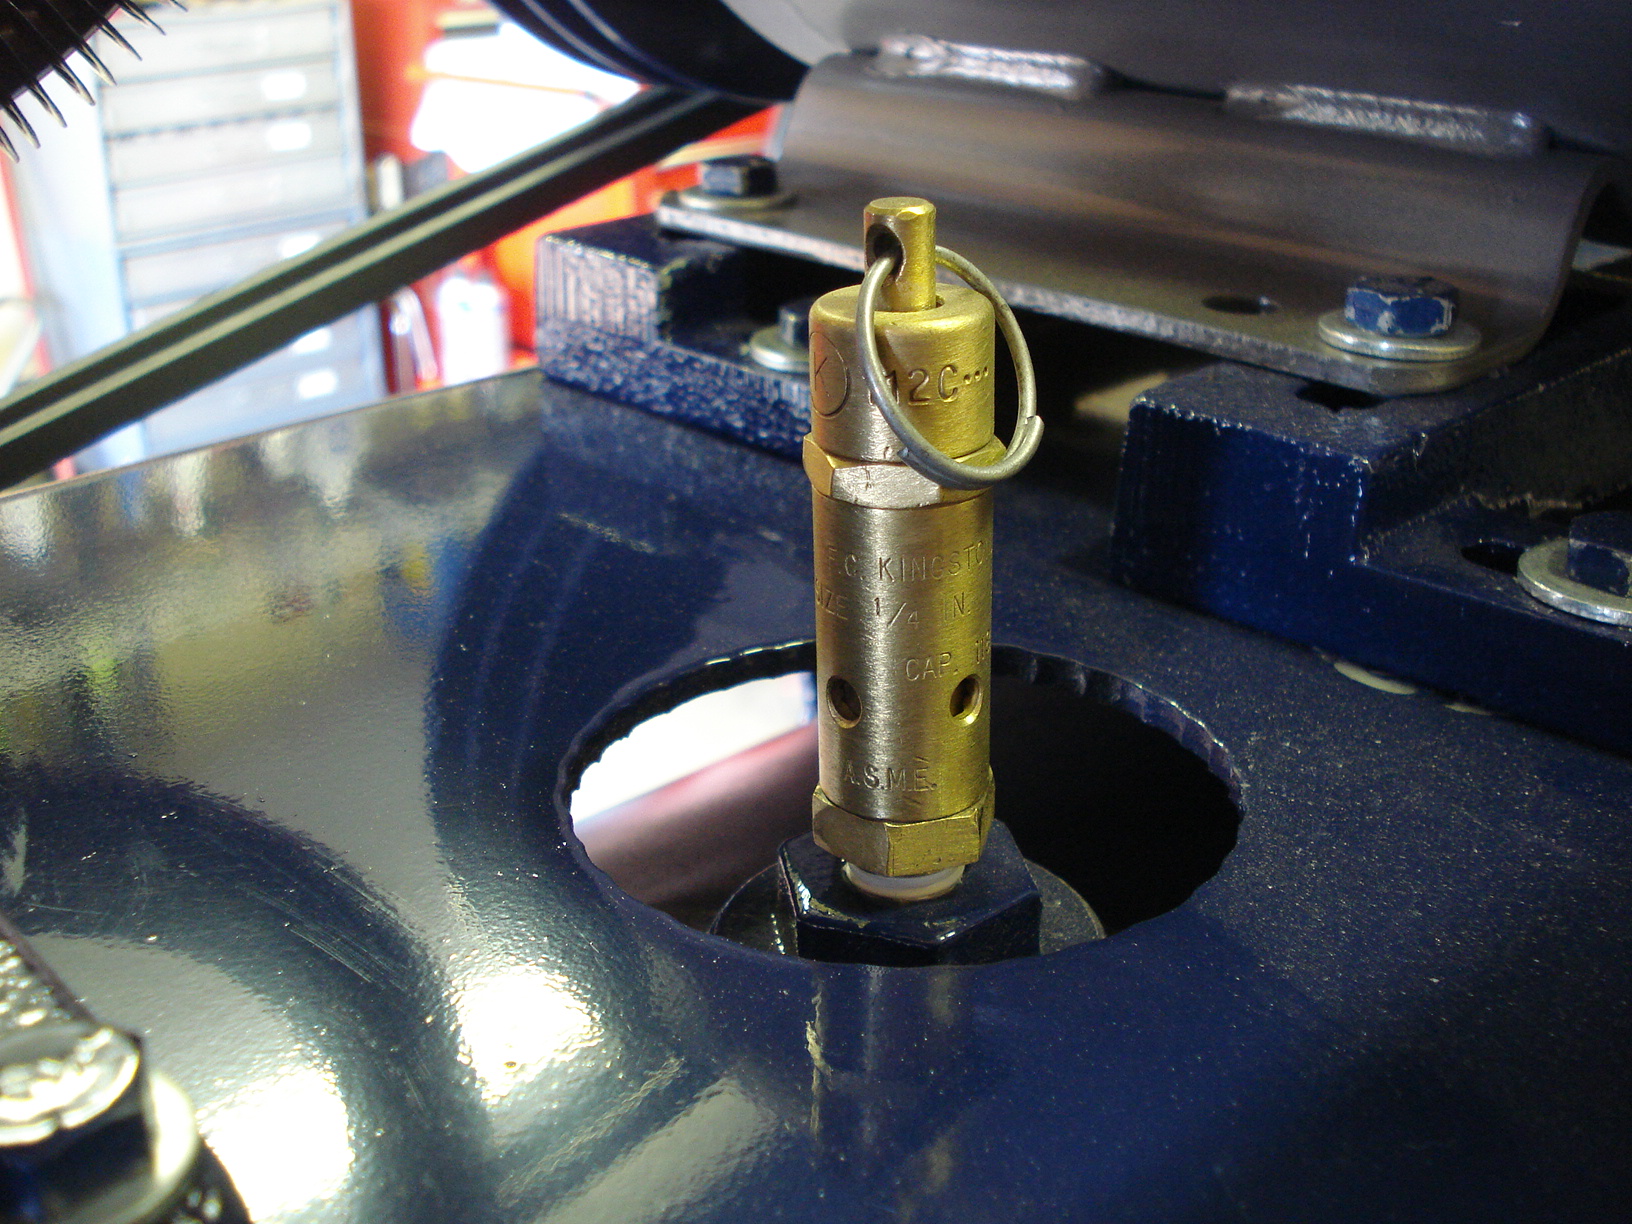
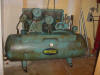
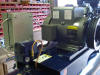
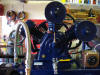
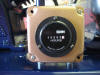
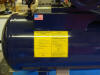
Curtis 5
HP, 3-Cylinder, 80-Gallon Air Compressor
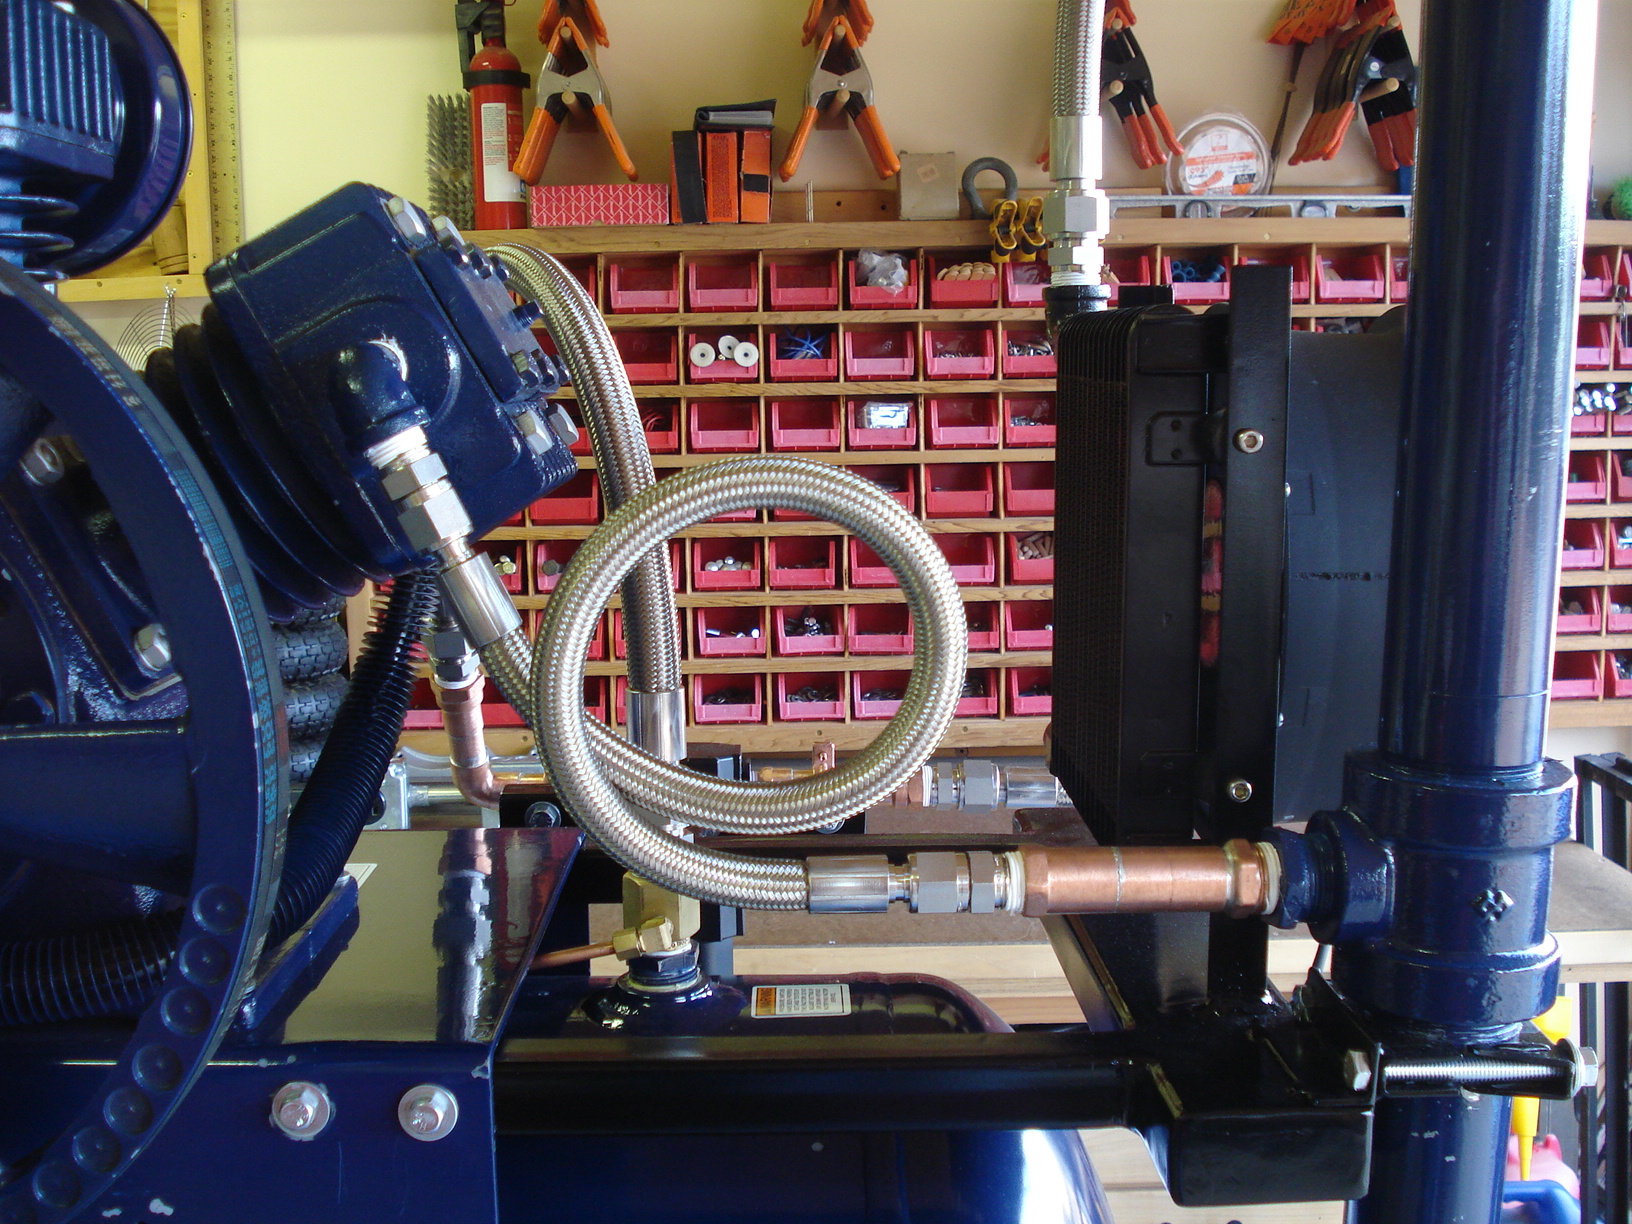
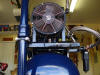
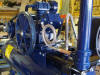
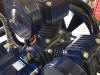
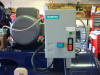
Well, about 15
months or so ago I bought a used Curtis 80-gallon horizontal air
compressor. It had a 5HP, 3-phase motor and a 3-cylinder, Model
E-50, 2-stage pump air compressor pump. It ran but made a
knocking sound and I suspected a high pressure cylinder bearing
was bad but definitely worth a 90 minute drive and $75 price
negotiated down from $200.
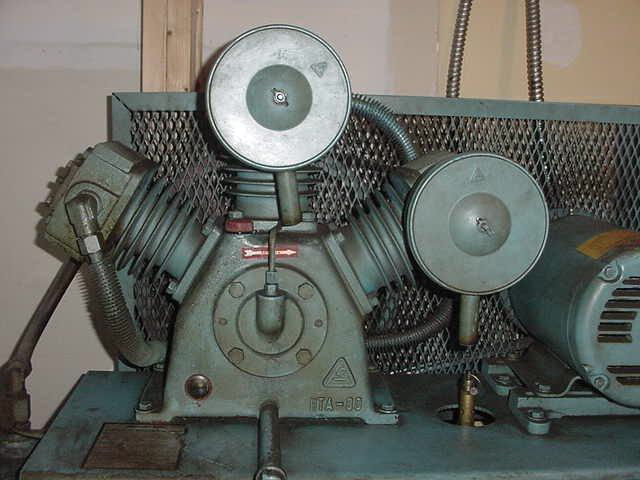
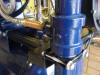
Once I got it home it received a thorough washing with Bleache-White®
cleaner and soap and water so I could inspect it closer
and to make the tear-down process easier.
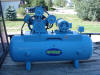
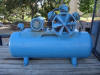


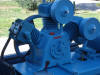
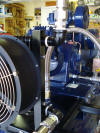
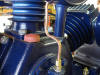
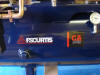
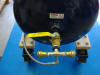
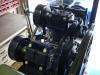
Over the course of the next year I completely restored the
compressor to better-than-new condition and performance. The
high pressure piston wrist pin bushing on the connecting rod
was, in fact, worn bad when I bought it so I ordered a new wrist
pin, piston & rod. I couldn't buy just the wrist pin roller
bearing for the rod so I had to order the complete rod assembly.
I ordered an overhaul kit with brand new seals, gaskets. rings,
bearings...everything to completely overhaul the entire system.
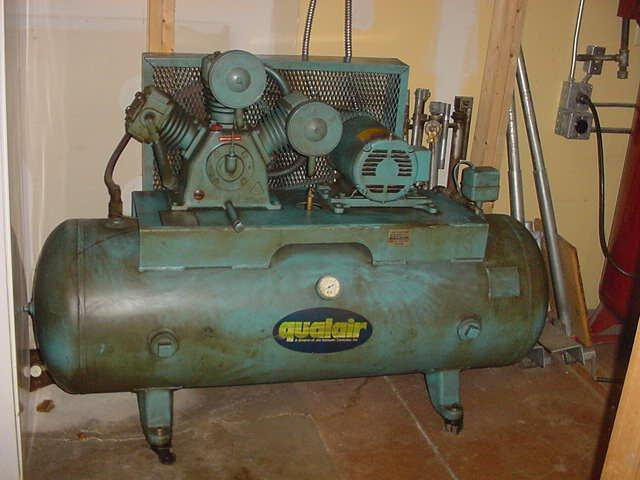
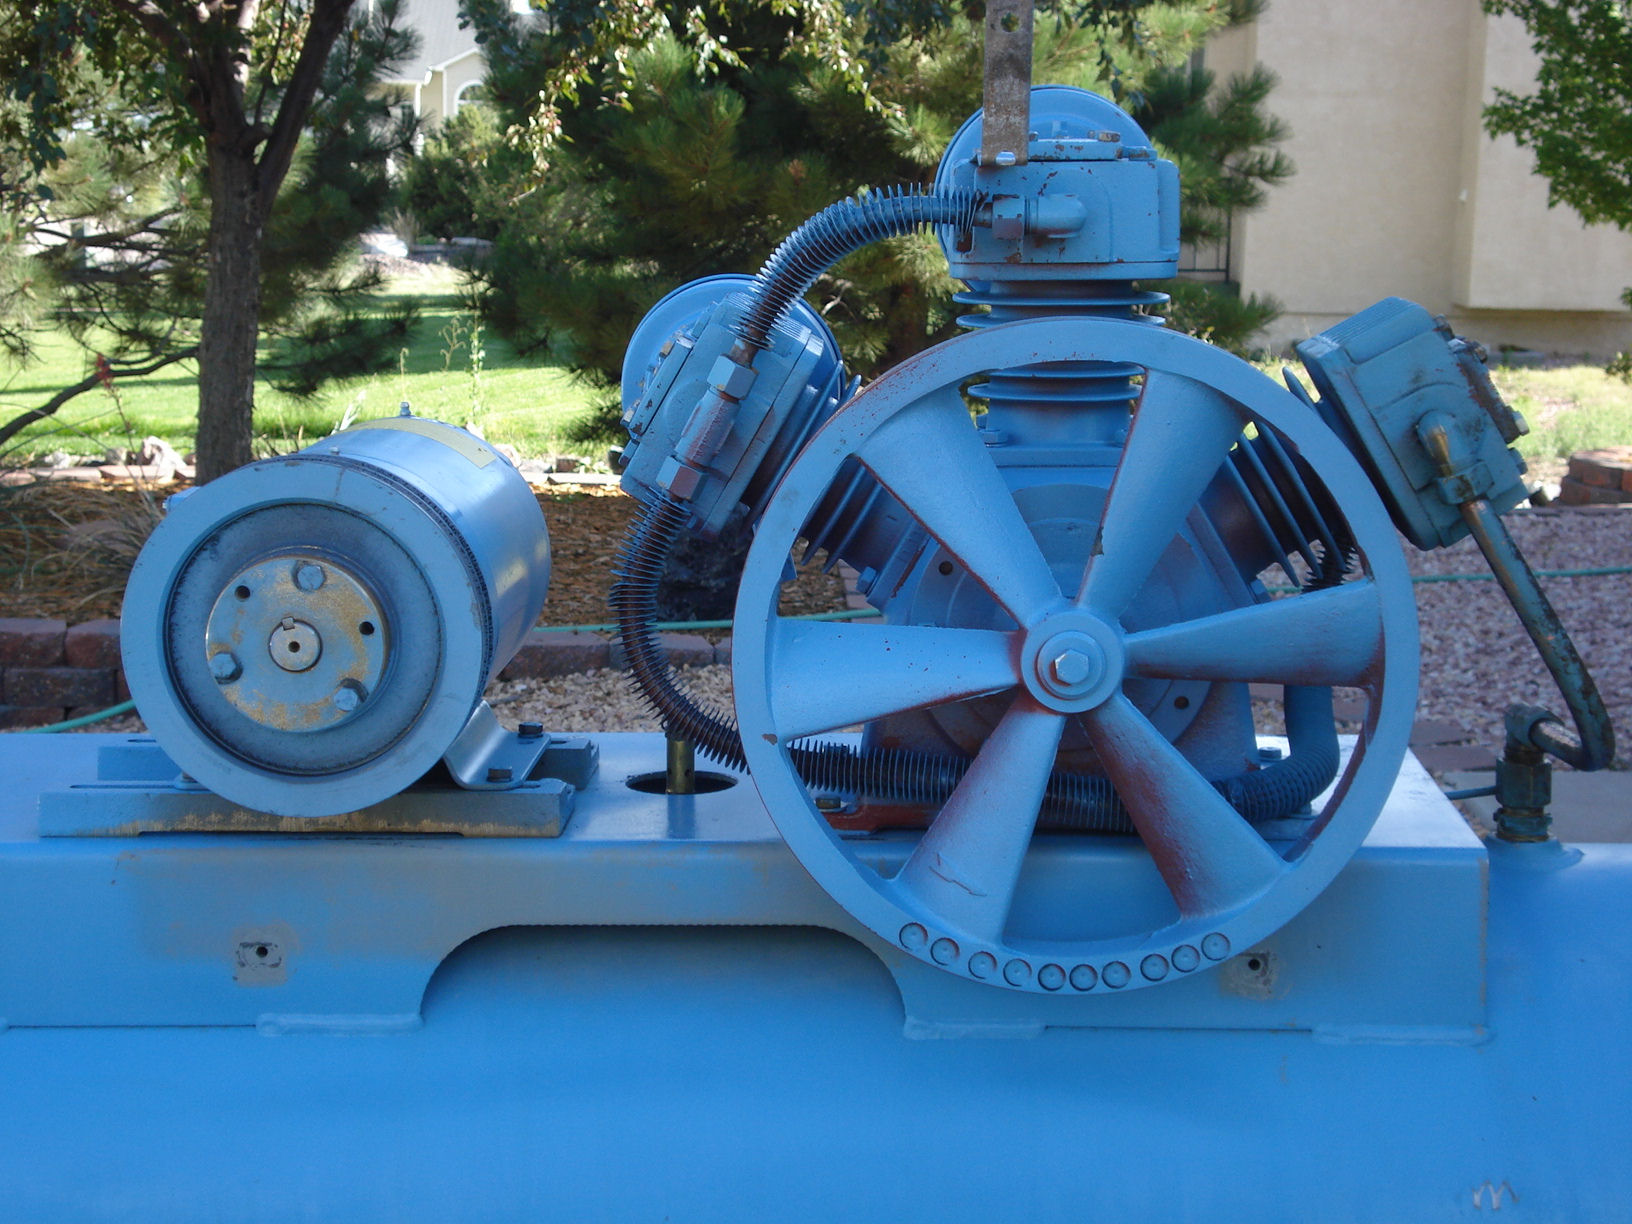
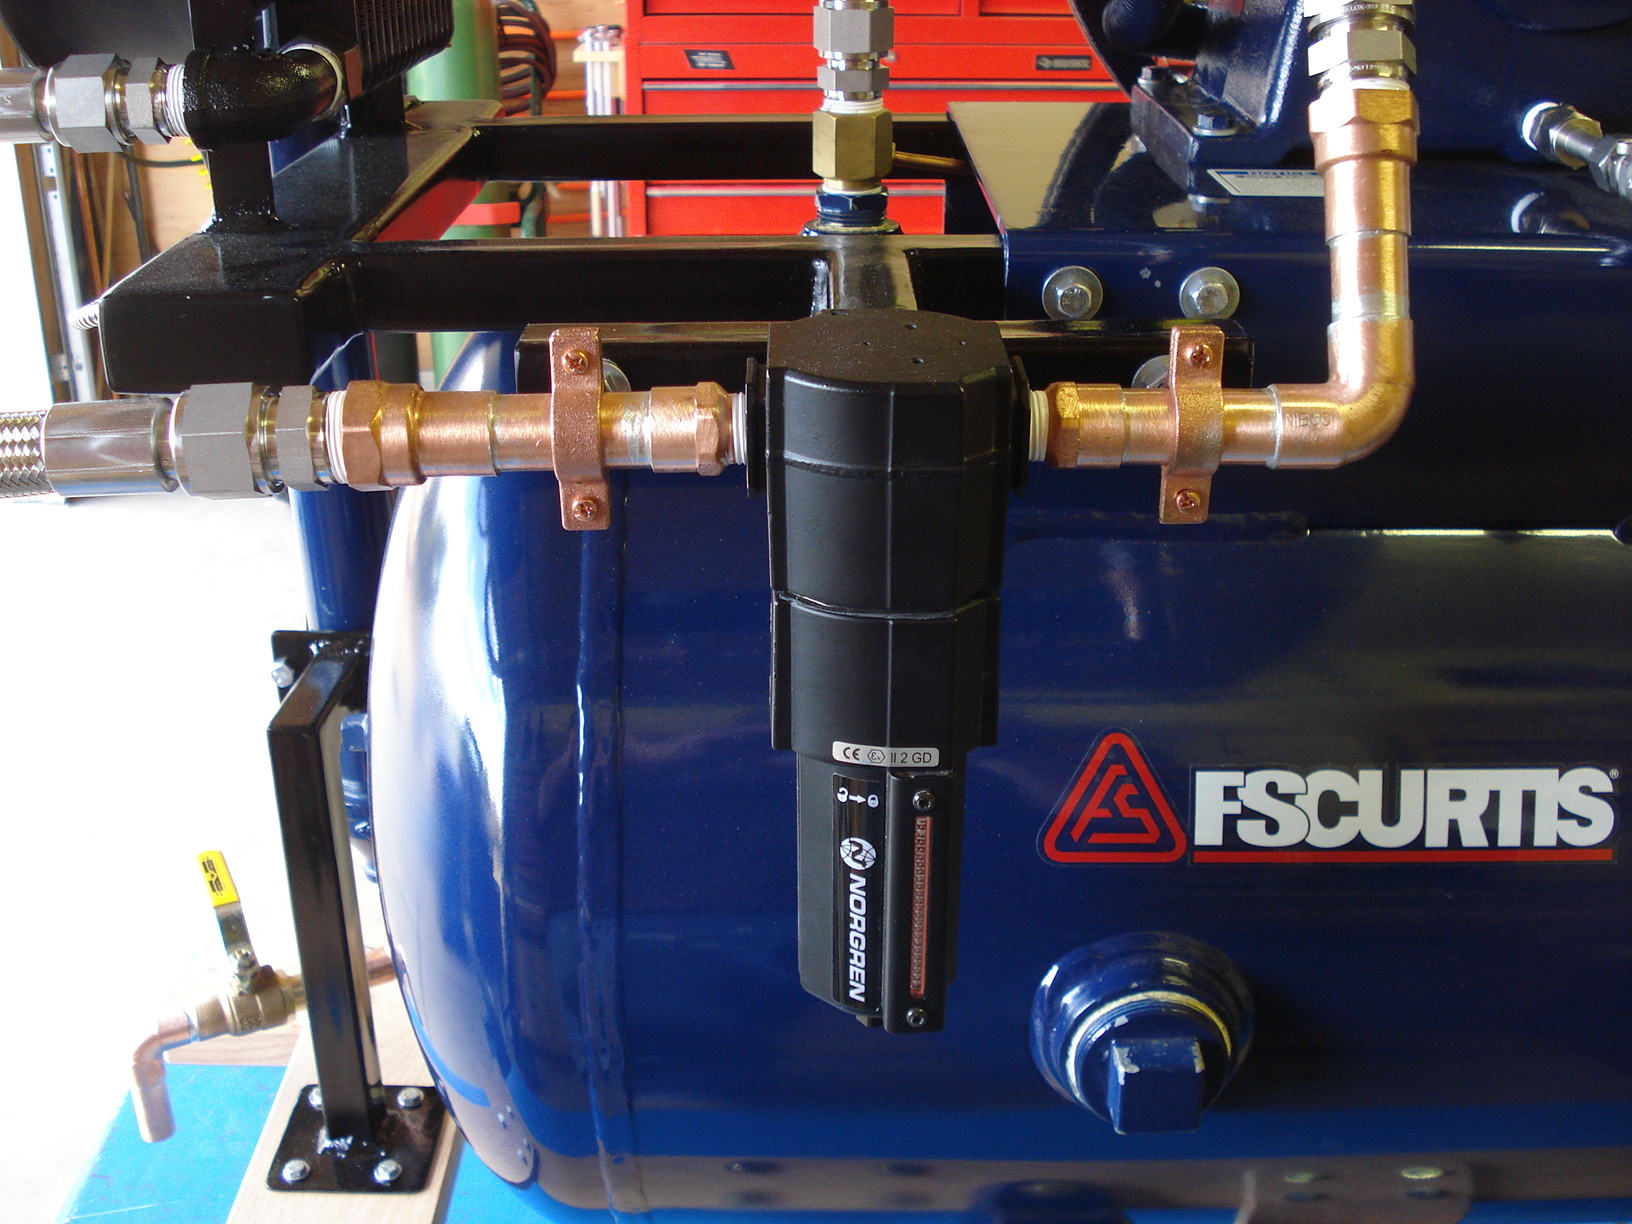
I
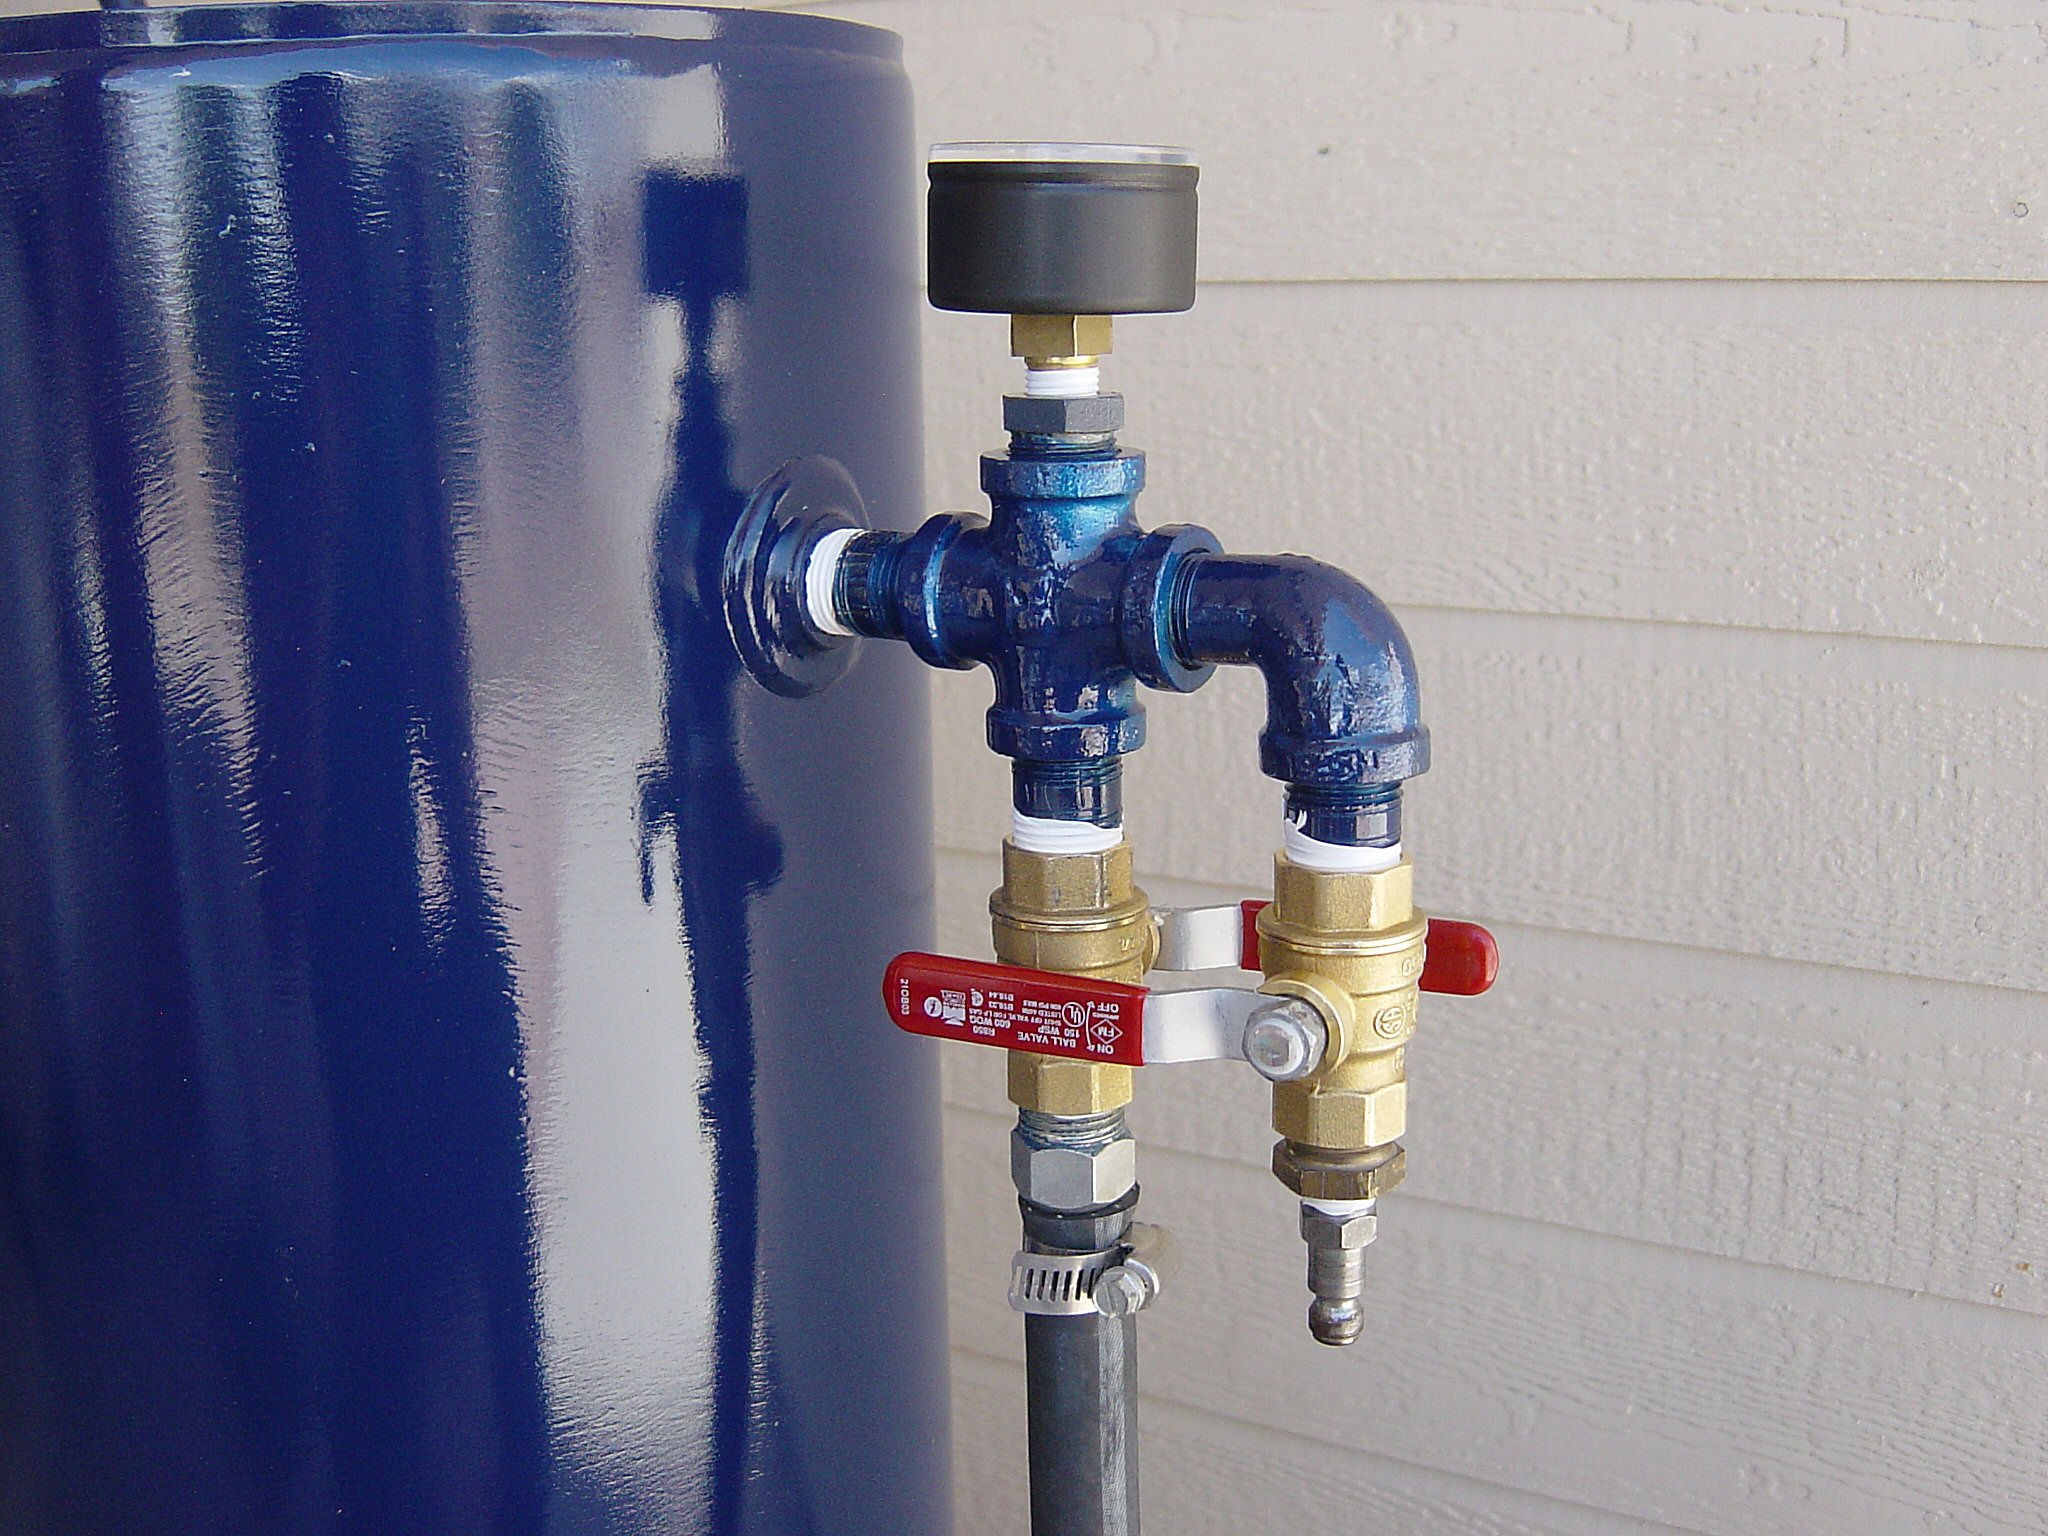
also ordered a real 5HP Baldor motor (Model L1430T, Frame 184,
1.125" arbor shaft, 21 FLA, 1740 rpm) so when operating the pump
is churning at approximately 923 rpm and cranking out 17.4 SCFM
@ 175 psi. I added a new 5HP magnetic starter with new 8/3 SOOJ
cable for the electrical system. The magnetic starter has an
auxiliary 230V relay that I wired into the electrical system to
minimize current across the pressure switch contacts. The
pressure switch still acts as a switch but does not carry the
full load of the motor through the contacts. The auxiliary relay
also provides me with provisions for the LED indicator. This
illuminates whenever the compressor is ON (even though it may
not be running because ultimate pressure has been reached and
the system is in a standby mode.
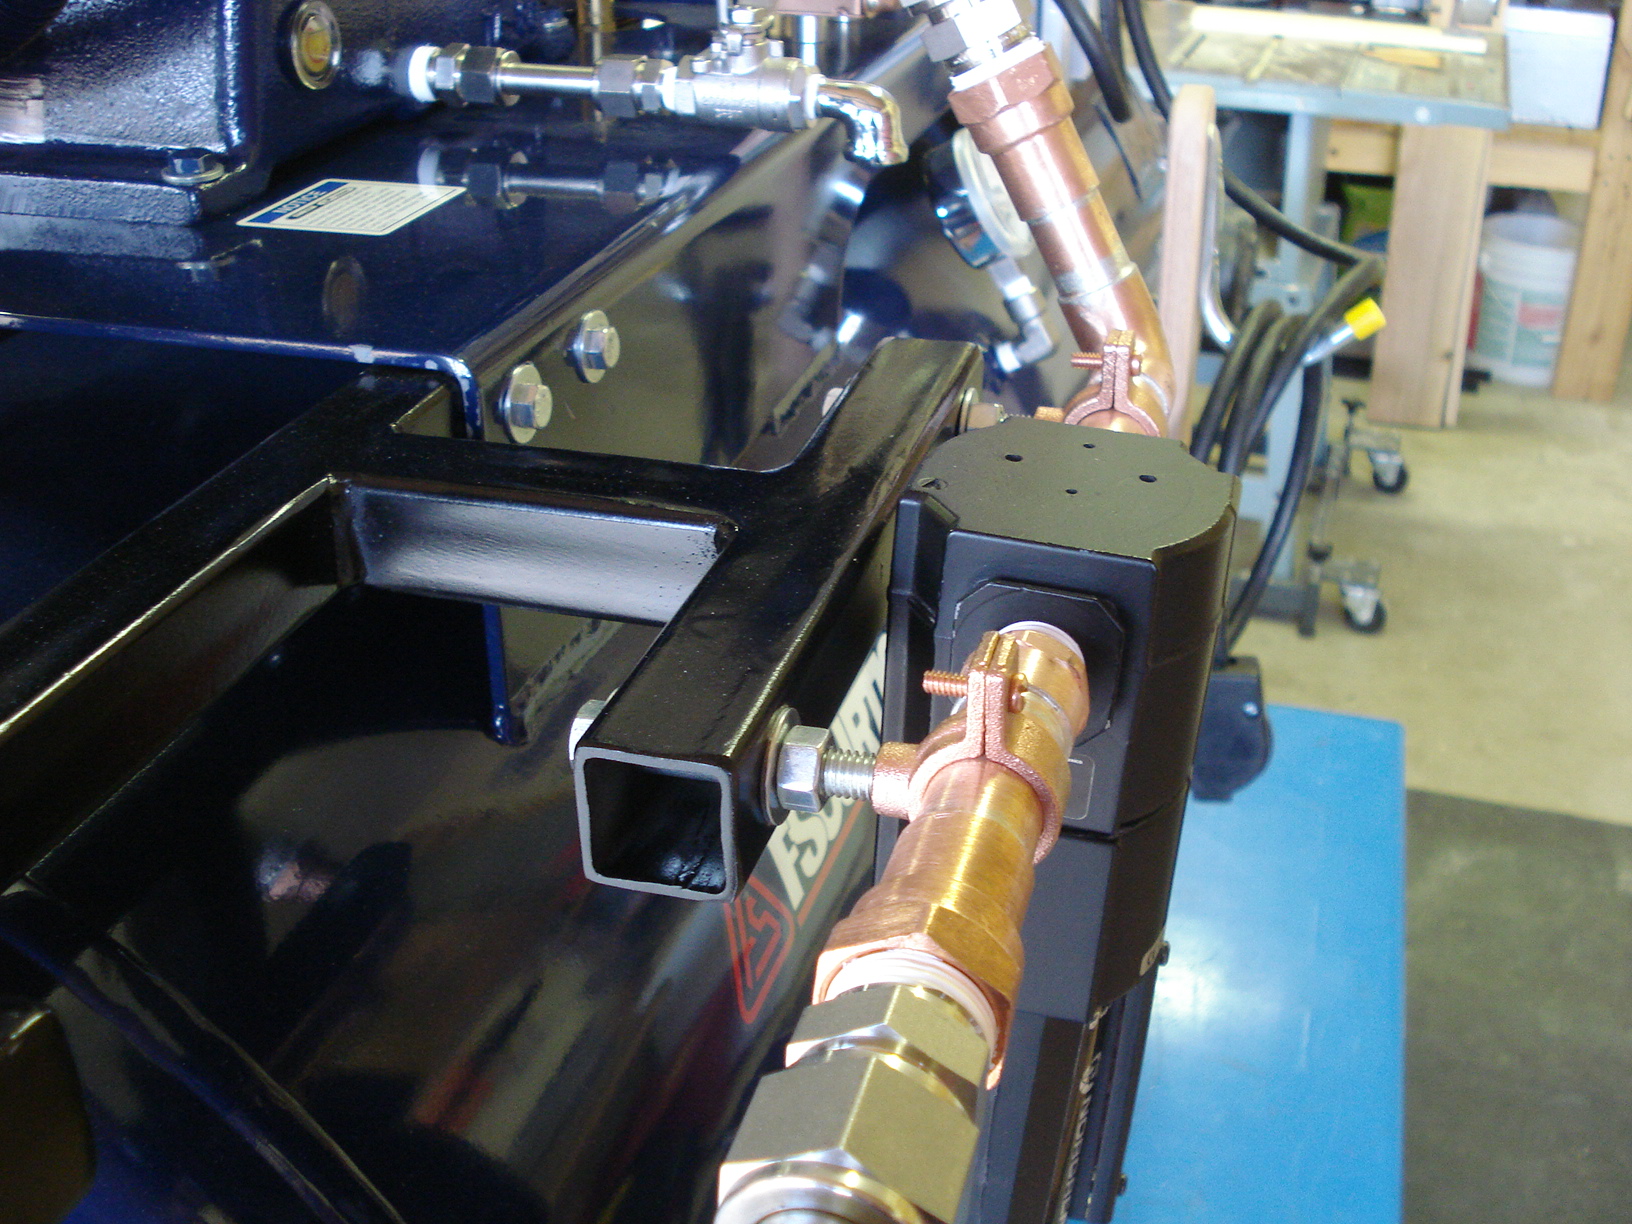
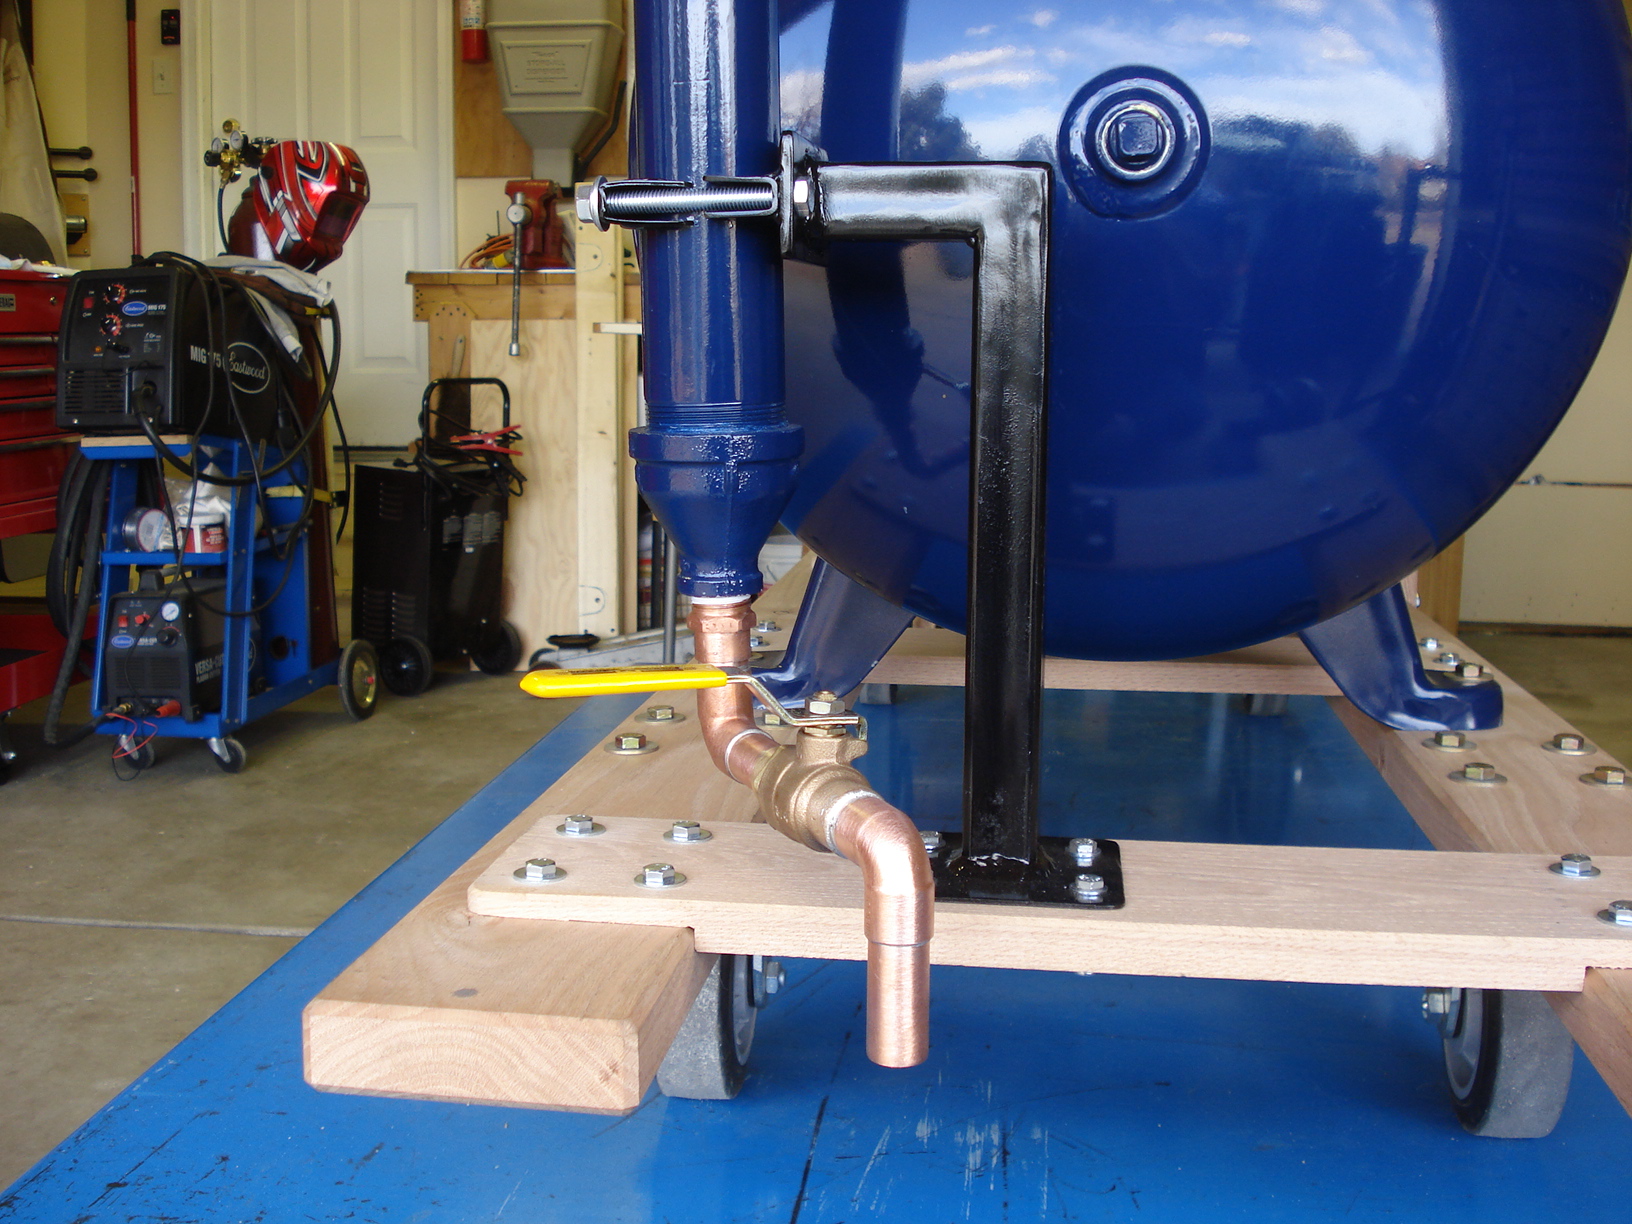
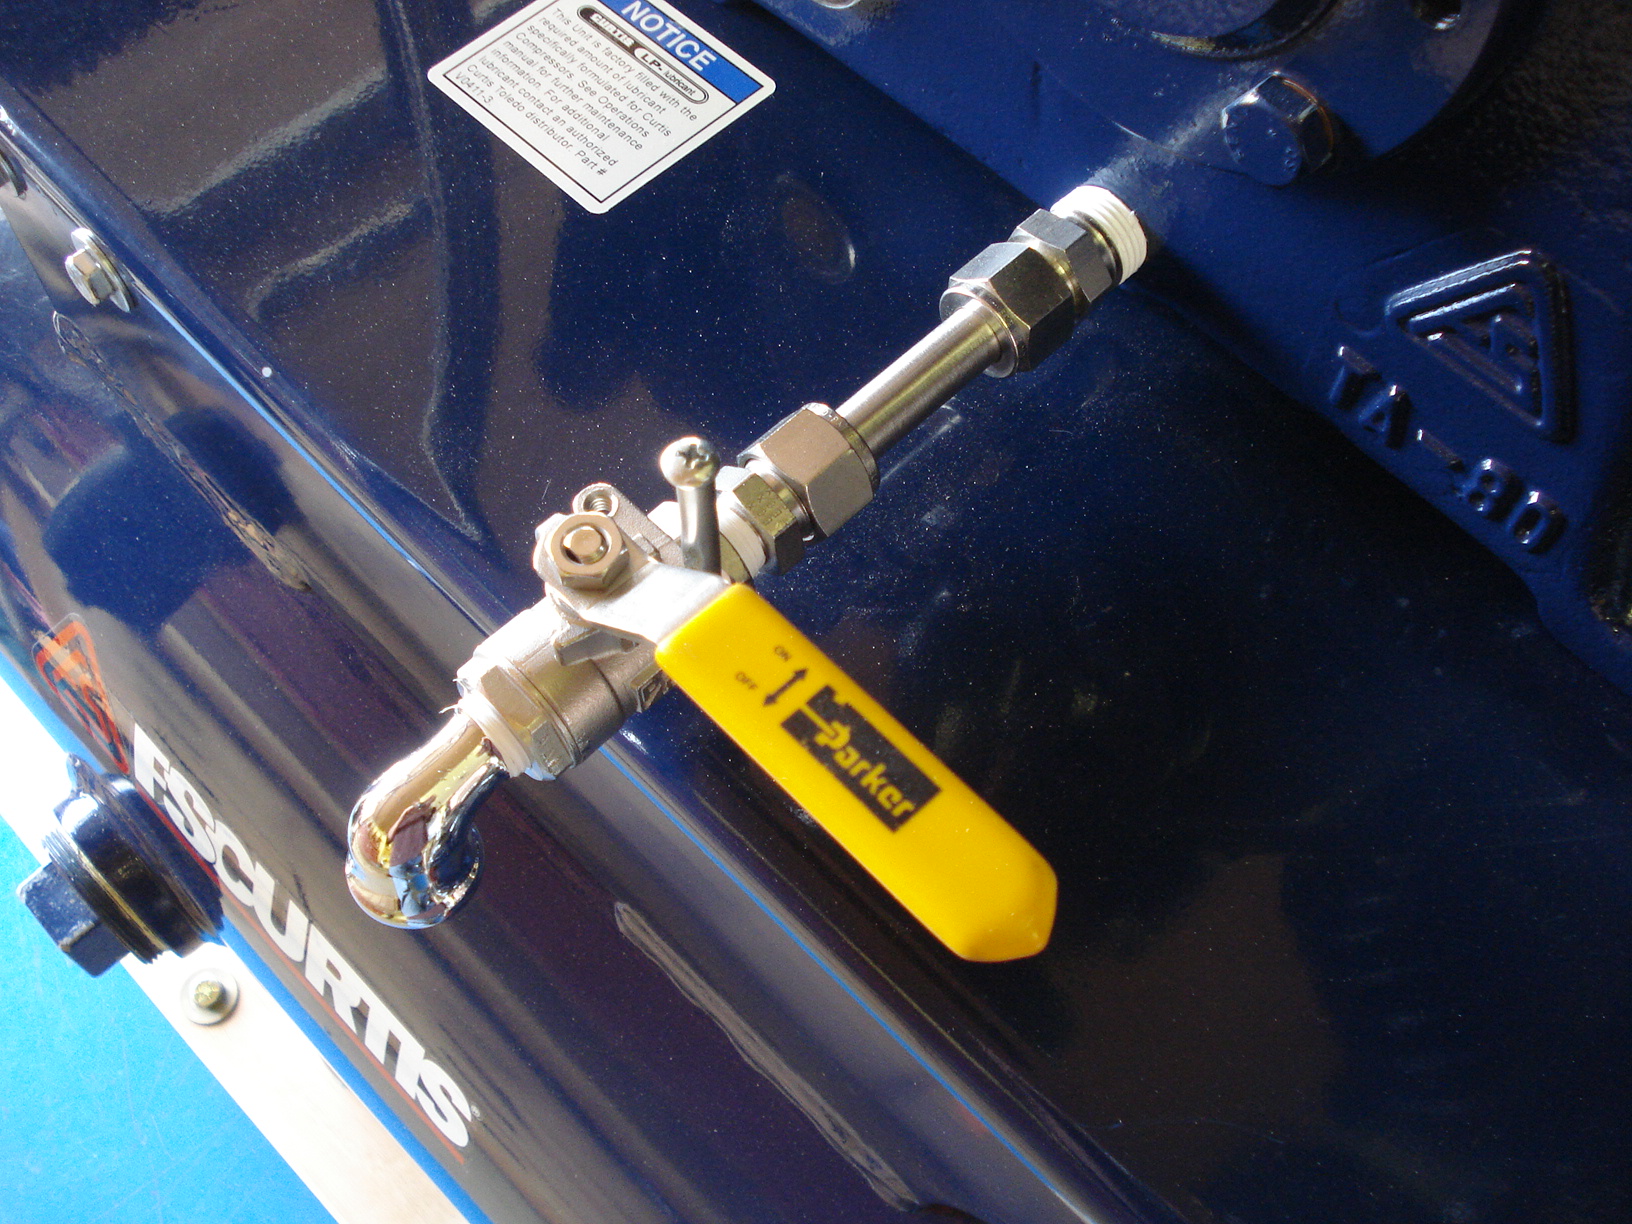
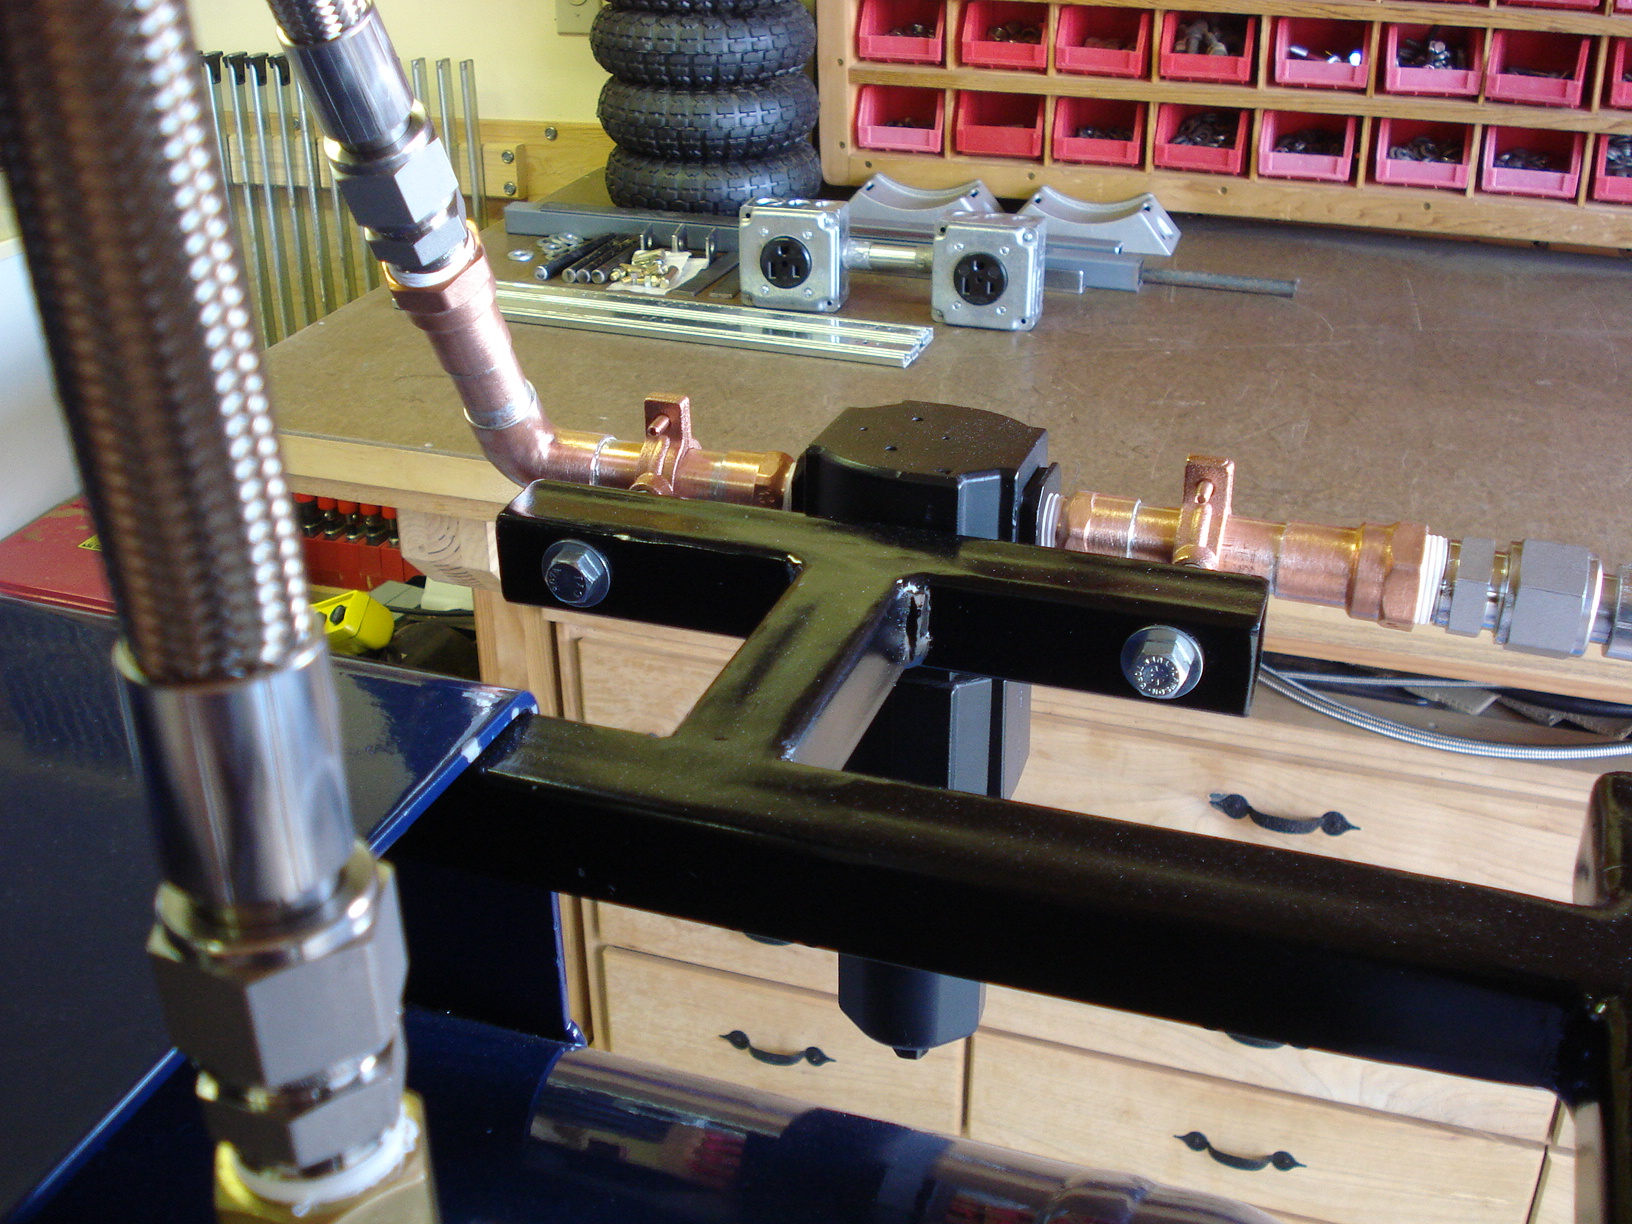
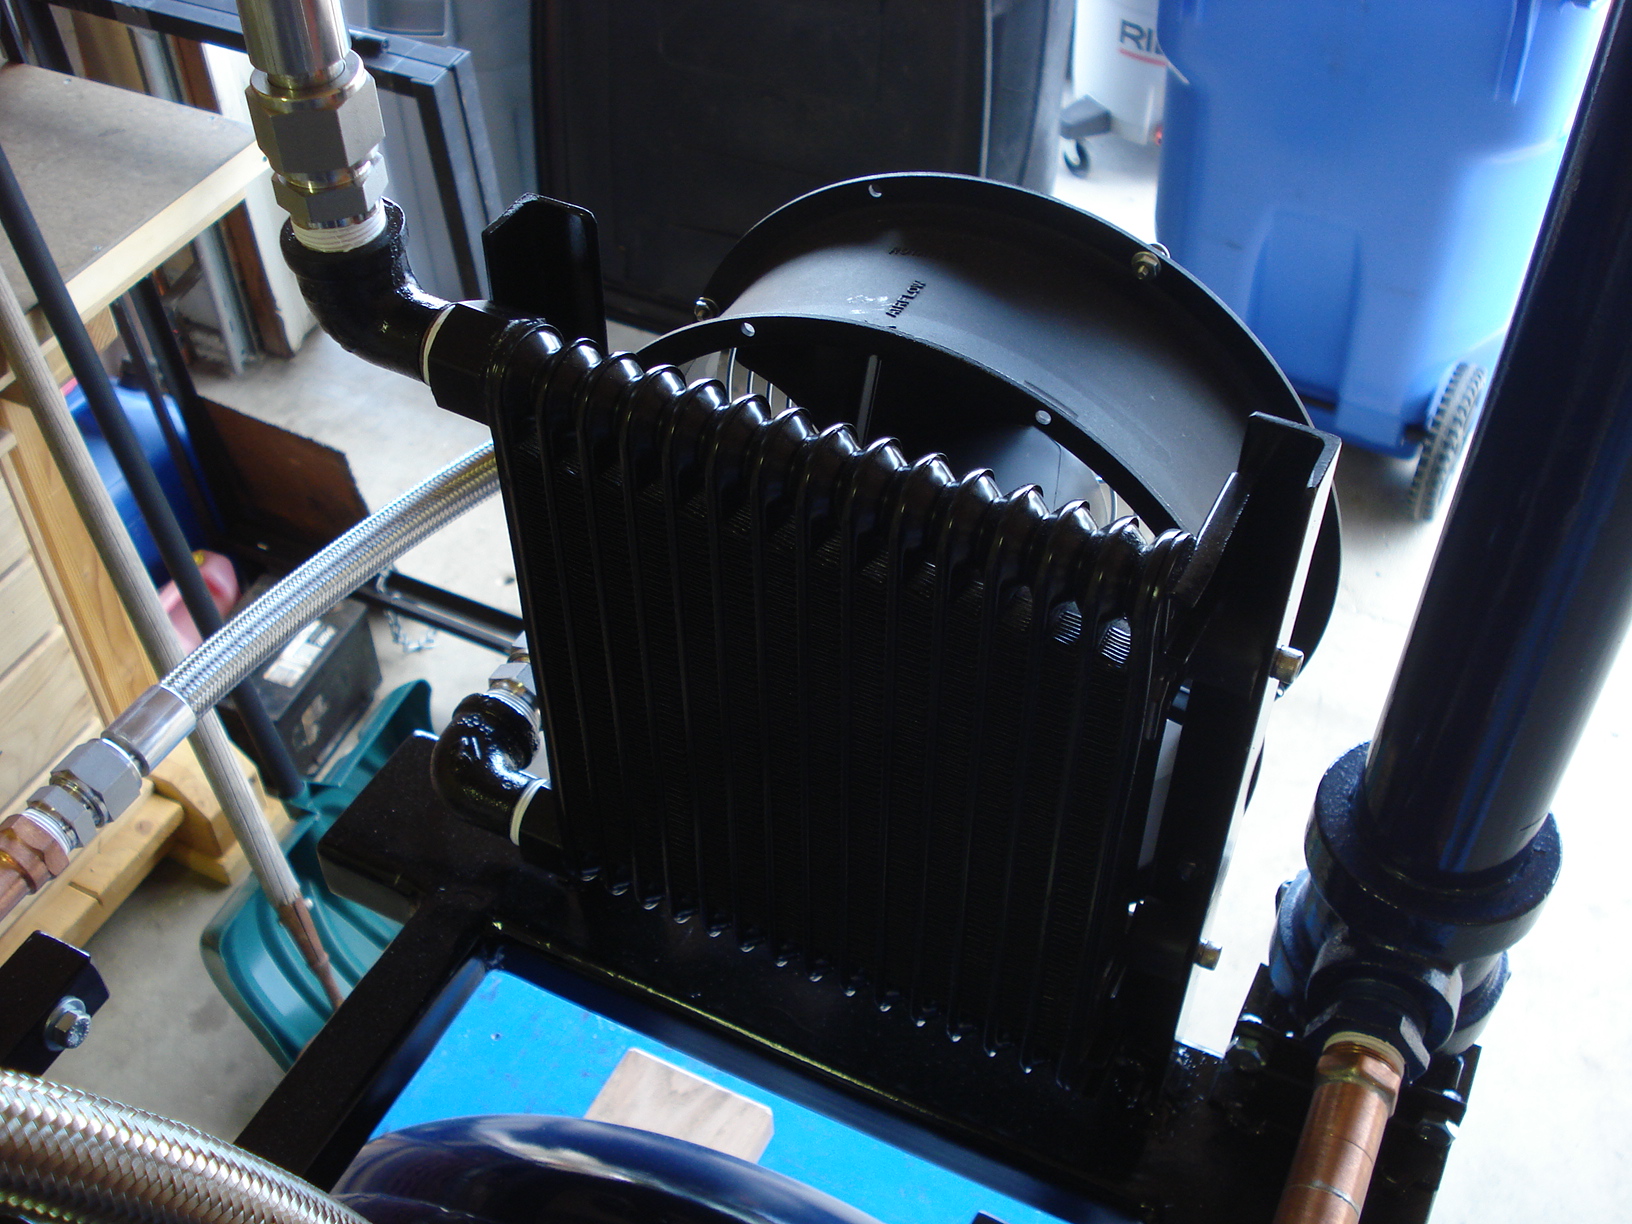
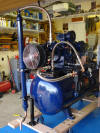
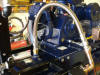
I fabricated an hour meter for the compressor and also a rather
complex looking (yet simple in theory of operation) air
cooler/moisture separation system that yields me virtually dry
air. You will see many non-standard features that I designed and
incorporated into my compressor, so please do not hesitate to
contact me
should you have any questions..


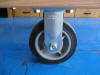

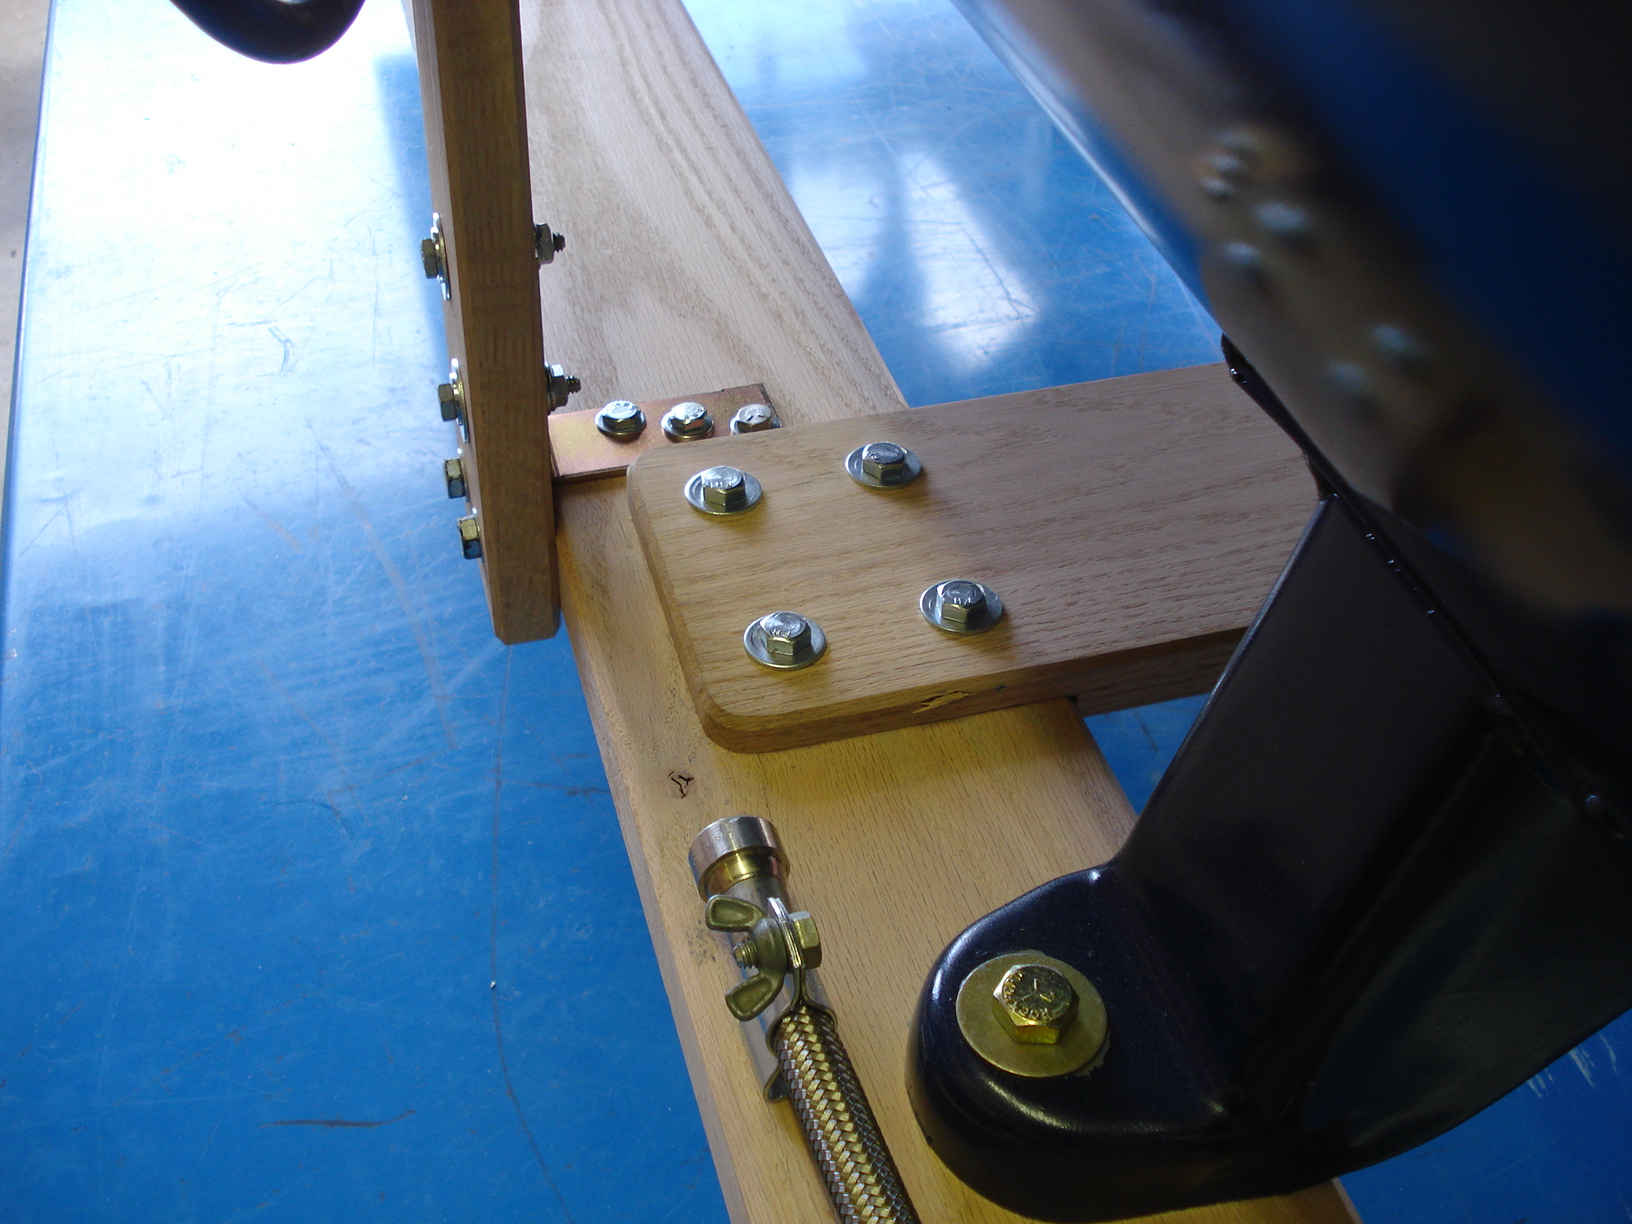
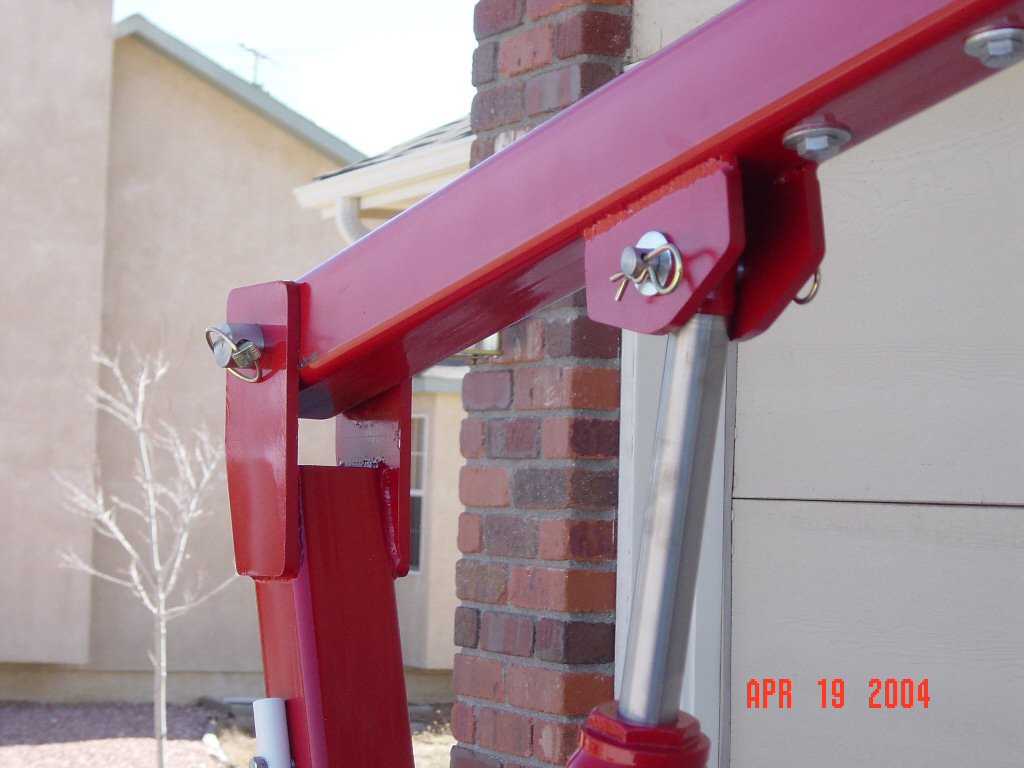
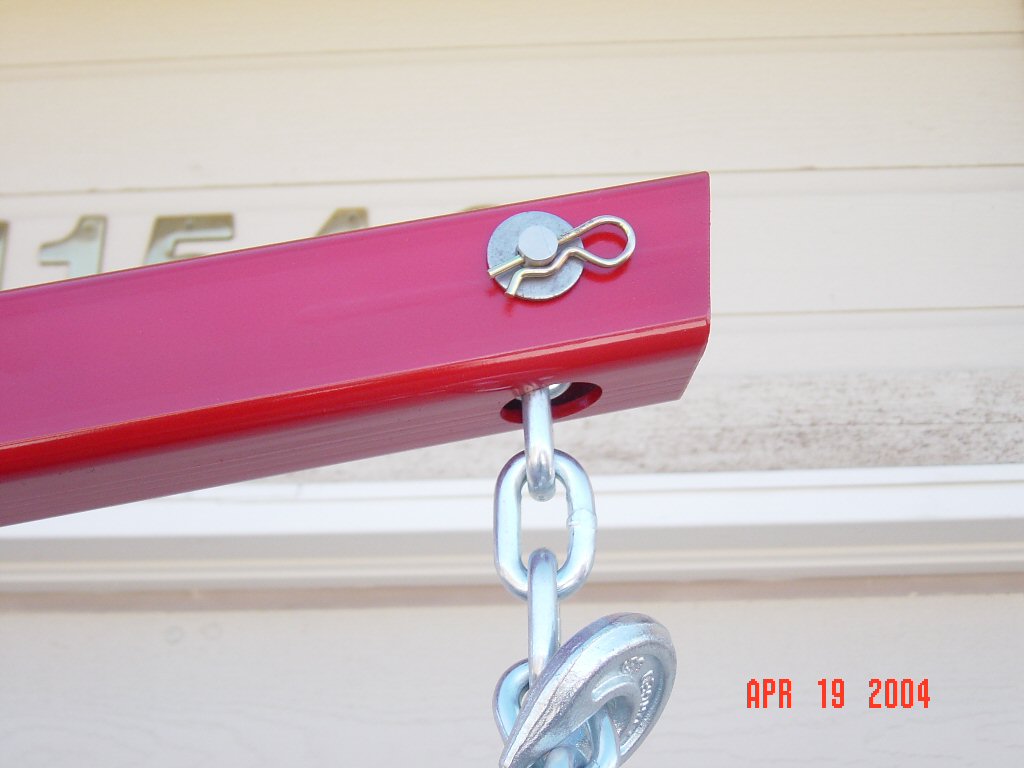
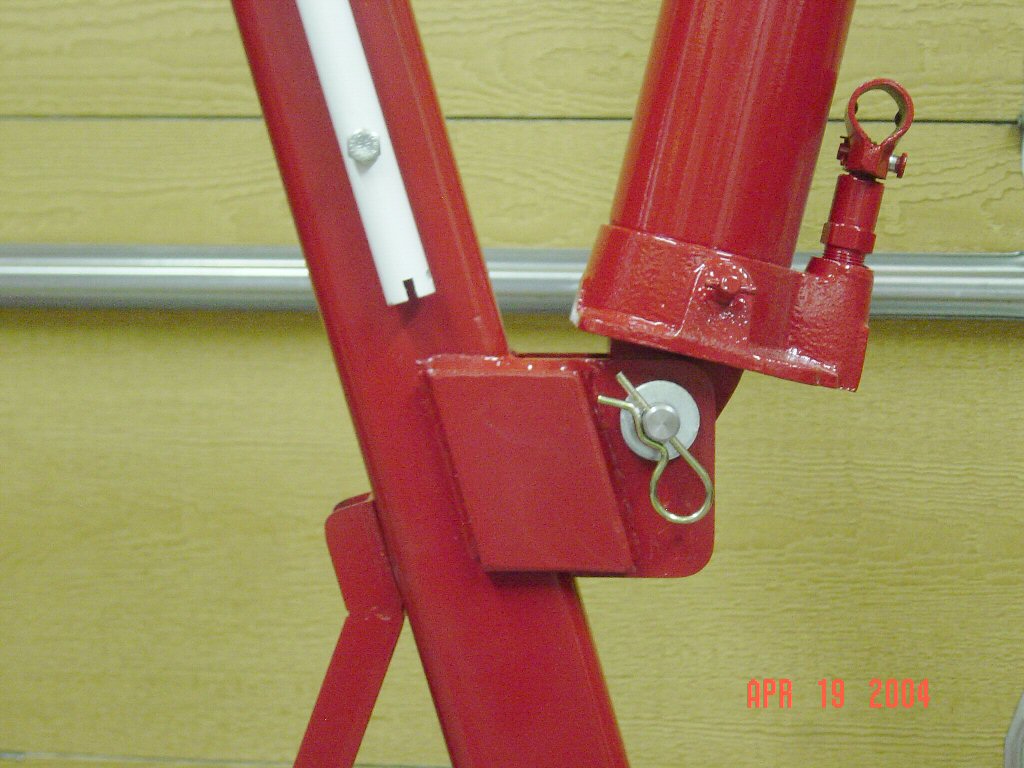
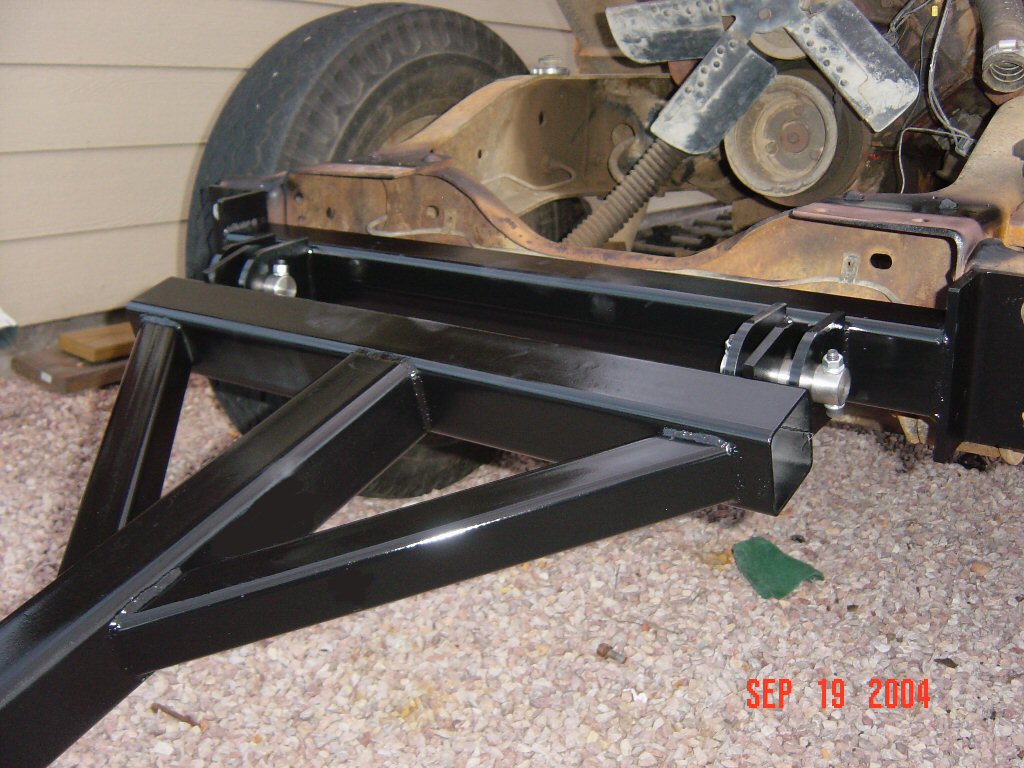
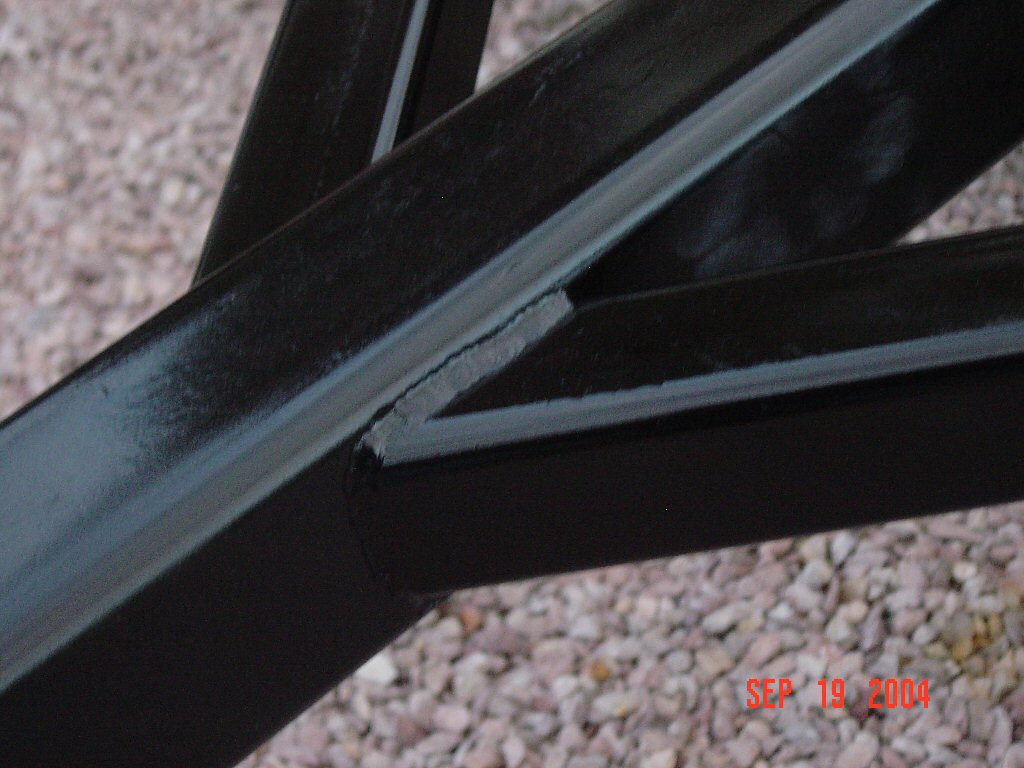
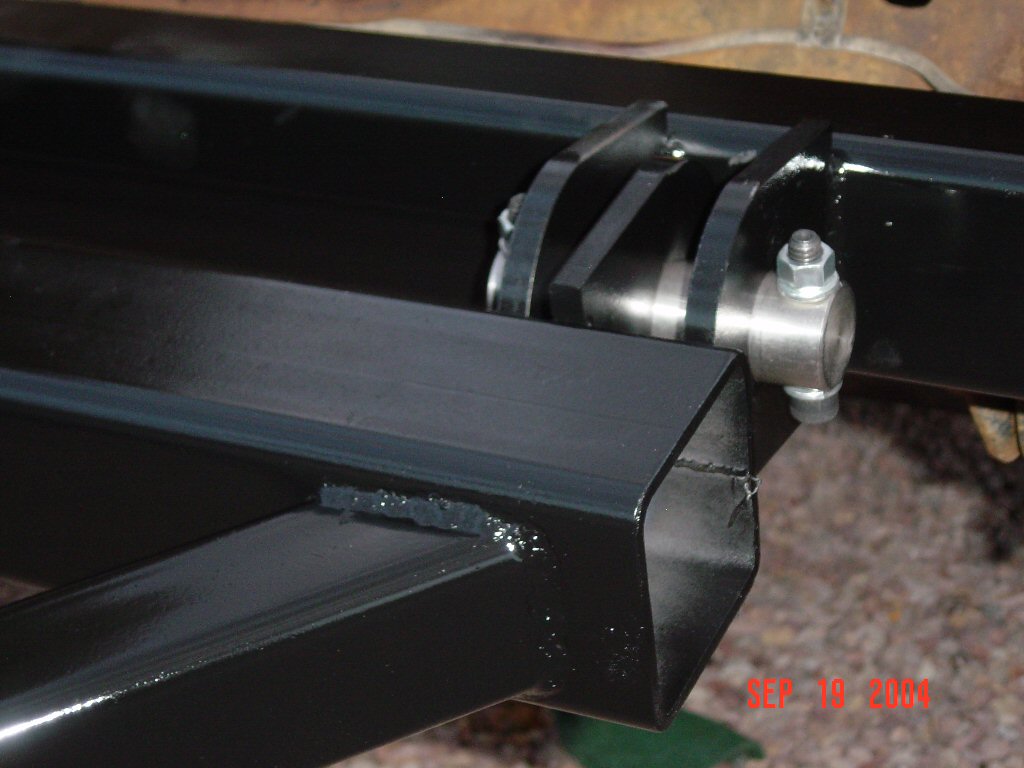
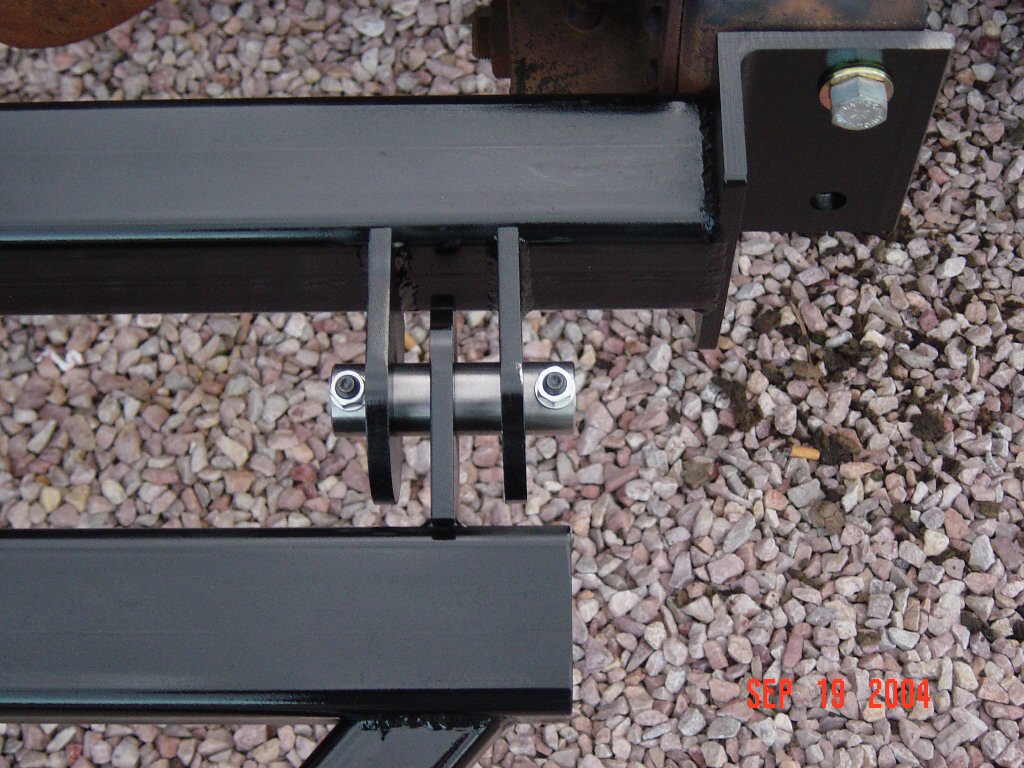
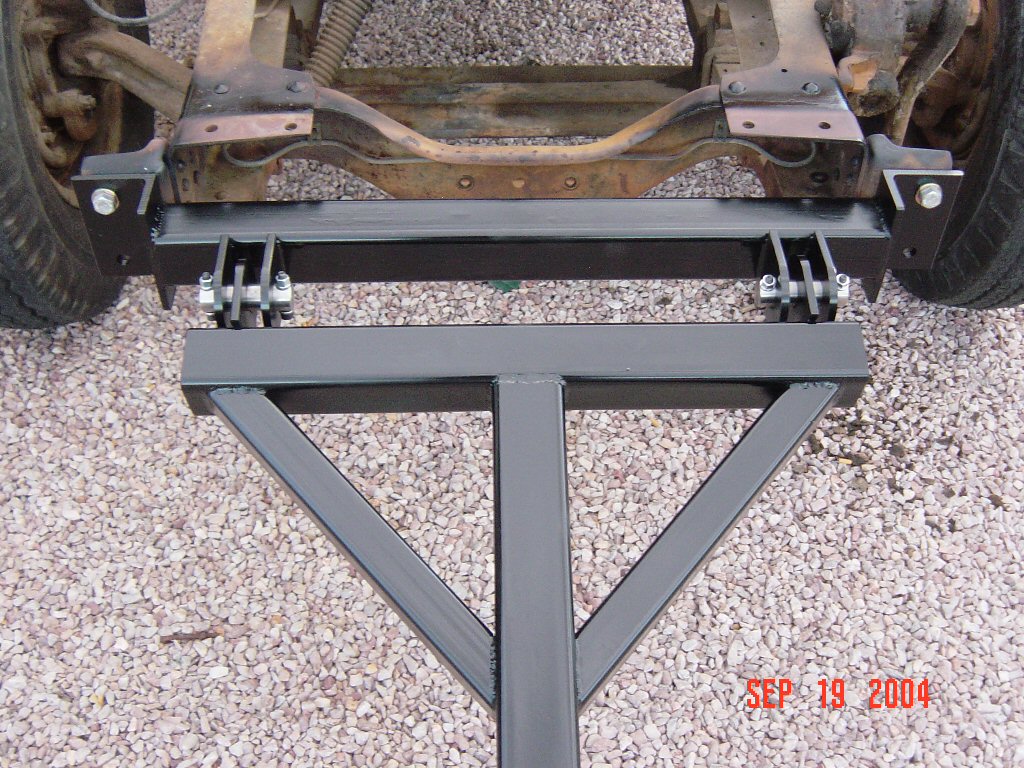
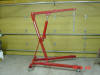
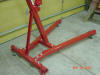
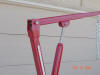
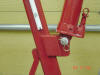
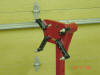
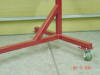
Engine Hoist & Engine Stand
One major tool tandem that I was going to need for the
restoration was an engine hoist and engine stand. I wanted an engine hoist that had sufficient height
and boom length to work on my medium duty trucks and also something strong enough to handle heavy
lifting operations. I found some for sale but they were either too expensive or the quality was less
than acceptable given my application, so I built a matching set. I used 3" x 3/16" square stock for
the main parts and 2.5" x 3/16" square stock for the inner adjustable pieces, such as the leg
extensions and extendable boom. All pins and reinforcing plates are stainless steel. The casters are
industrial type (ball bearing swivel, neoprene wheels with a solid steel center hub) that I got for
free. The whole unit was welded using a Miller TIG welder.


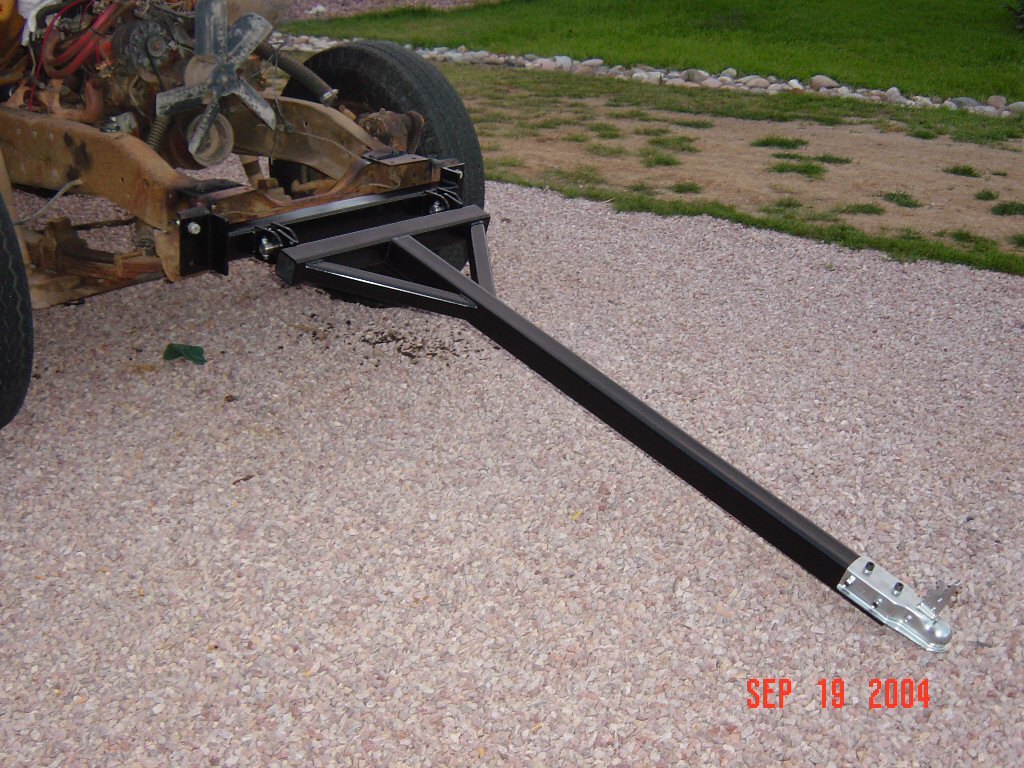
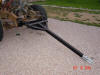
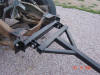
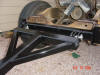
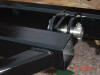
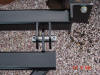
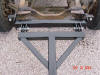
Tow Bar
Well, I had some left over steel from my engine
hoist and engine stand so I decided to fabricate this handy tow bar for my 1964 & 1966 C60s. I made it
such that it will easily bolt directly onto the bumper flanges that are riveted to the frame. I don't
plan on towing my trucks over the road. The tow bar was fabricated so I can move my trucks around the
yard and in and out of the garage when I'm working on them.


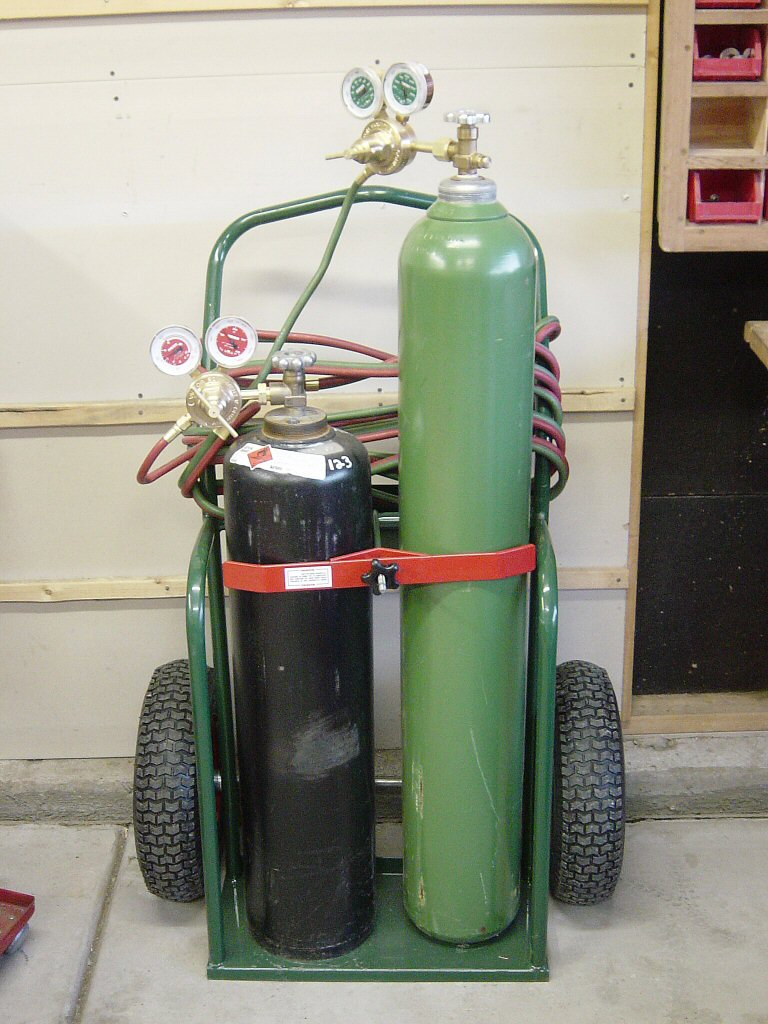
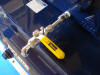
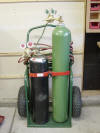
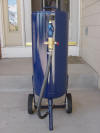
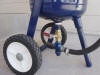
Oxyacetylene Torches
I recently
purchased a nice set of torches for working on my trucks. The
regulators and torches are from
Victor Super-Range
II and the whole setup was
purchased from my regional
AirGas distributor. I really like
the cart as it has a nice storage tray for all the tips,
striker and goggles and has large pneumatic tires so it's easy
to roll around on uneven surfaces.
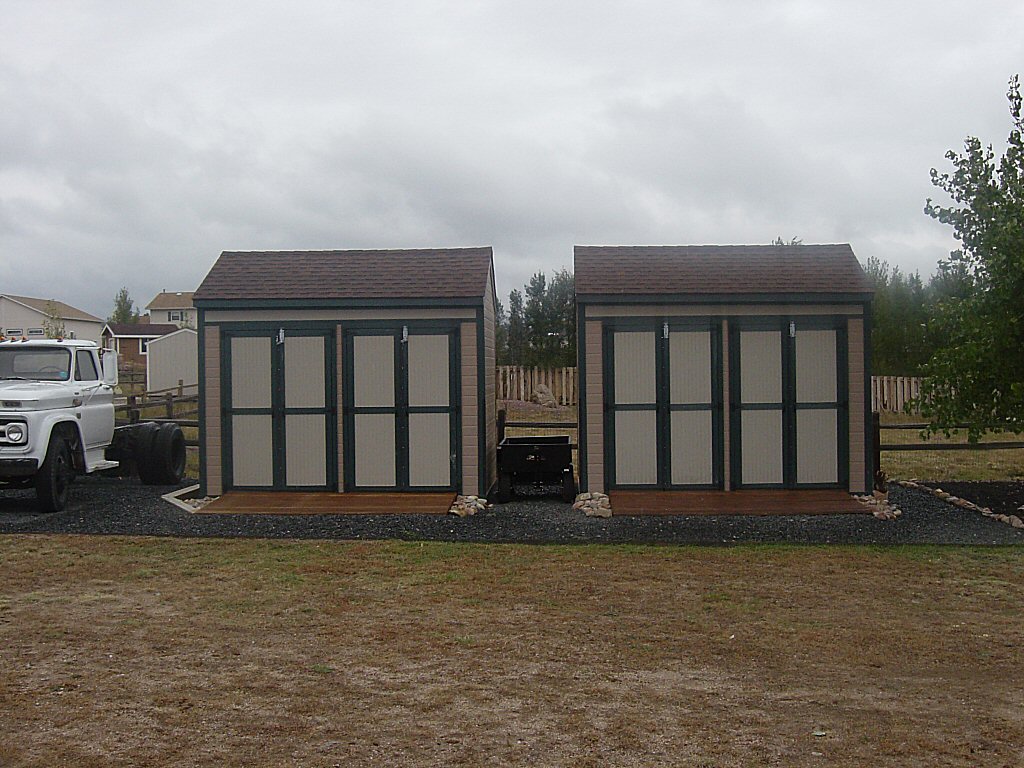
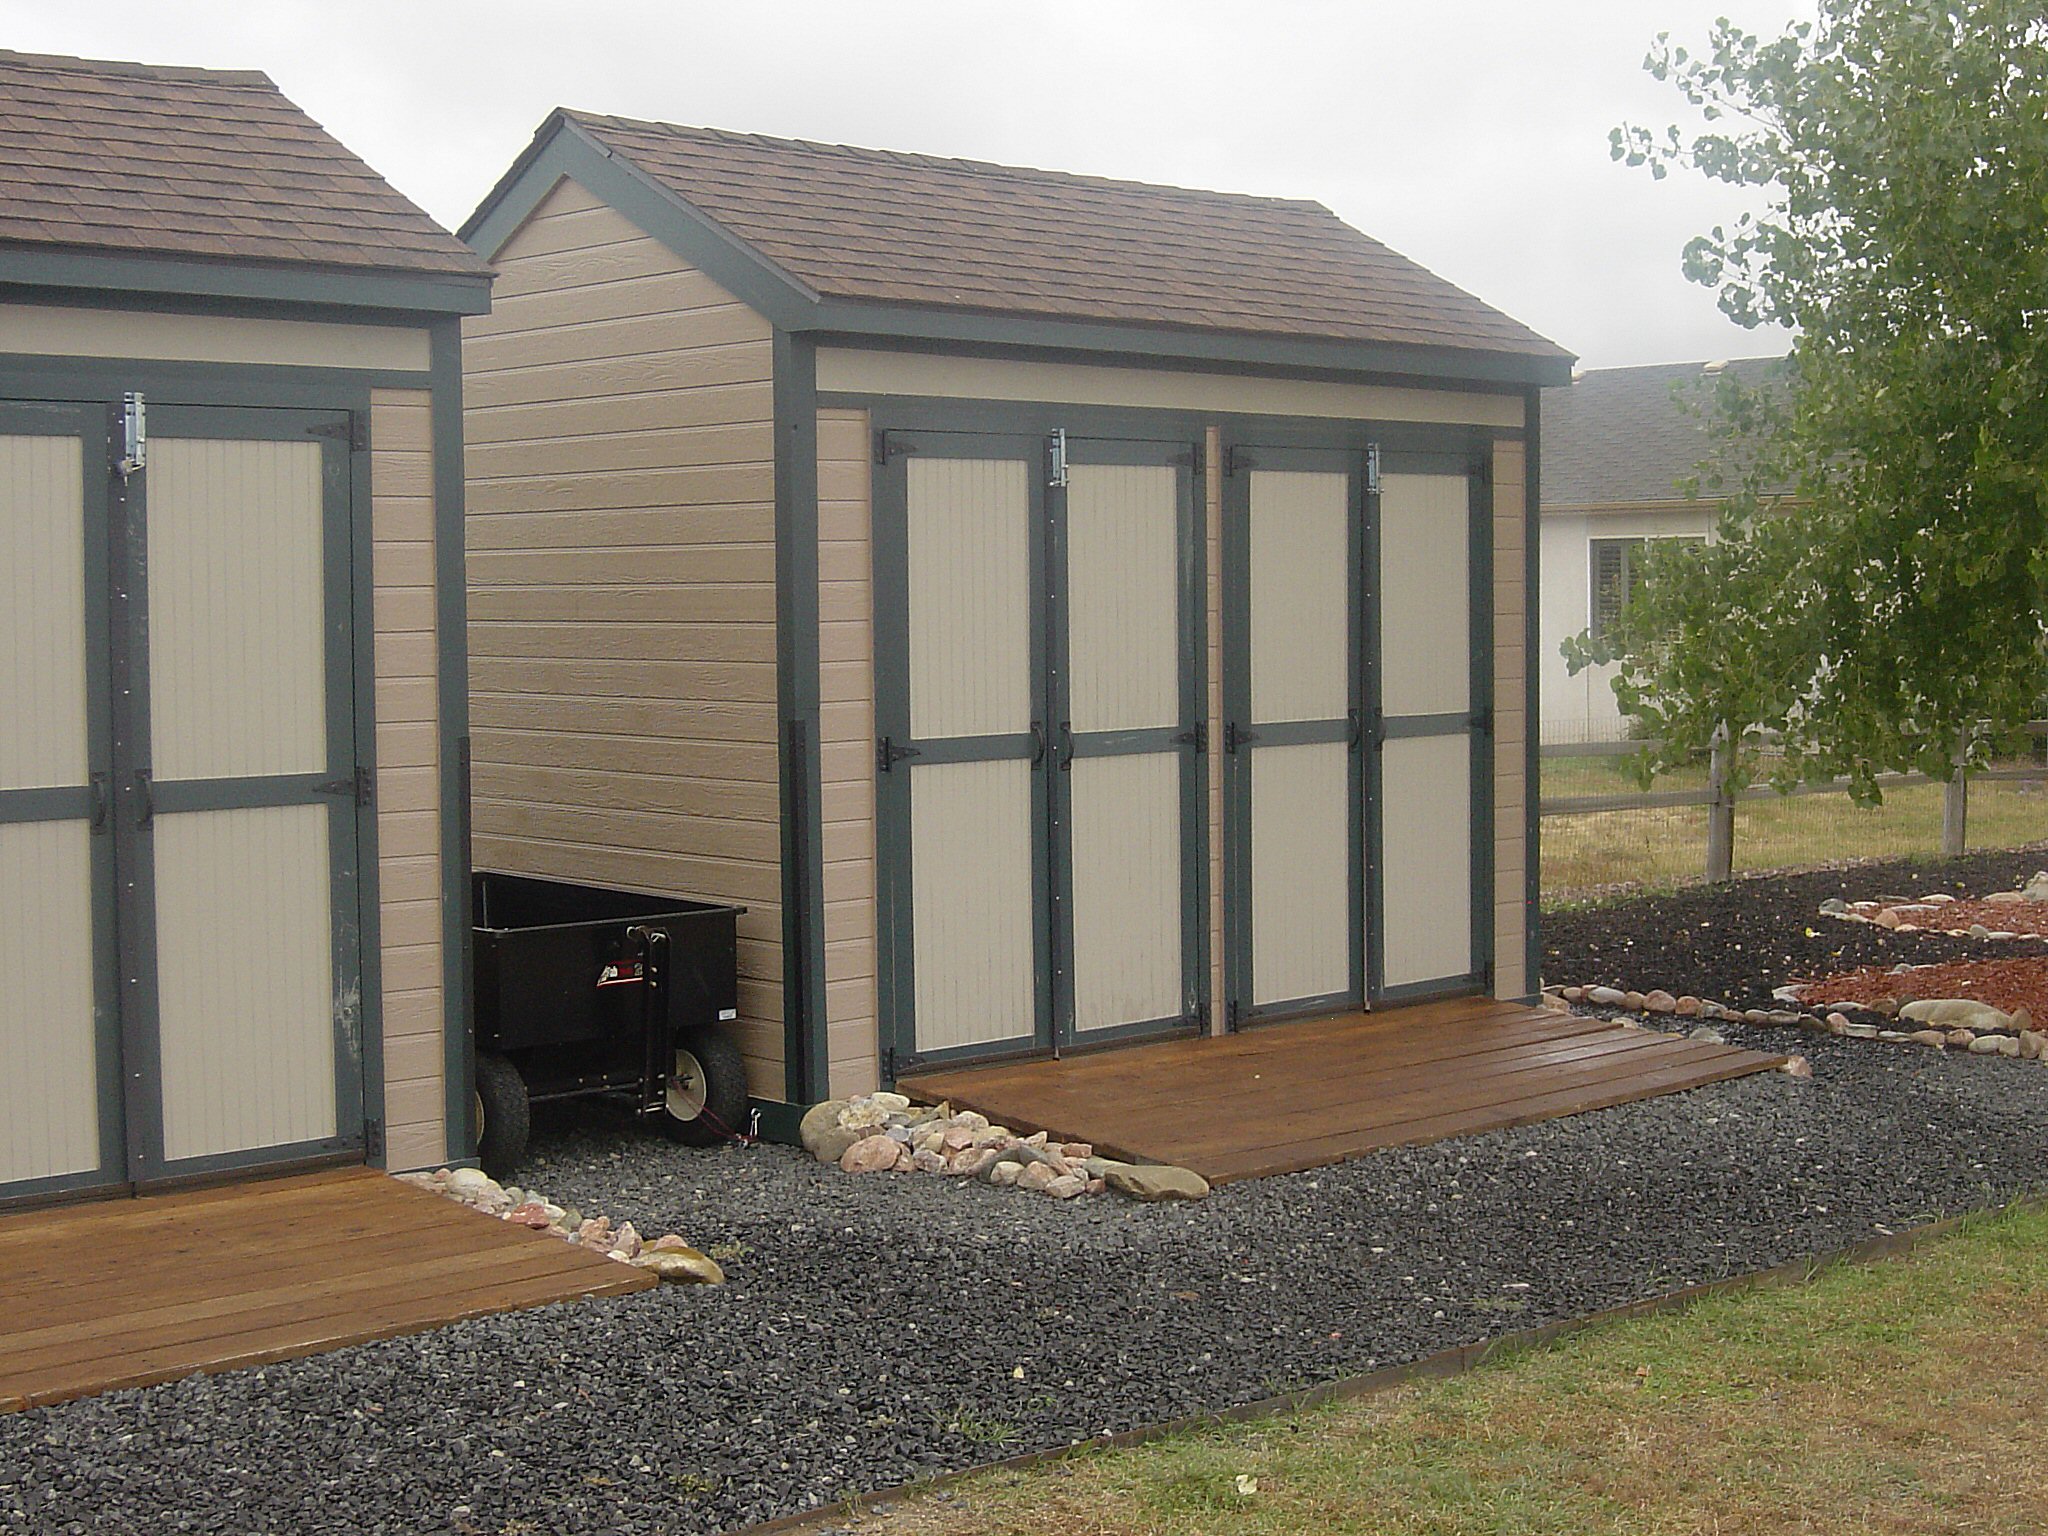
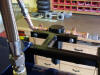
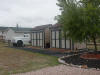
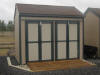
Storage Sheds
Here are some
pictures of the sheds that I custom built last year. I cleared
and leveled the area, build the sheds and then placed weed
block and stone around for landscaping. OK, so my sheds are
not exactly what you would call a "tool", but I use them
indirectly during the restoration process. The first one
closest to the tree is setup with wire metro rack shelves and
I use those to store all the small parts that come off my 1964
Chevy C60 during the
disassembly process. There is also
adequate floor space for the large items such as the fenders,
inner fender wells, bumper, etc. The second one, closest to my
1966 Chevy C60 parts truck,
houses infrequently used and larger tools as well as my Honda
Foreman Rubicon 4x4 ATV.


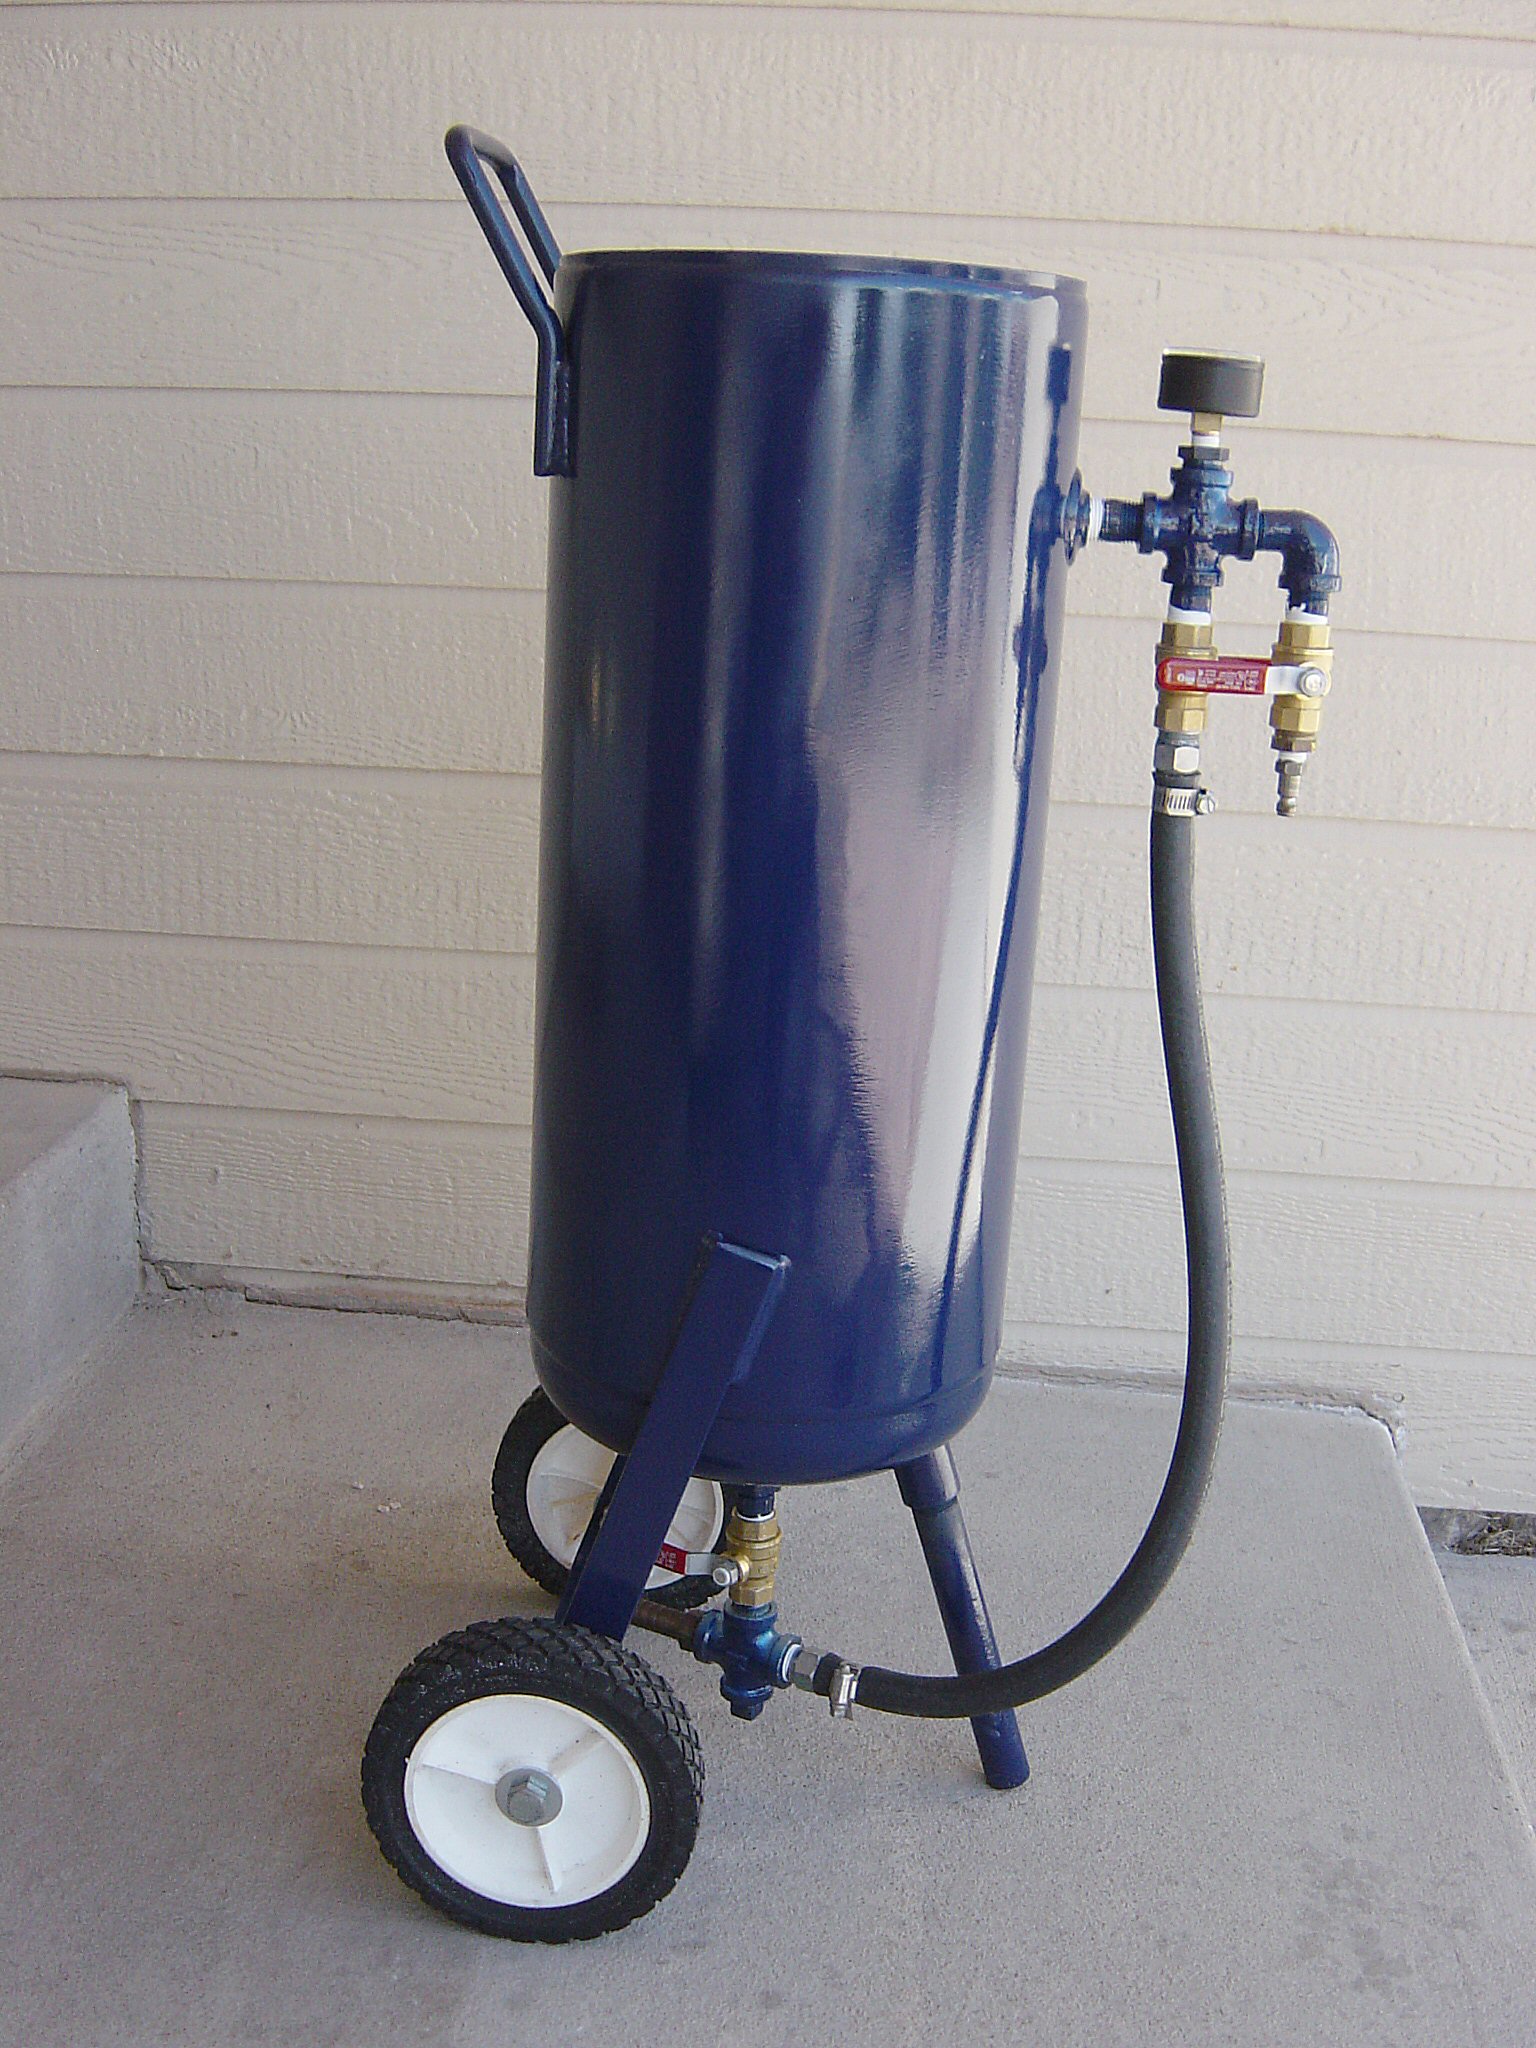
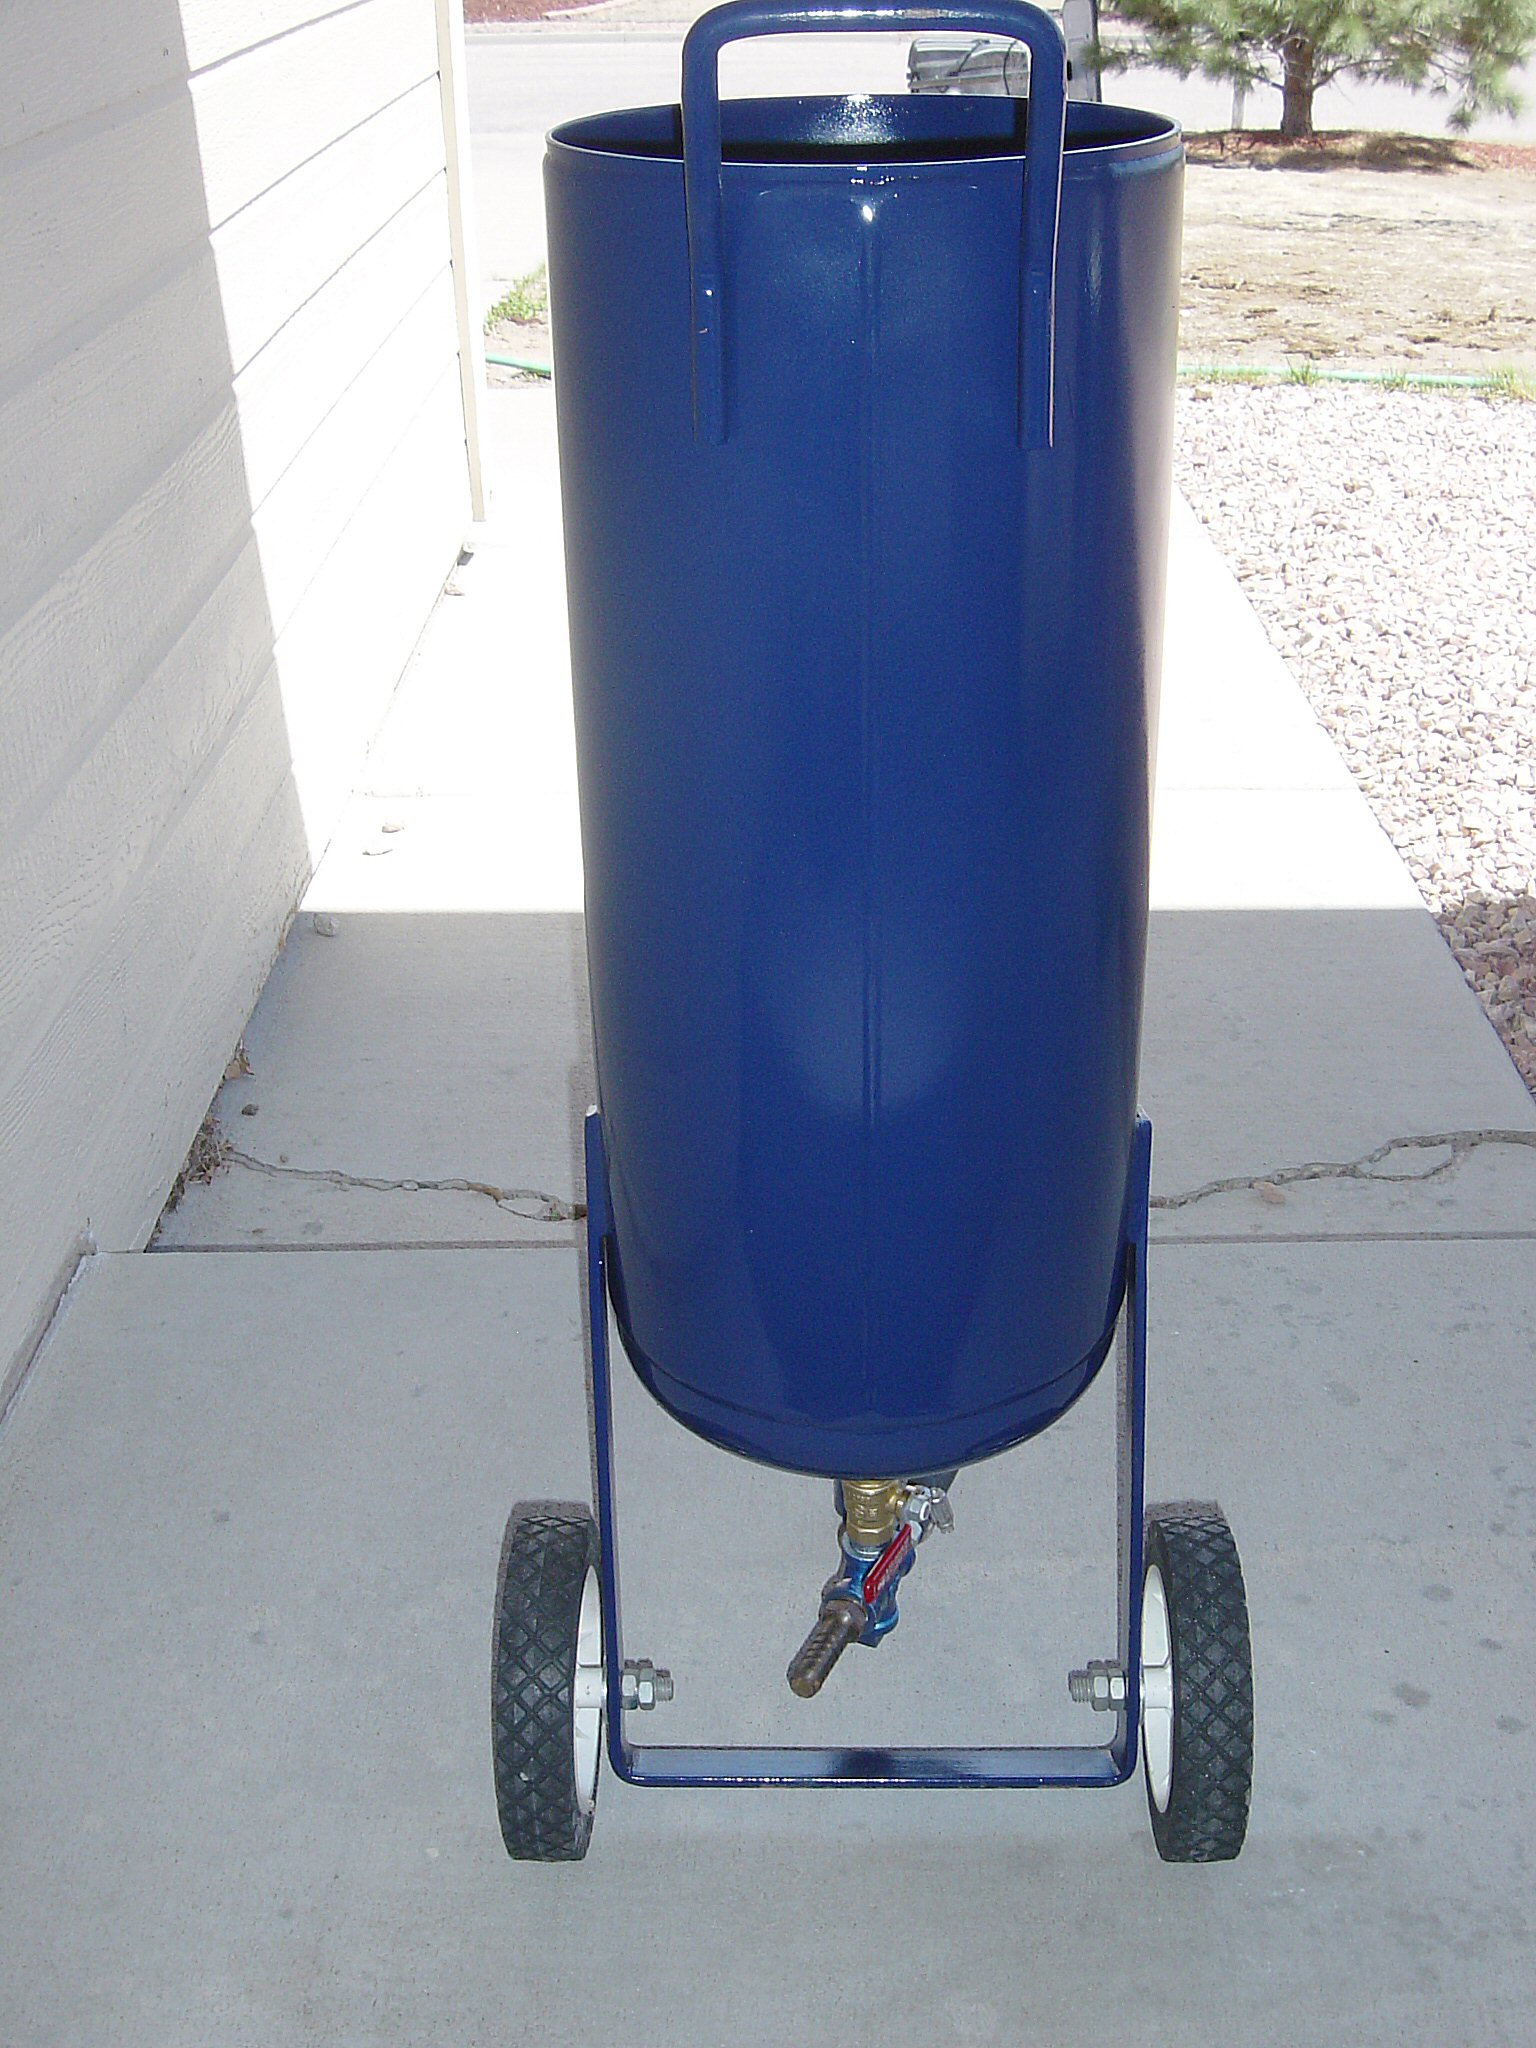
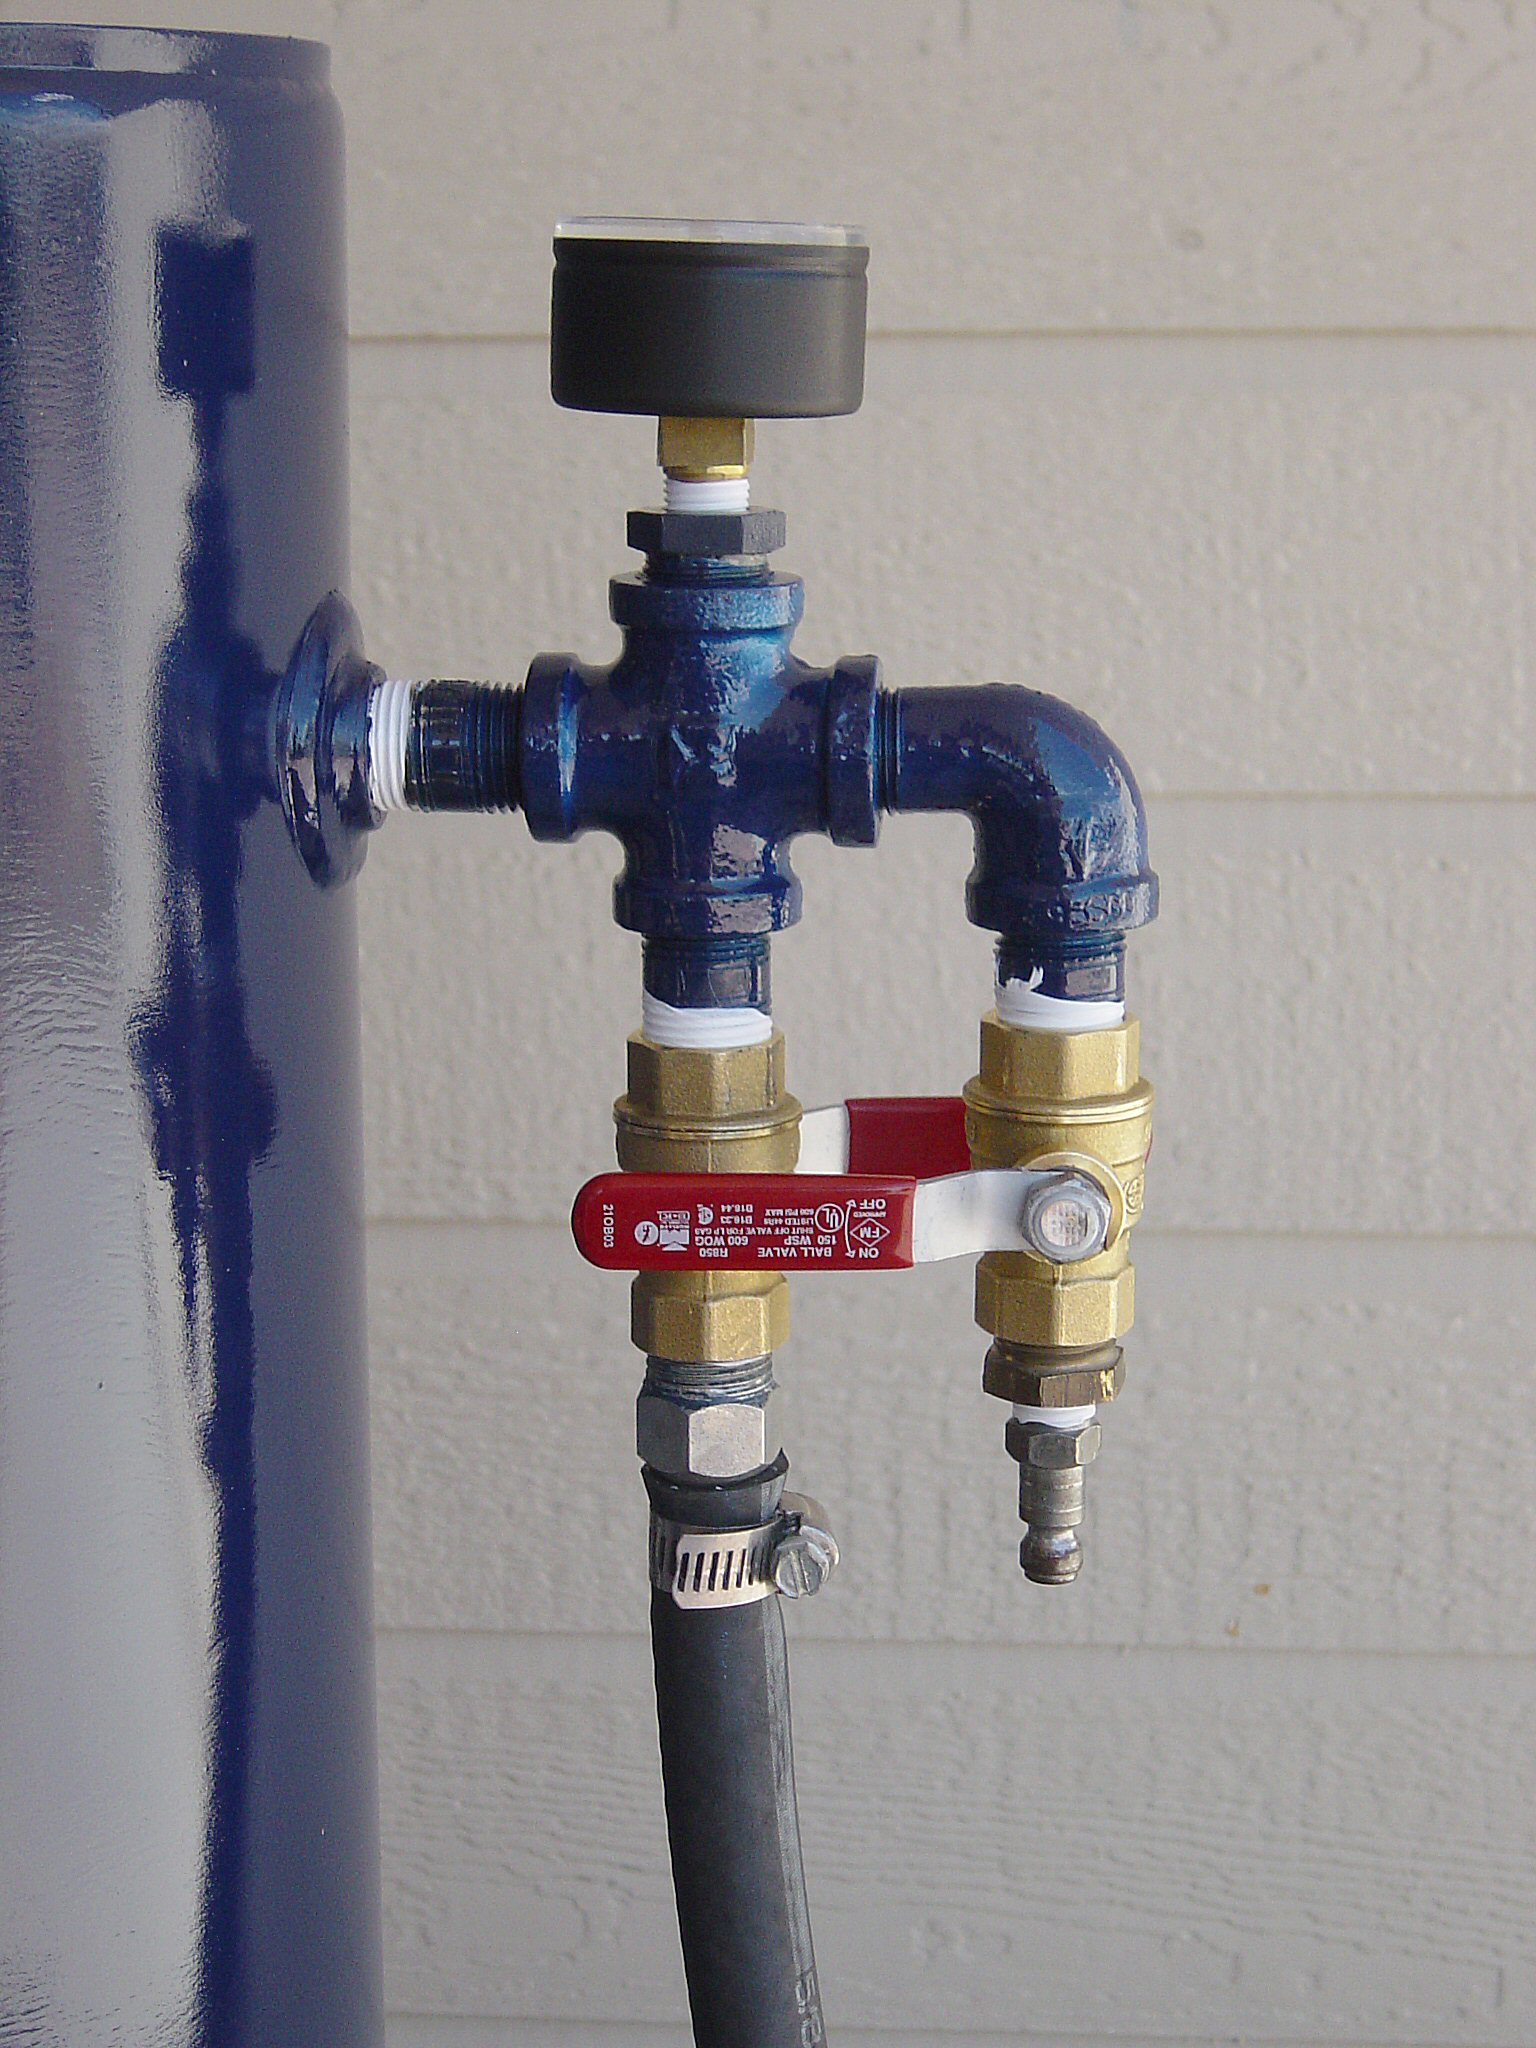
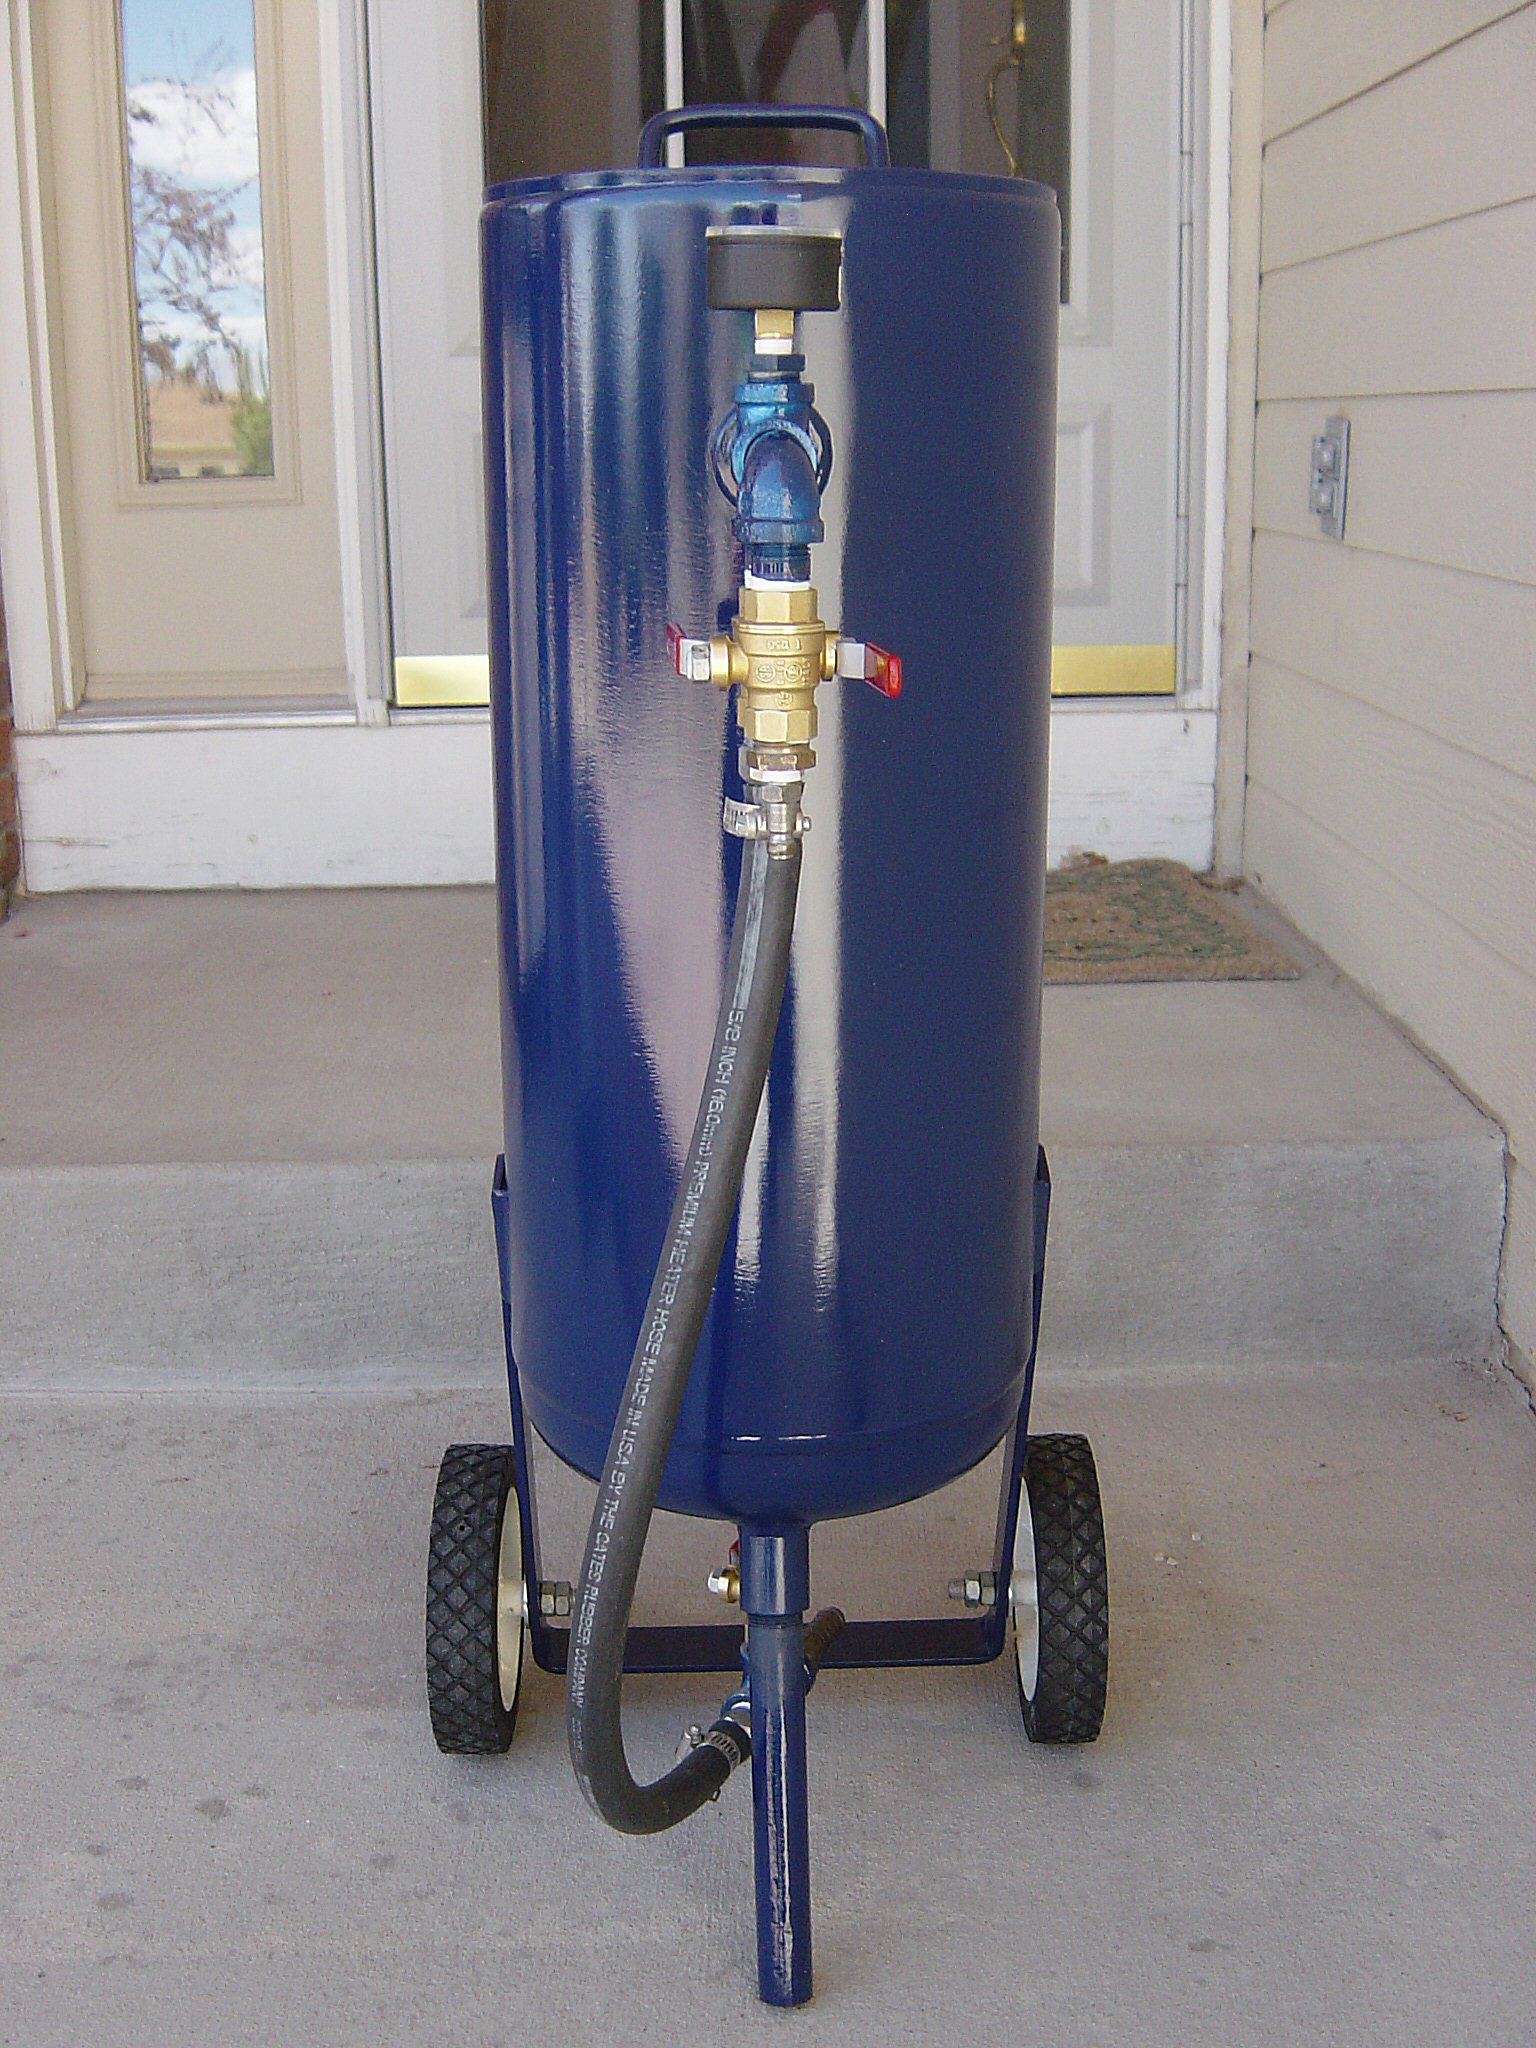
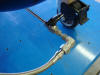
San-Blast Pressurized
Sand Blaster
I'm supposed to be
restoring my dump truck and not my tools; however, some
times you have to get the tools in good operating condition
before you can use them. Thus was the case with a San-Blast
pressurized sand blasting system my brother in Massachusetts
shipped me back in the Fall of 2005. It'll take a 50 pound
bag of media but it was in pretty tough shape after years of
use. Be that as it may, given the cost of a new system
versus a little overhaul of a free system...well...you get
the idea.
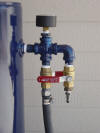
Upon receipt the
pressure gauge was broken, the hoses were cracked from dry
rot and the tank was rusted and covered with overspray from
years of sitting in a paint booth. I pulled the plumbing
system apart and what wasn't corroded was pretty worn out.
Once it was stripped down I took my pneumatic sander and
cleaned up the tank to bare metal and then gave it a hand
sanding with 240 grit Wet-or-Dry sandpaper. Once the tank
was primed and painted I went to my local
Home Depot and picked up all new parts for the plumbing
system. The re-assembly actually took a bit longer because I
didn't want to paint the new valves (I know, I know...) but
once the paint on the sub-assemblies dried I put it all
together and it looks good as new.


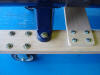
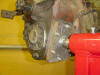
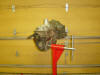
Transmission Adapter
In order to
restore the New Process 540C 5-speed transmission I
fabricated an adapter that bolts onto the side-mounted PTO
opening of the transmission case. Using the PTO housing as a
template I fabricated a plate that would bolt onto the case
in place of the PTO assembly. Next I turned down a piece of
1½" cold rolled steel solid round stock to 1.460" so that it
would fit into the engine stand above. After achieving the
correct diameter one end was cut at approximately 15º and a
hole was drilled in the opposite end to facilitate a handle.
The end with the handle was drilled and tapped to accept a
½" x 13 bolt to secure the handle. The shaft was then welded
to the adapter plate to finish off the fabrication. The
whole thing was fabricated with scrap stock that I had saved
during the removal of the flatbed and lift gate from my
1966 Chevy C60
parts truck.

Back
to top |