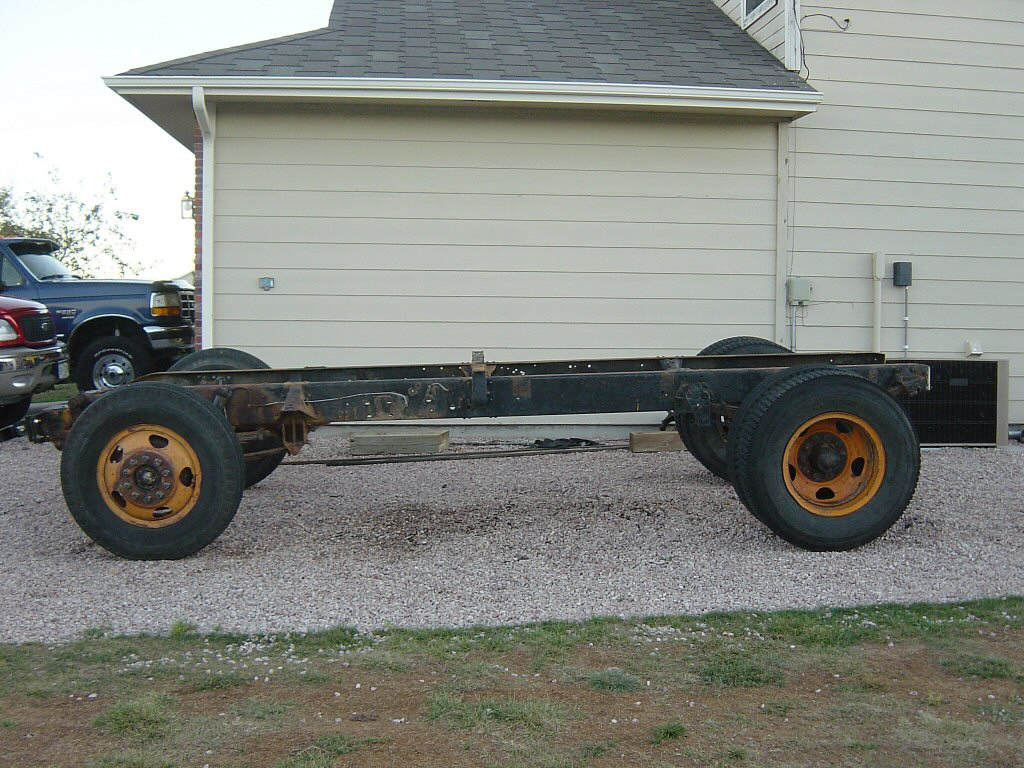
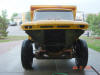
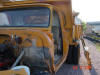
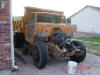
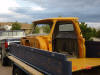
The Disassembly
Process Taking apart a
light duty truck can essentially be done alone with only occasional assistance from a friendly
neighbor. However, taking apart a medium duty truck is slightly more daunting because, by and large,
everything is bigger. A lot of the disassembly process is fairly straightforward and I really didn't
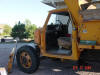
follow any specific sequence. I did, however, try to remove as many parts as I could yet still keep
the truck running. It's easy to push a 1/2 ton pickup around the yard, but not a medium duty. My 1963
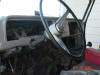
Chevrolet Truck Shop Manual and 1960-1966 Chevrolet/GMC Truck Factory Assembly Manual provide detailed
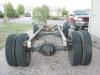
information regarding how to put these vehicles back together, but nothing can beat a picture for
future reference.
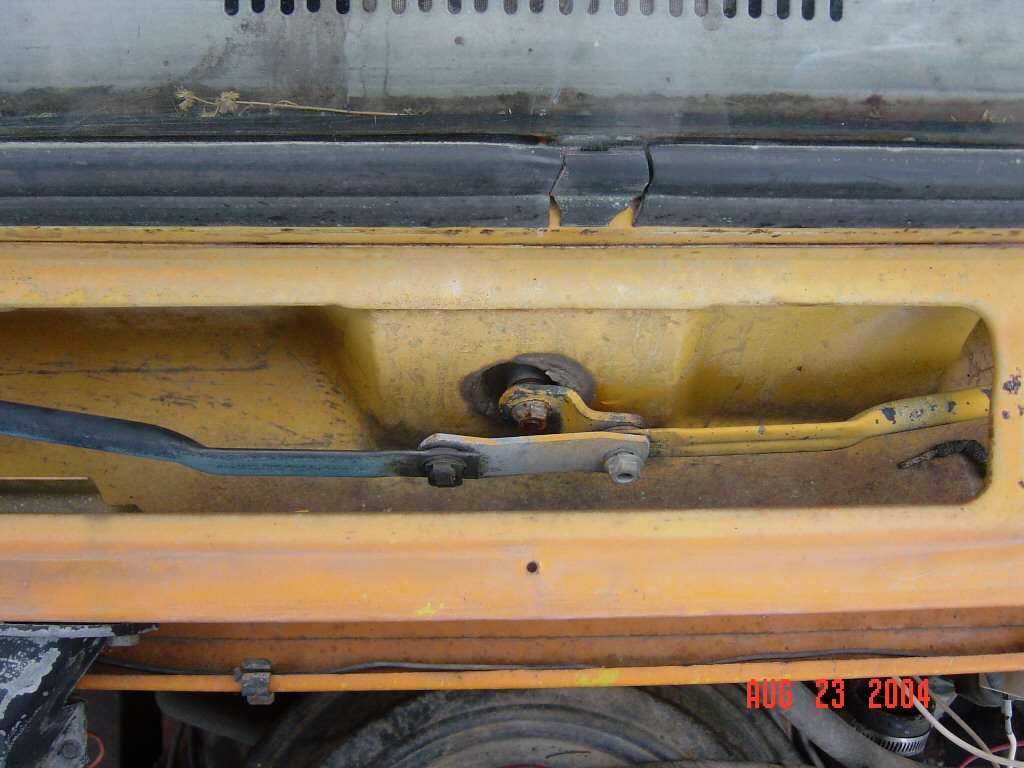
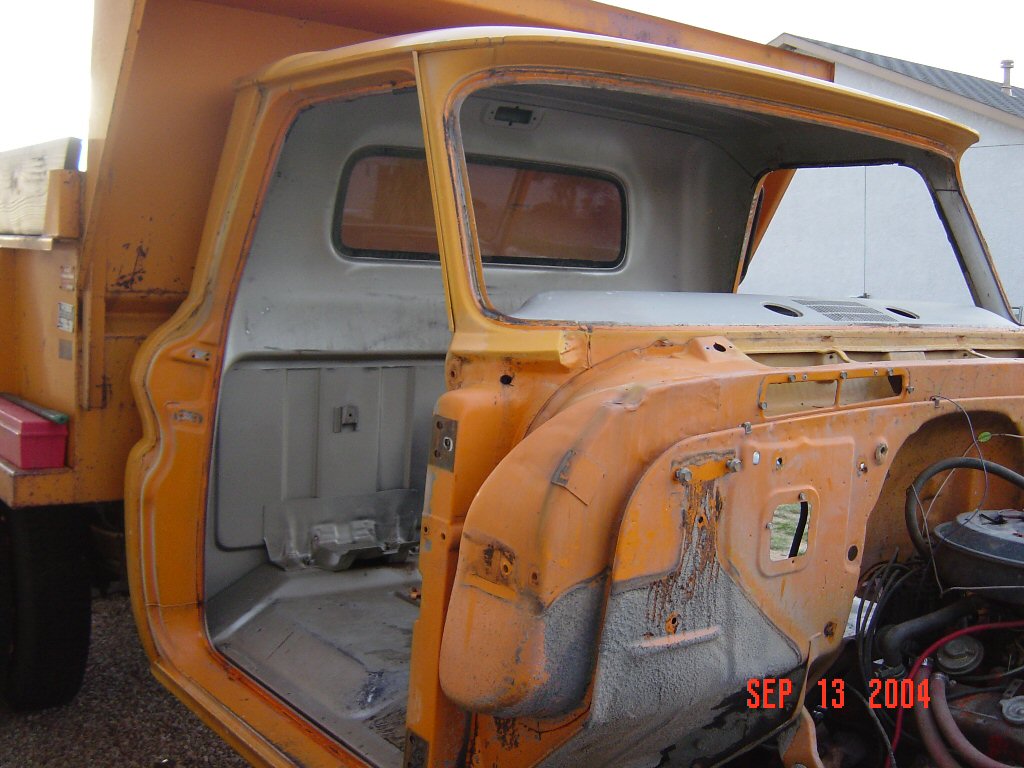
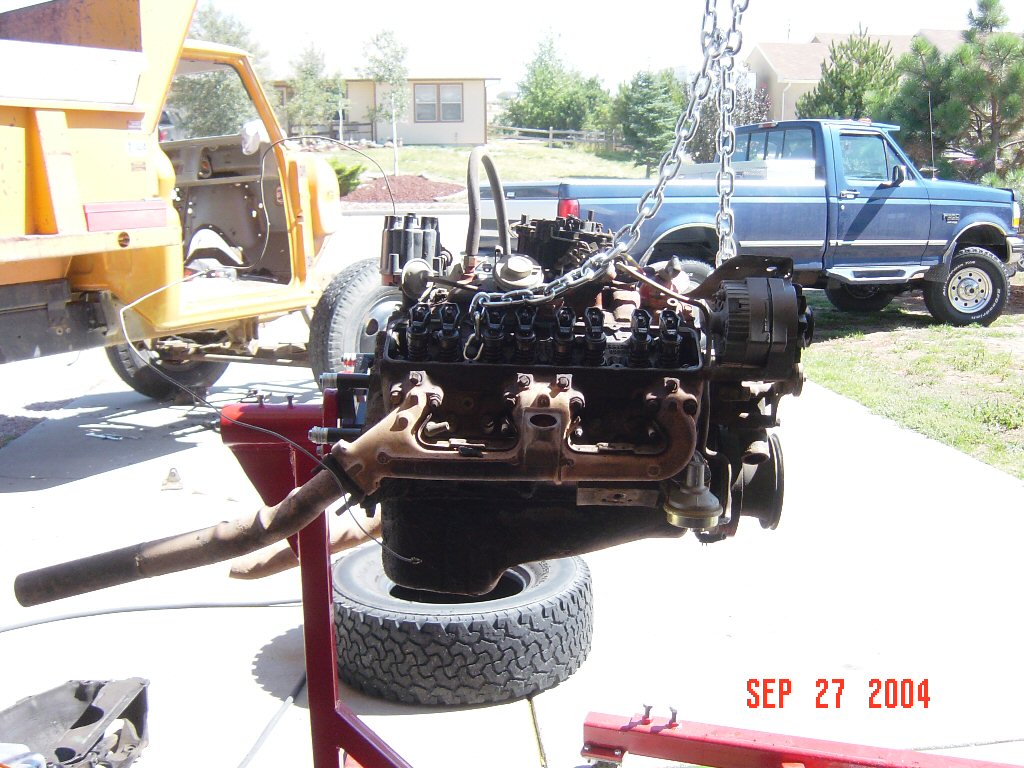
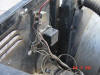
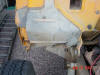
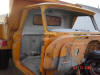
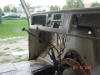
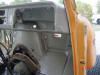
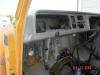
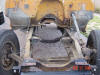
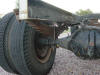
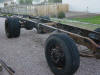
No matter how many pictures you take, you
will always miss something that will leave you scratching your head a year later when it comes time to
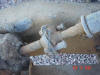
reassemble everything. When this happens I look to the internet to see if I can find some pictures
from another enthusiast embarking on a similar restoration. In addition to providing a pictorial
history of this project, I also want to provide these images in the hope that others may scrape
together some information when such memory problems are encountered.
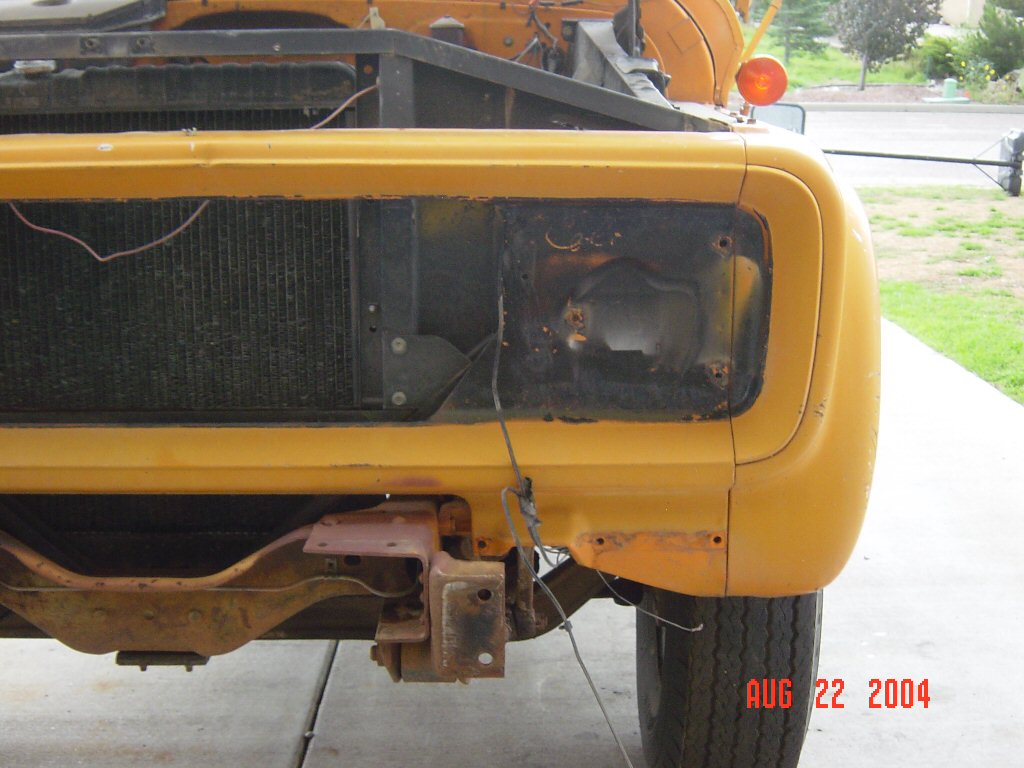
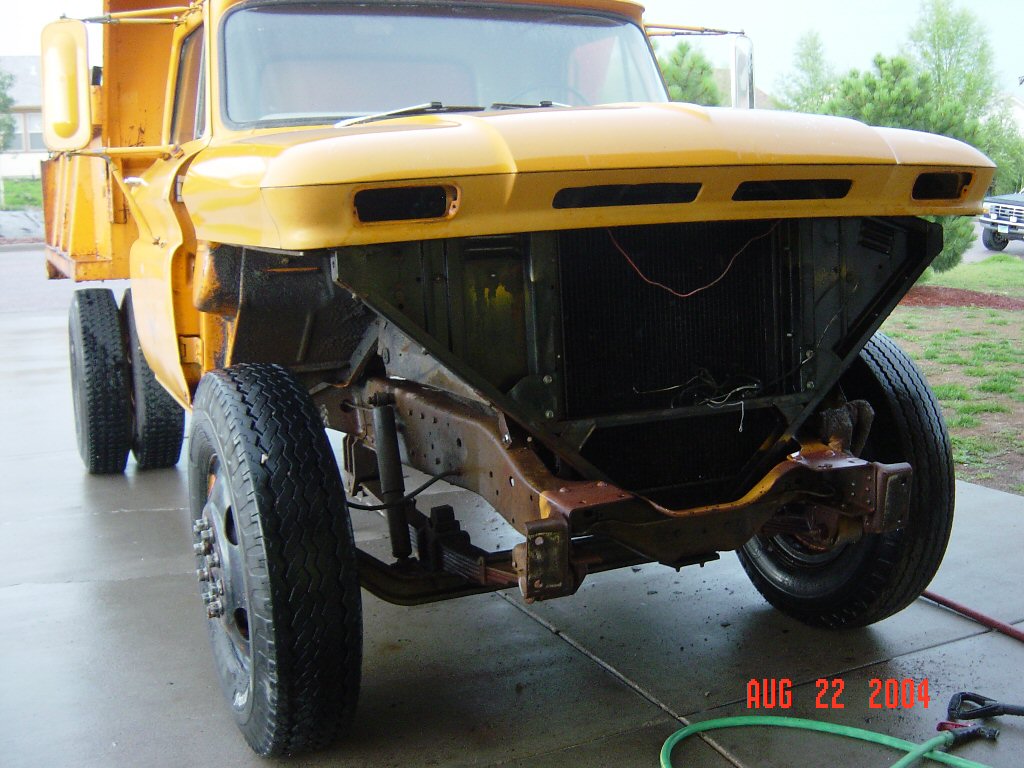
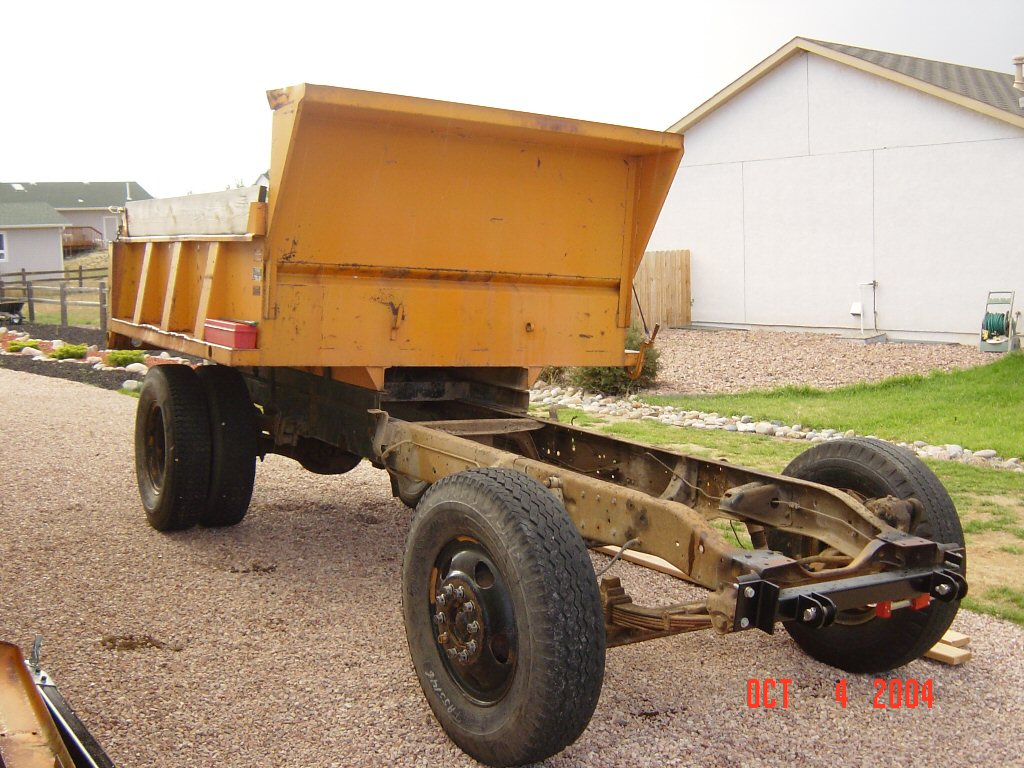
Disassembly Set #1


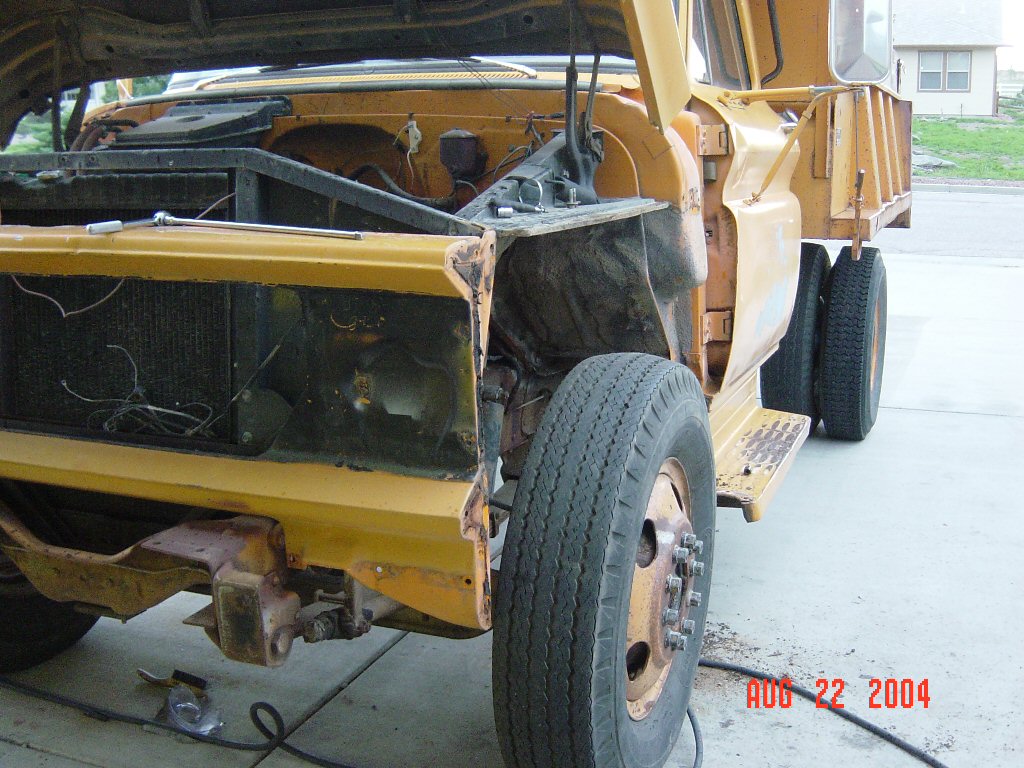
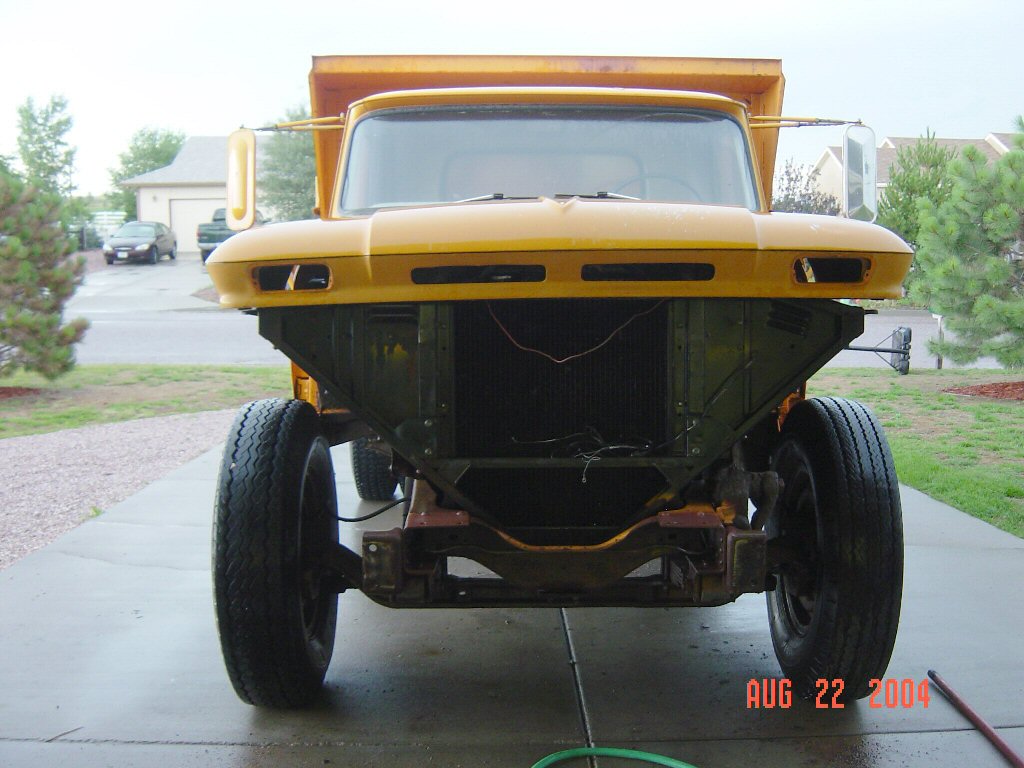
Disassembly Set #2


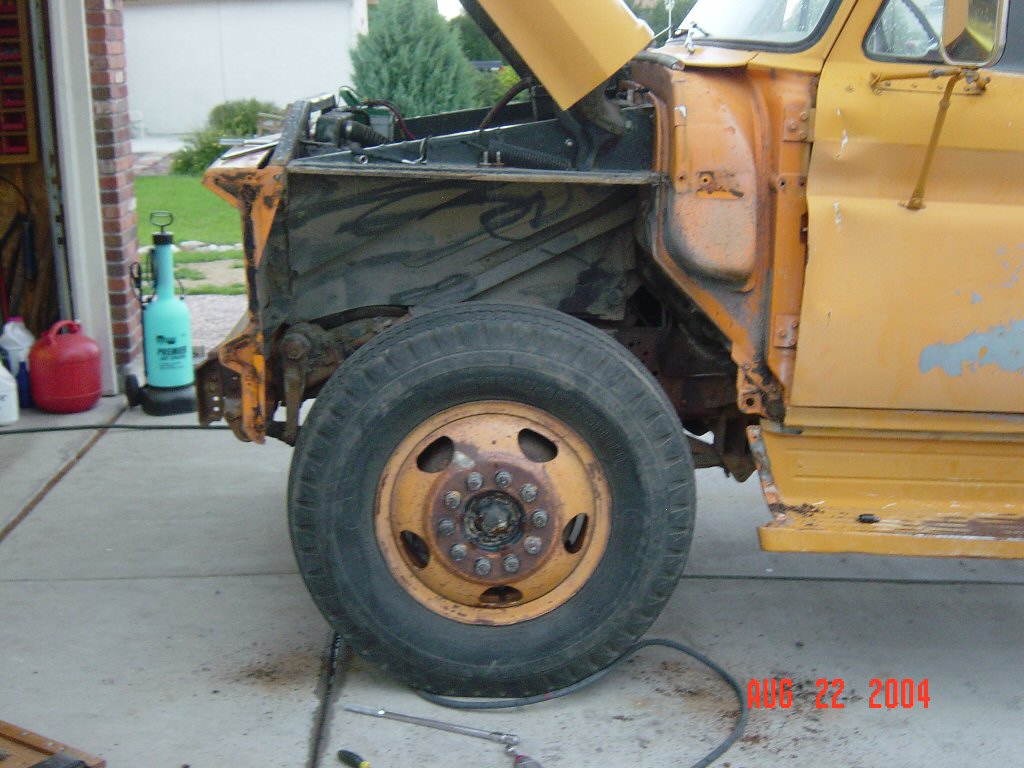
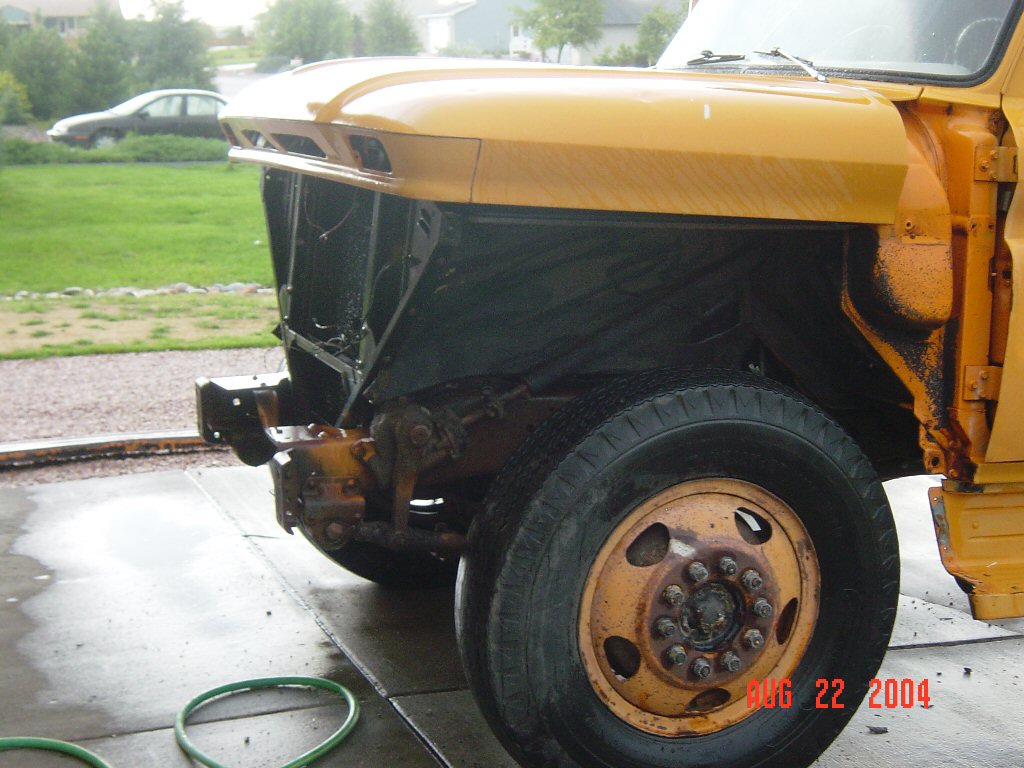
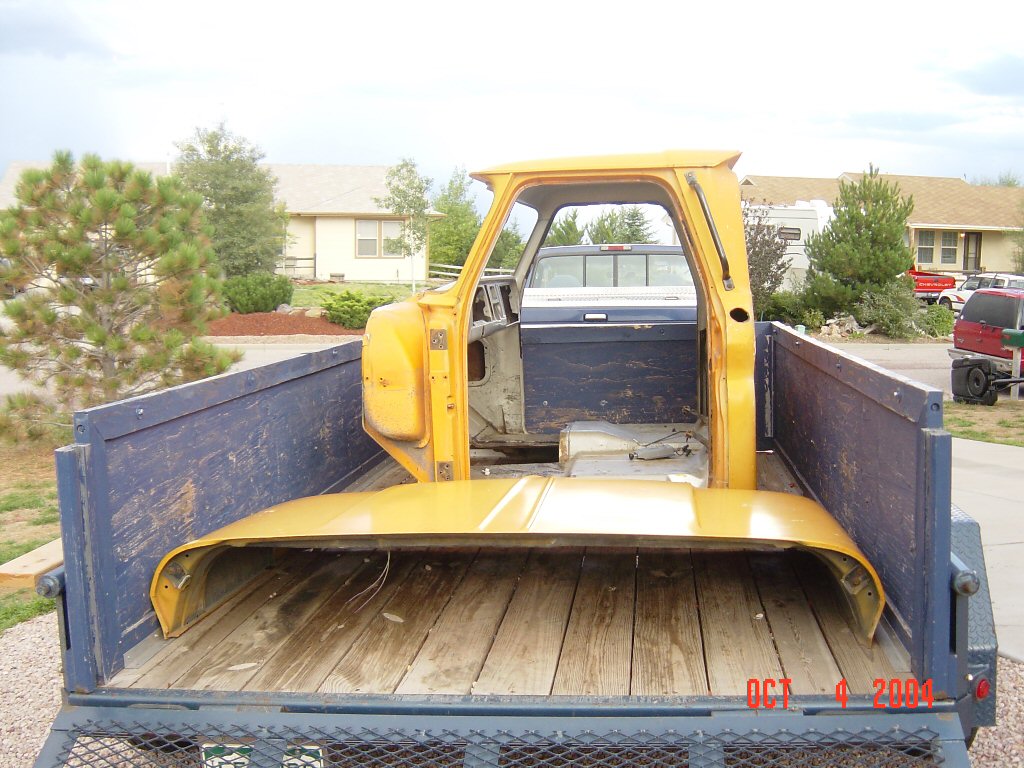
Disassembly Set #3


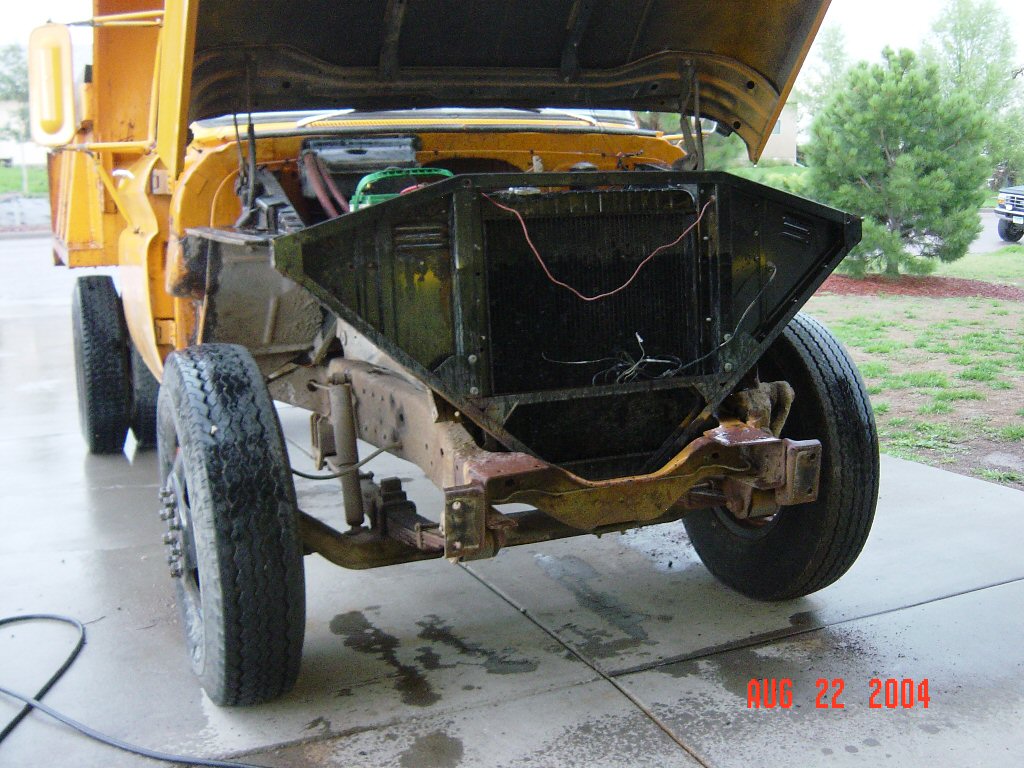
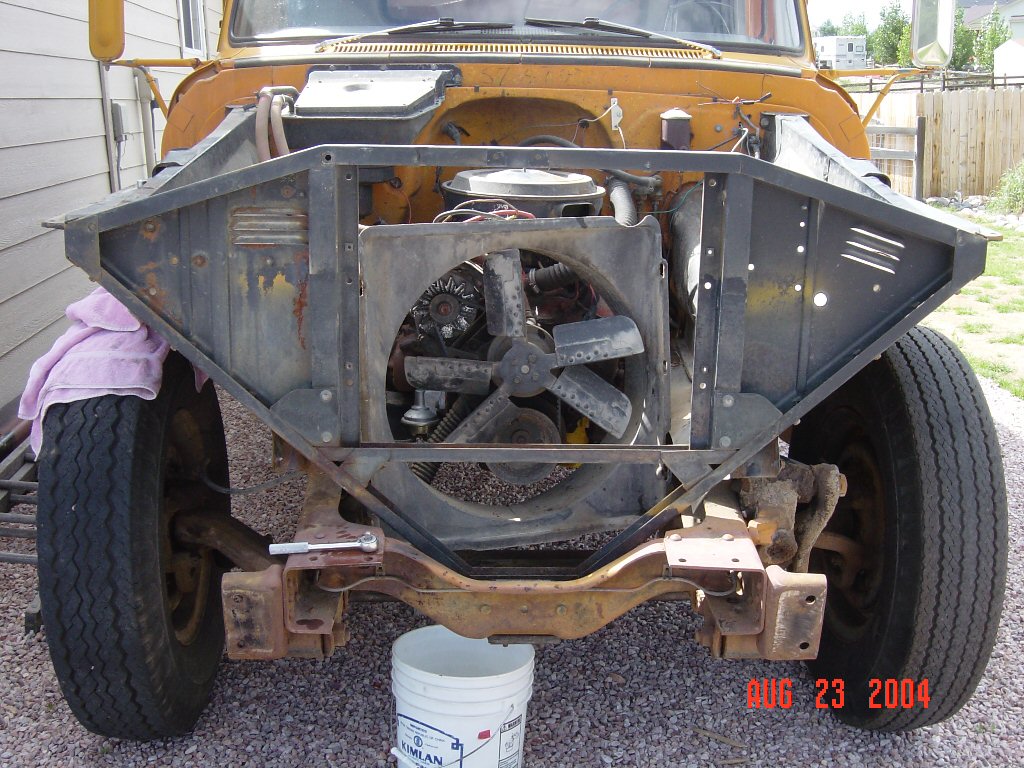
Disassembly Set #4


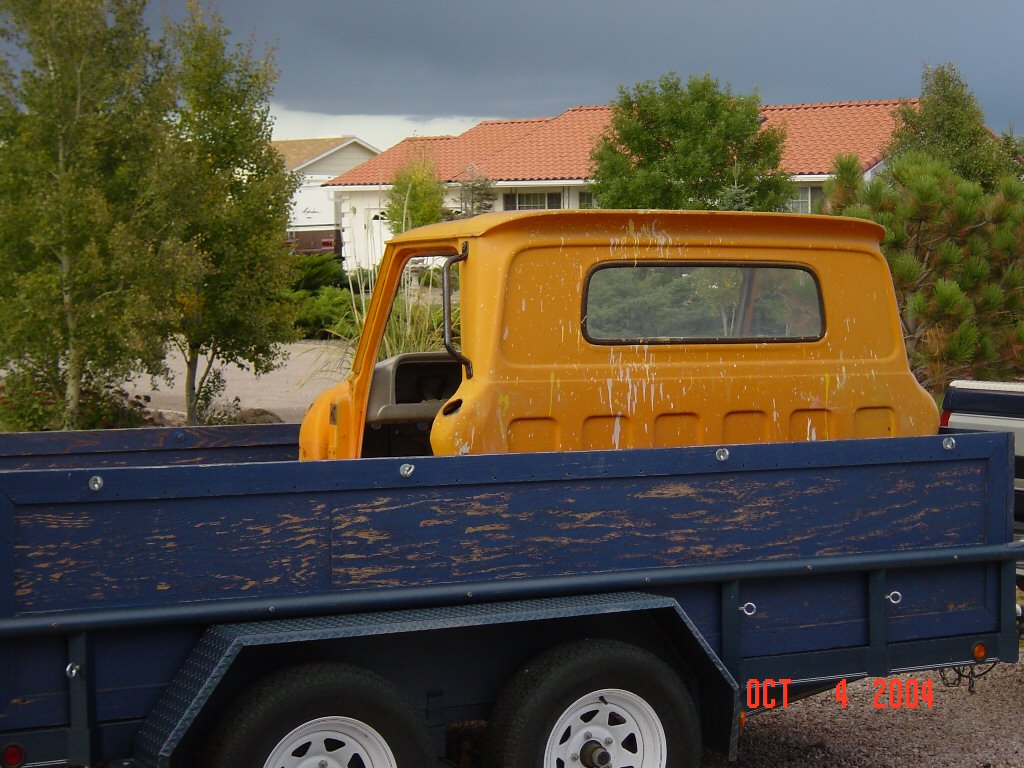
Disassembly Set #5


Disassembly
Set #6


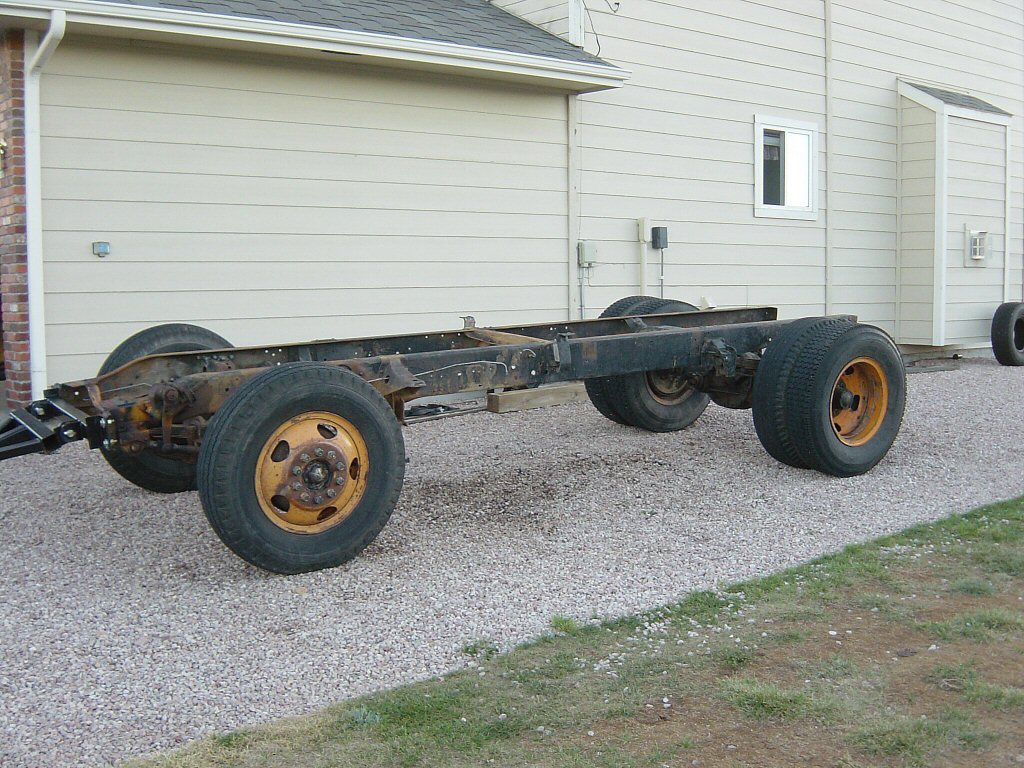
Disassembly
Set #7


 |