|
The
Heater Assembly
The Deluxe Heater
components are located on each side of the firewall. The blower
assembly and the core and valve assembly are located in the core
case on the engine side of the firewall. The distributor duct,
with the defroster equipment and the resistor assembly are
located on the passenger side of the firewall. All diverter
doors are located within the distributor. Air is drawn from the
cowl vent plenum chamber, down through the heater core and is
pulled by the blower, through the blower and into the
distributor within the cab of the vehicle. The thermostatic
valve is a manually set temperature control to limit core and
outlet air temperature. The image below illustrates the heater
assembly per the 1963 Chevrolet Truck Shop Manual.
Cleaning and Painting
Once completely
disassembled all parts were media blasted and wiped down with a
clean lint-free cloth and isopropyl alcohol to remove any media
dust.
As with the
Bendix Hydrovac I
elected to use Rustoleum from the can; a product readily
available at most hardware stores and home centers. The primer
was a standard light grey and I chose a gloss black for the
final color. Given the inherent porosity of spray can paint, I
applied 3-4 light coats of primer to each piece, allowing
approximately 15 minutes between coats to allow the previous
coat to partially dry and also to prevent running. Once the
final coat was applied the pieces were allowed to dry for a
minimum of 48 hours. Each piece was then lightly sanded using
dry #400 wet-or-dry sandpaper and wiped down with a clean dry
cloth. The color coats were applied in the same manner as
mentioned above.
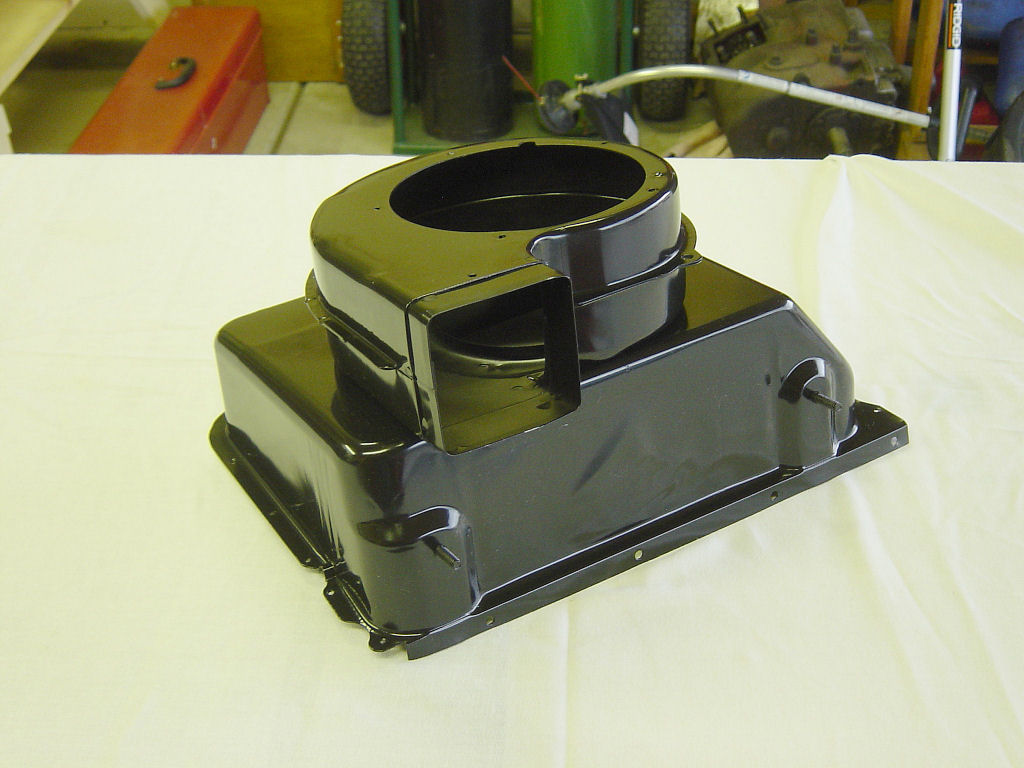
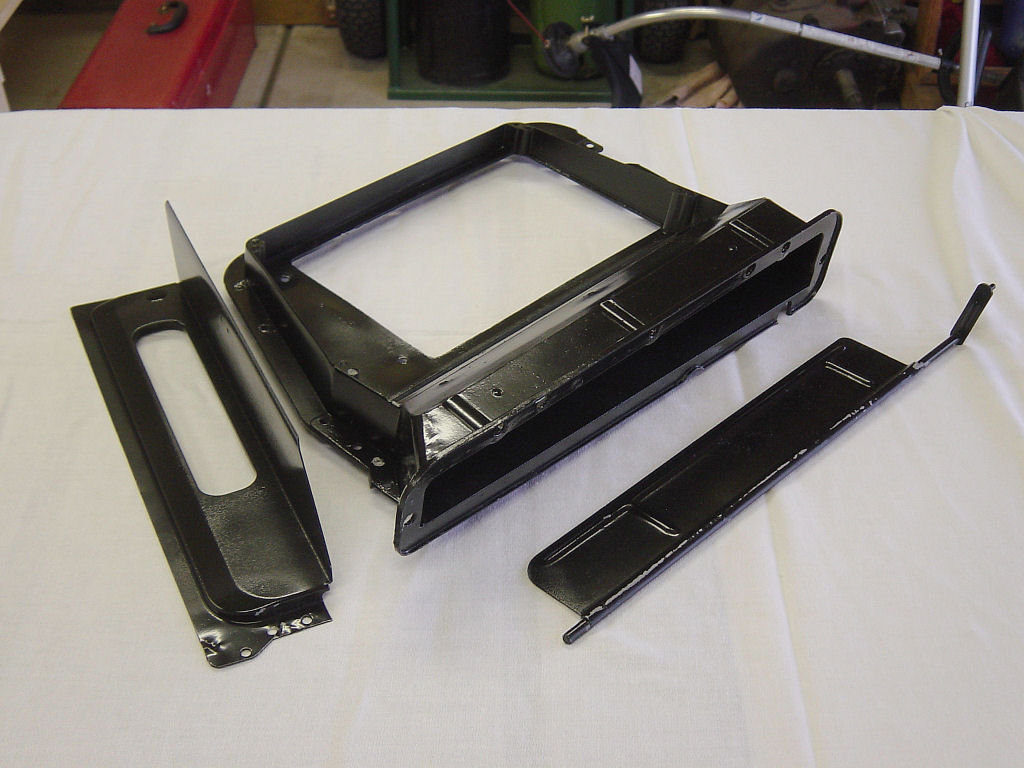
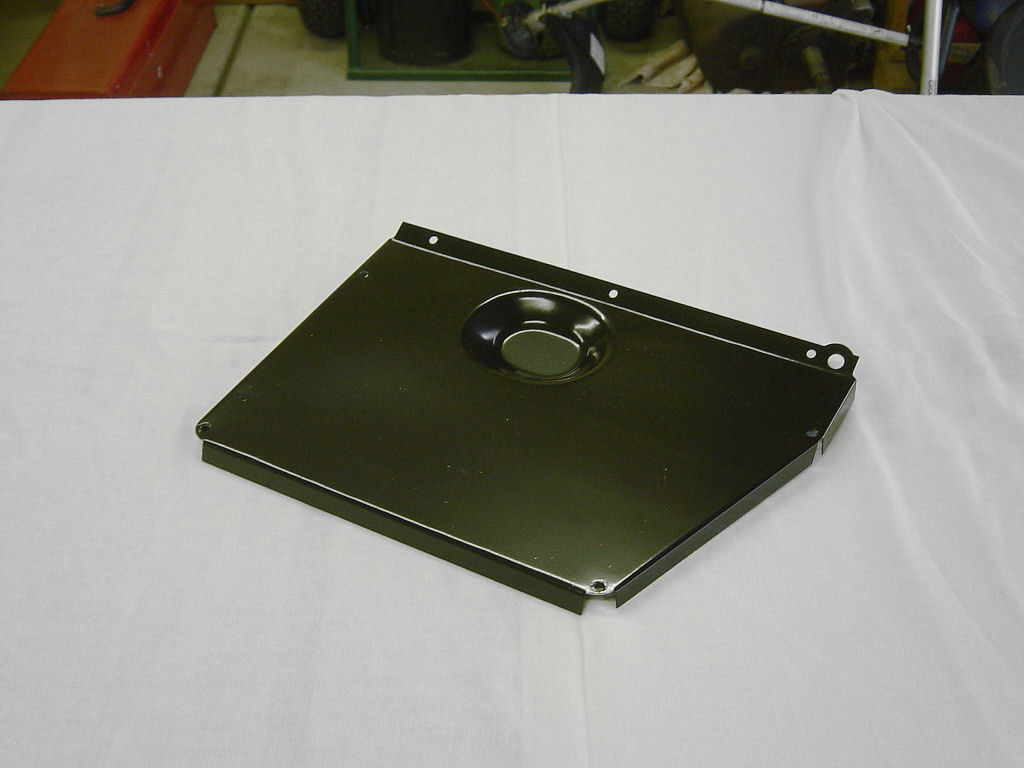
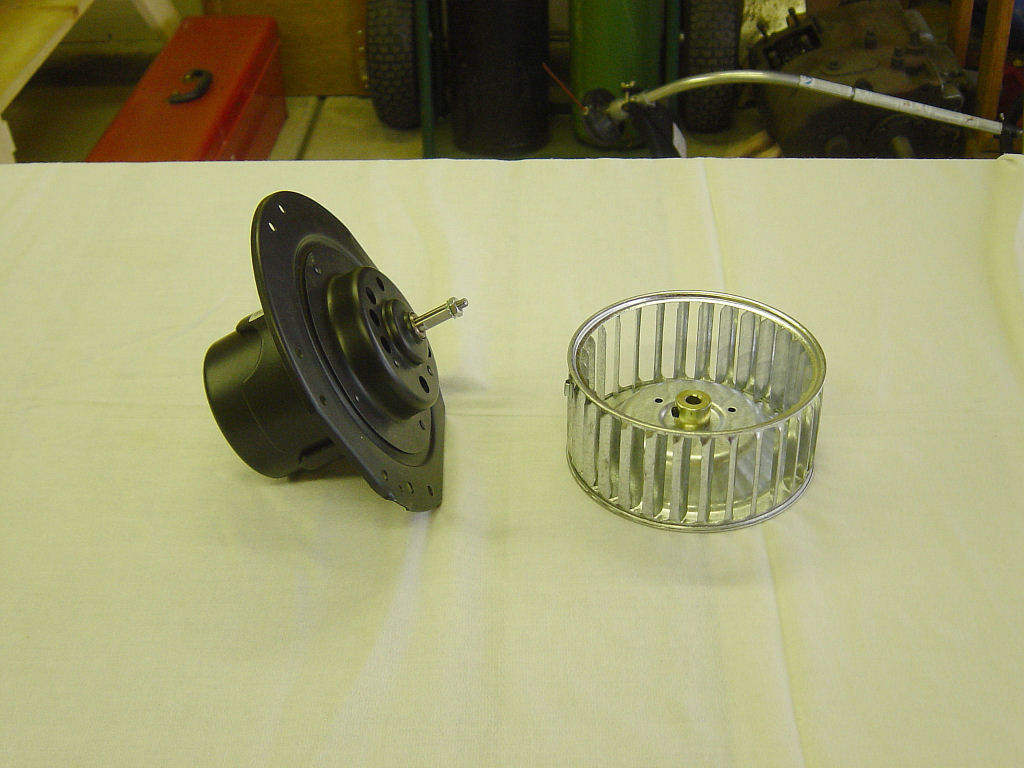
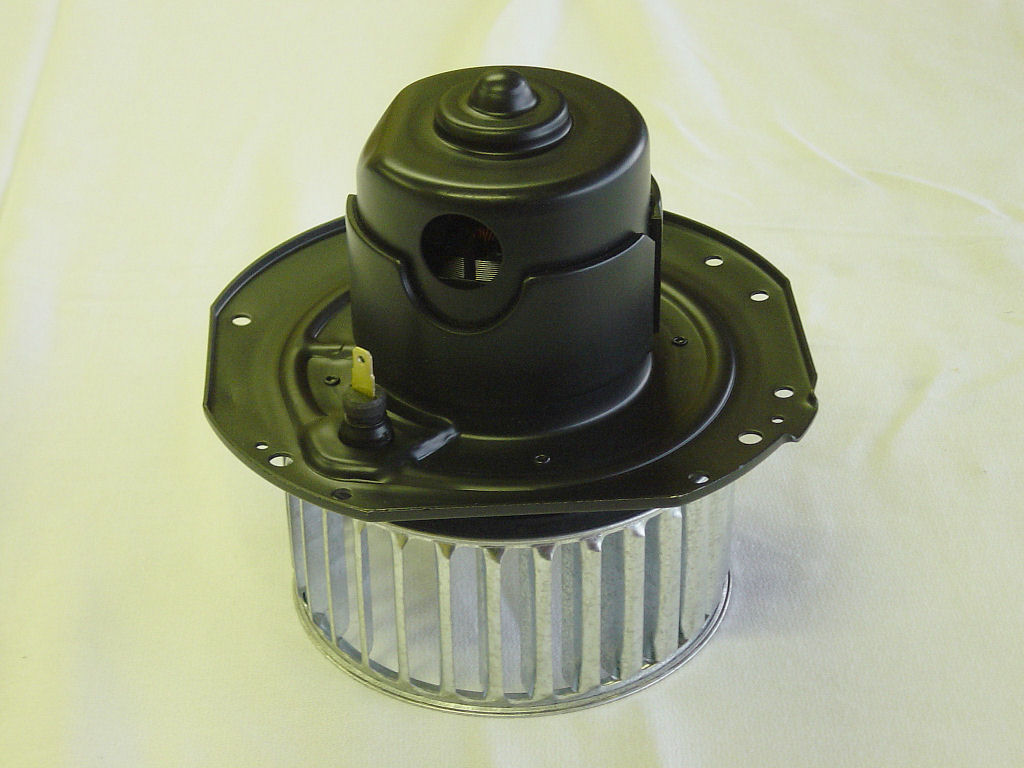
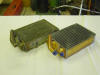
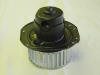
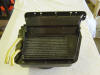
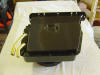
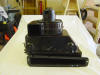
Each part received 3
coats of gloss black paint. The images below show the main
heater assembly parts following the painting.


Parts Order
I checked with my
local NAPA store and they indicated they had a heater core for
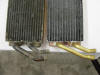
my truck. The image below show the old heater core and the new
NAPA heater core. At first glance they appear to be the same.
The core dimensions are identical as are the inlet and outlet
tube diameters; however, the spacing between the tubes was too
close. While the heater core fit into the heater box just fine,
the plenum did not fit. The tubes would not clear the 2 angled
slots in the plenum unless the plenum was filed to increase the
size of the slot.
After I brought the
heater core back to NAPA for a refund I sent a detailed e-mail
to Classic Parts
customer service department explaining the dilemma. I provided
dimensions and also explained why the NAPA version would not fit
for my application. The next day I received an e-mail indicating
that the Classic Parts heater core would work for my truck. So,
in addition to the
heater gasket set,
heater motor, and
heater fan, I also ordered the
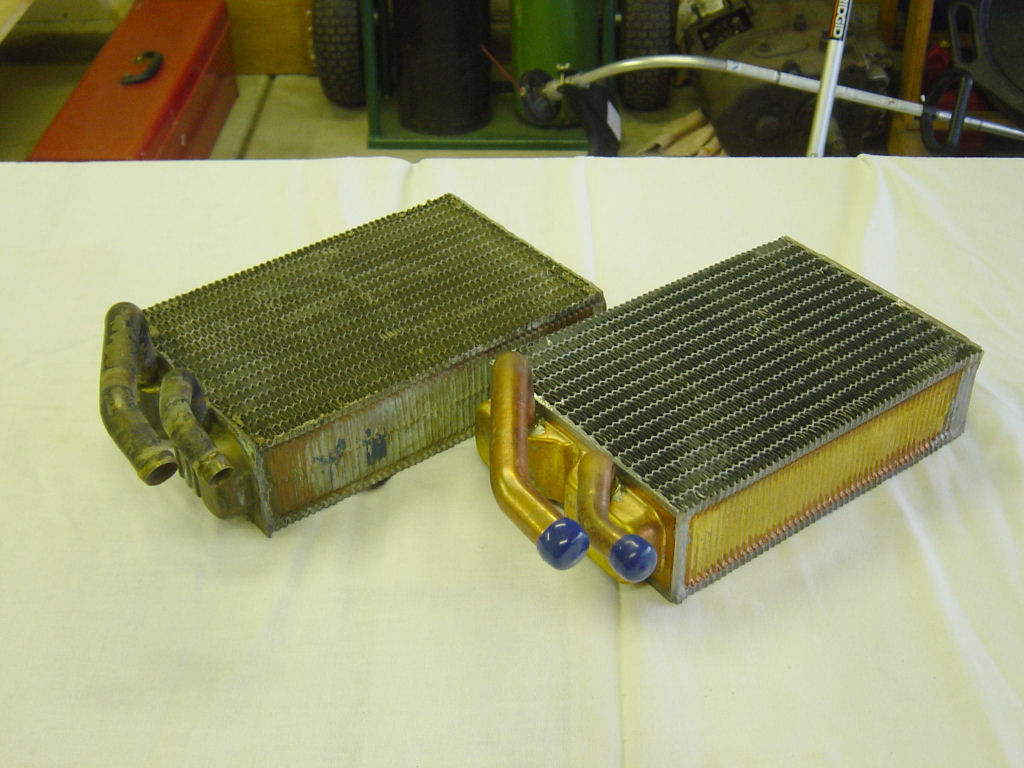
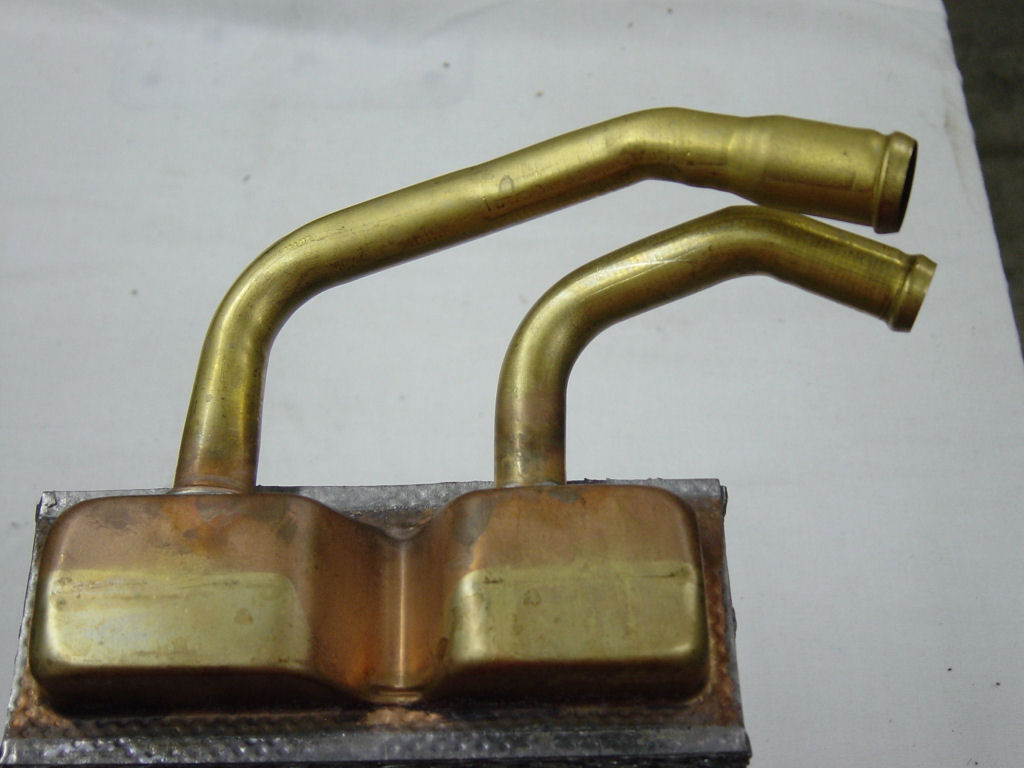
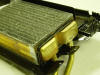
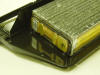
heater core. The images below show the original heater core
and the Classic Parts heater core.

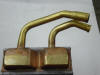
Note that the diameter of both the inlet and outlet tubes is the
same, and that only the end of one tube is flared to 3/4".
Because of this, the heater core fit perfectly in the 2 angled
slots mentioned above. It should also be noted that the 3/4"
hose from the water pump connects to the upper 3/4" tube on the
heater core and the 5/8" hose from the thermostat housing
connects to the lower 5/8" tube on the heater core. The customer
service I received from
Classic Parts was excellent as was the quality of the
products I purchased from them.
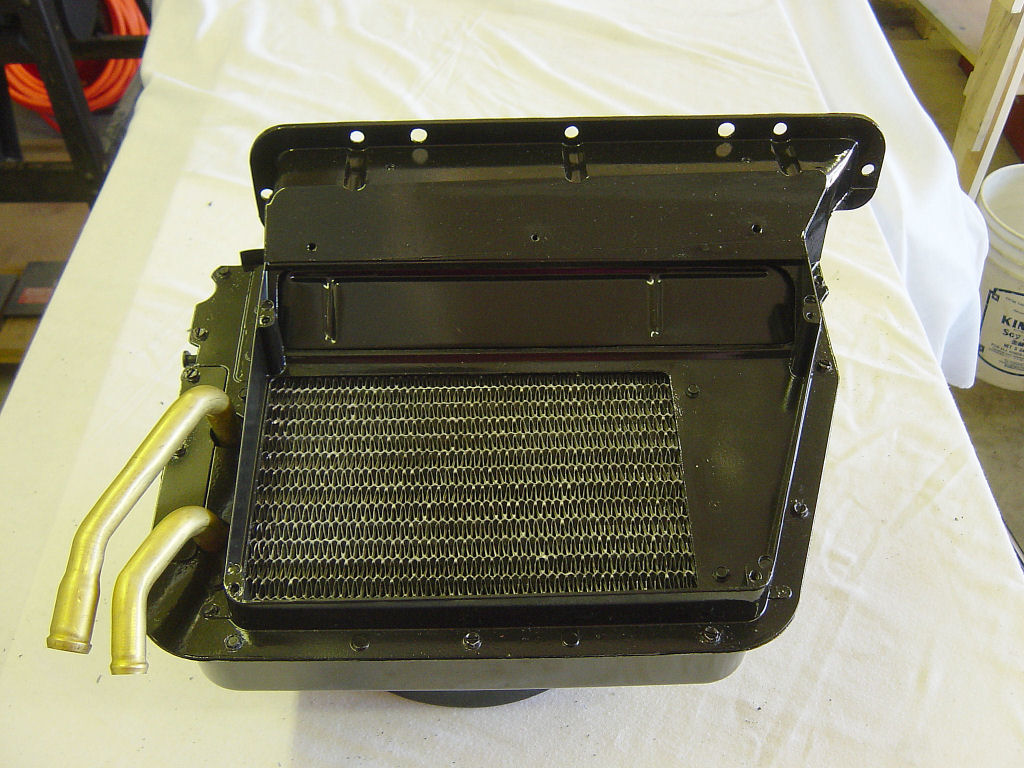
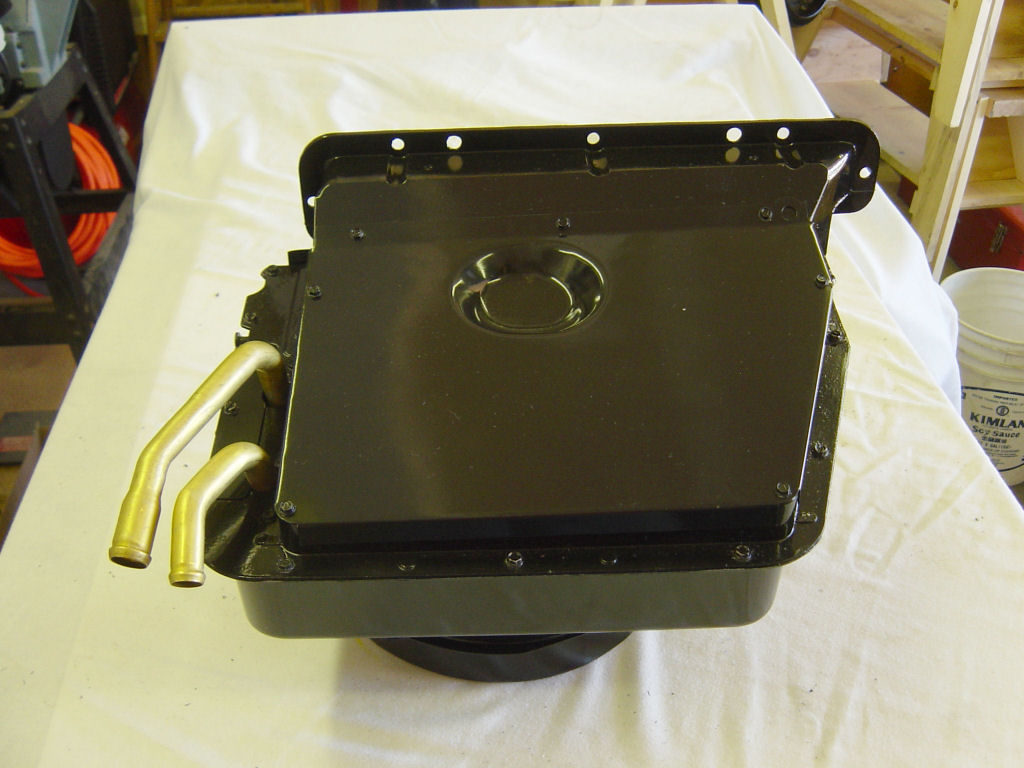
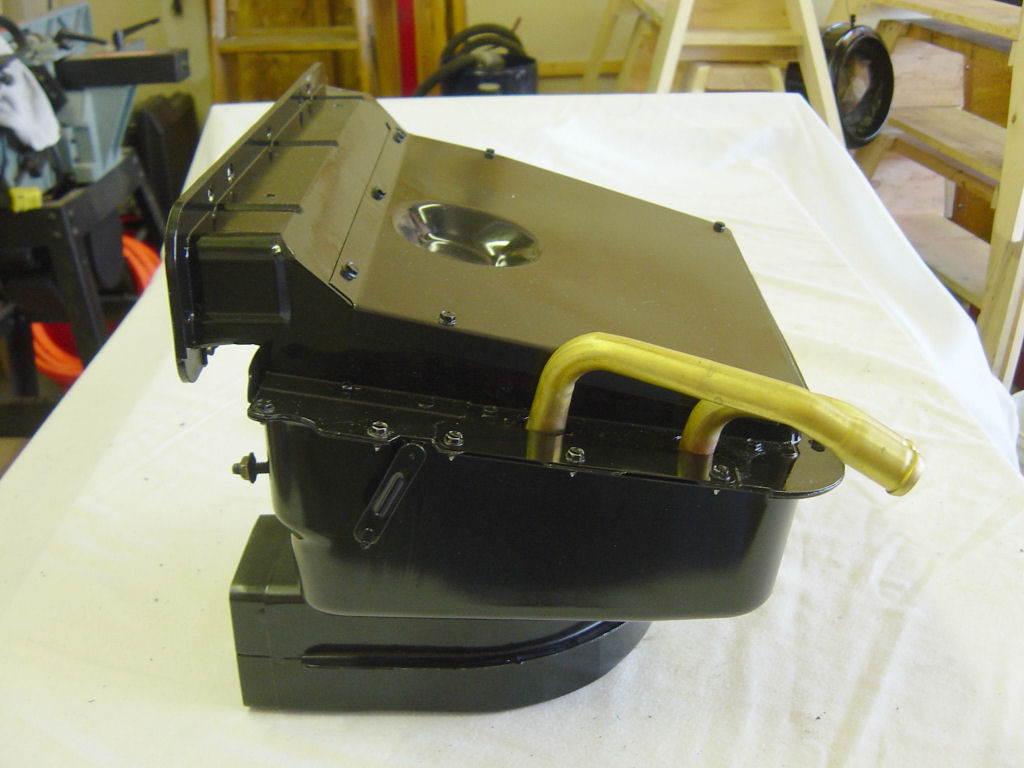
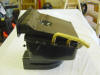
Assembly
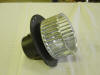
Reassembling the heater was pretty simple. I had purchased new
screws for the whole project at the local hardware store and
primed and painted them as well. Below are some images of the
heater assembly in various stages of reassembly and also the
completed project.

Back to top |